New client onboarding checklist
Welcome to Sessionboard! 🎉
Section titled “Welcome to Sessionboard! 🎉”This page walks through the essential steps for configuring your event and preparing your team to manage sessions, speakers, sponsors, and more. It follows the order our onboarding team uses in kickoff and training calls, so you can work through it on your own between sessions or use it as the agenda for those calls.
Each step links to the article that covers it. Skip any area your plan does not include.
Your Onboarding Sandbox
Section titled “Your Onboarding Sandbox”When your team completes the welcome survey, Sessionboard creates an Onboarding Sandbox event: a practice event filled with sample sessions and speakers that match your kind of event, so your team can learn Sessionboard before building your real events. A banner across the top marks it as a sandbox, and work there may not carry over to your official events.
While your organization is in guided onboarding, four things are locked until your Customer Success Manager unlocks them at your kickoff call: deleting events, sending email campaigns, publishing a public site, and changing integration credentials. Want to try a change on a real event safely later on? Ask support to clone it into a test event. When you are ready to go live, see Move setup from your Sandbox to your live event.
What should we do in the first 30 days?
Section titled “What should we do in the first 30 days?”Work in the order of the steps below, because each one feeds the next. In practice:
- Event details and program settings (Step 1), because forms, portals and emails read from them.
- Your team and roles (Step 2) and your submission form (Step 3), so you can open the call.
- Integrations (Step 4), early enough to test the mapping before the program is final.
- Review (Step 5) once submissions are arriving, then the later steps as your event needs them.
Skip any area your plan does not include. Your CSM can tell you which steps your plan covers. Ready to move off the sandbox? See Move setup from your Sandbox to your live event.
Step 1: Event details
Section titled “Step 1: Event details”Many areas of Sessionboard pull from this page, so complete it first.
- Set the event name, slug, timezone, dates, logo, and portal background in Event details.
- Define your program vocabulary — tracks, formats, rooms, levels, tags, session roles, and statuses — in Program settings.
- Create the custom fields you need on sessions and contacts before you import or build forms.
- Recurring event? Ask about cloning last year’s event before you rebuild. Need an empty event first? Request it with Add Event.
Step 2: Users and permissions
Section titled “Step 2: Users and permissions”- Invite your event team and pick a role for each person; use a filter on Session Manager roles to scope people to a track or form.
- Decide who reviews, who accepts and declines, and who only views — custom roles and field permissions cover the rest.
- Set how speakers will sign in to their portal: portal login methods.
Step 3: Session submission forms
Section titled “Step 3: Session submission forms”If you collect abstracts or session proposals, build the form before anything that depends on it.
- Start with which form should I use?, then build the submission form.
- Set the open and close dates and confirmation email, and match your brand in submission form settings.
- Share and test the form with a real submission before you publish the link.
Step 4: Integrations
Section titled “Step 4: Integrations”Bring up integrations early so mapping and testing happen before the program is final.
- See what each integration syncs and the integrations overview; event-platform differences are in the comparison.
- Publish sessions and speakers to your website with embeds or publishing surfaces.
- Single sign-on for speakers is in SSO; developers can use API tokens and webhooks.
Step 5: Review and acceptance
Section titled “Step 5: Review and acceptance”- Create a review plan, add reviewers, and assign submissions.
- Understand what reviewers see and how scores turn into decisions.
- Accept and decline sessions and send the decision emails with the built-in templates.
Step 6: Agenda
Section titled “Step 6: Agenda”- Choose which statuses can be scheduled and set up rooms in agenda settings.
- Build and adjust the schedule in the agenda and clear the Conflicts list before publishing.
Step 7: Speaker portal and tasks
Section titled “Step 7: Speaker portal and tasks”- Read Portals 101, then create a portal for each speaker type you need.
- Create and assign forms and tasks — bios, headshots, disclosures, agreements — with due dates.
- Preview the portal as an admin before speakers are invited.
Step 8: Communications
Section titled “Step 8: Communications”- Send from your own domain with a custom email domain.
- Review the automated emails Sessionboard sends and turn on the ones you want.
- Build email templates, then send from the module or with email campaigns. Keep the History open for delivery status.
Step 9: Contacts and imports
Section titled “Step 9: Contacts and imports”- Import contacts first, then sessions, then sponsors and exhibitors; use the update flow rather than re-importing.
- Clean up with merge duplicate contacts.
- Year-round speaker data lives in Speaker CRM.
Download the checklist
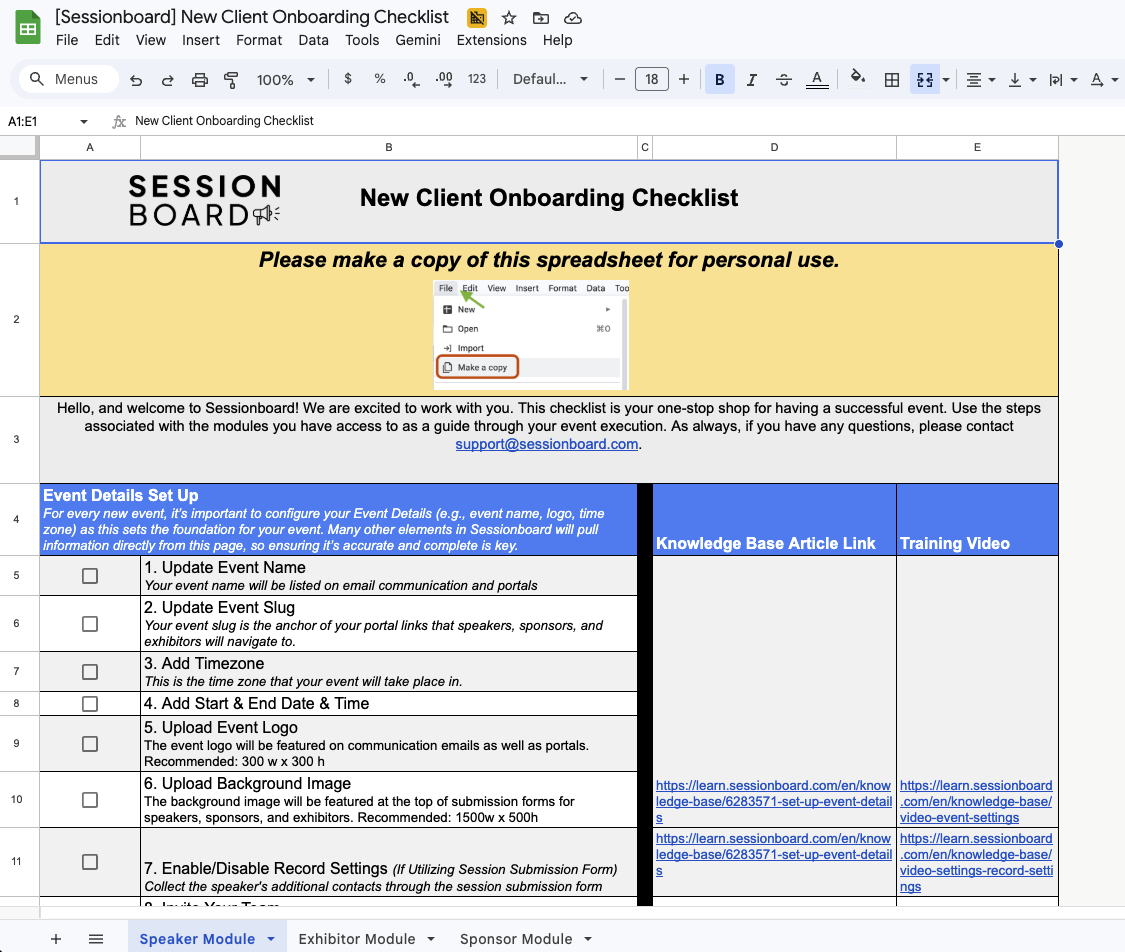
Section titled “Download the checklist”The same steps are available as a spreadsheet, with a column for the owner and status of each task.
When you open the spreadsheet, create your own copy before editing: use the spreadsheet’s File menu and choose Make a copy. Your team can then track progress without modifying the original template.