Snöball
Snöball is an event marketing tool that taps into your speakers’, partners’, and attendees’ professional circles and builds up your community and, in turn, your attendance.
Sessionboard users can connect their events with Snöball and sync session and speaker data from Sessionboard to Snöball so that ‘share your participation’ links can be generated in Snöball and sent back to Sessionboard:
Connect integration
Section titled “Connect integration”Retrieve API Key
Section titled “Retrieve API Key”Integrations are connected on the organization level in Sessionboard.
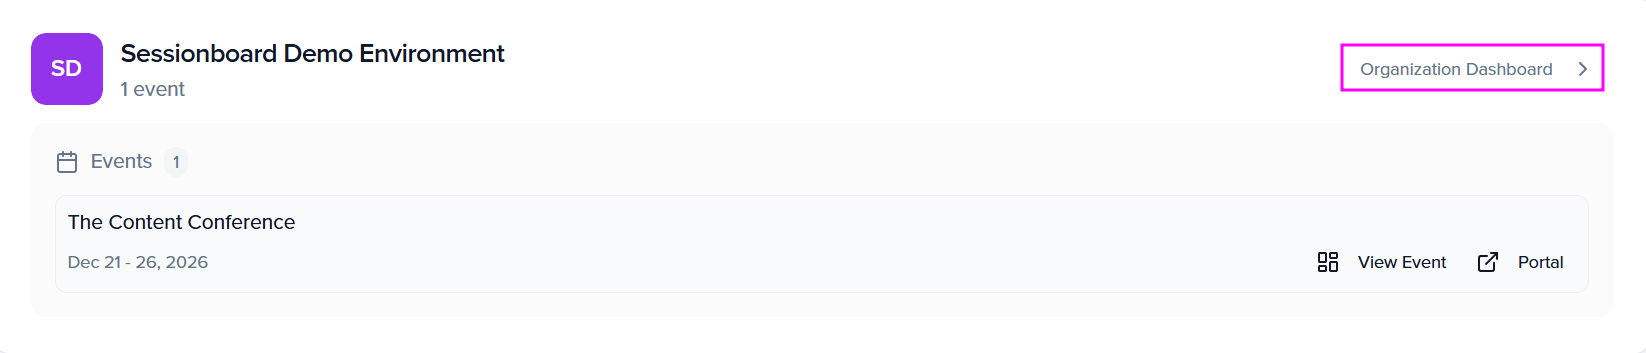
After logging in, click “Organization Dashboard” to access your event’s organization:
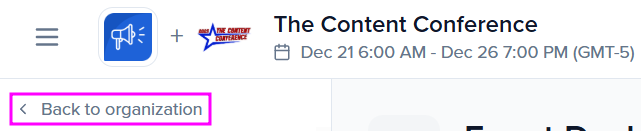
Or, from your event, you can click Back to organization:
Select the ‘Settings’ module to locate ‘API Tokens’
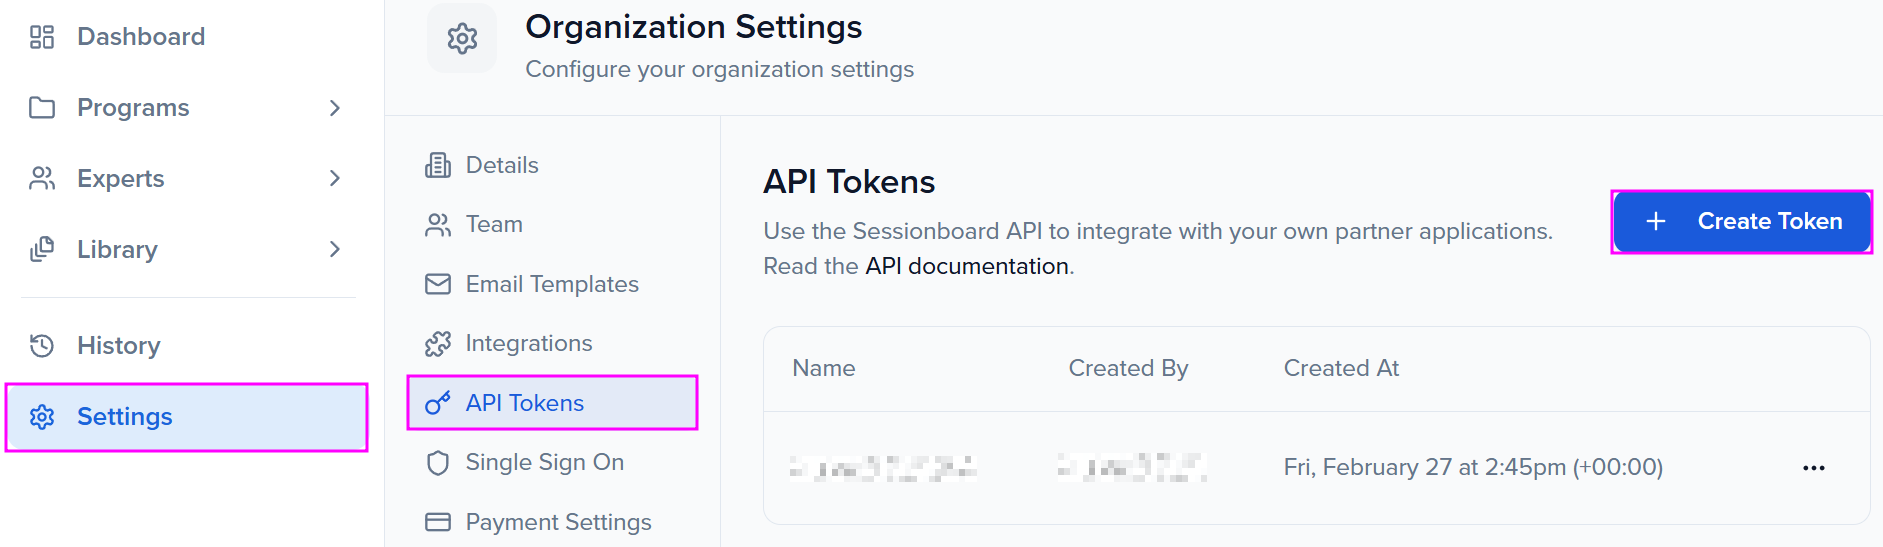
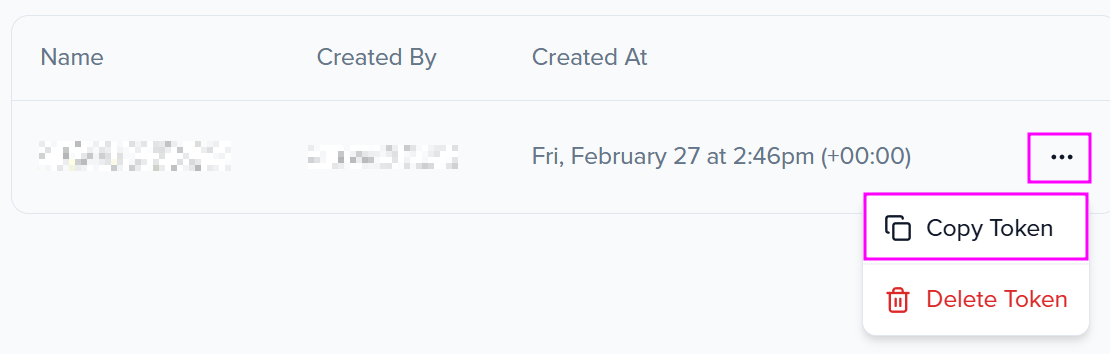
Select the Create Token button to generate a new API key for your event.
Once a token has been generated, you can copy the token to share with Snöball.
Retrieve Event ID
Section titled “Retrieve Event ID”In your organization’s Dashboard, select the event you would like to access.
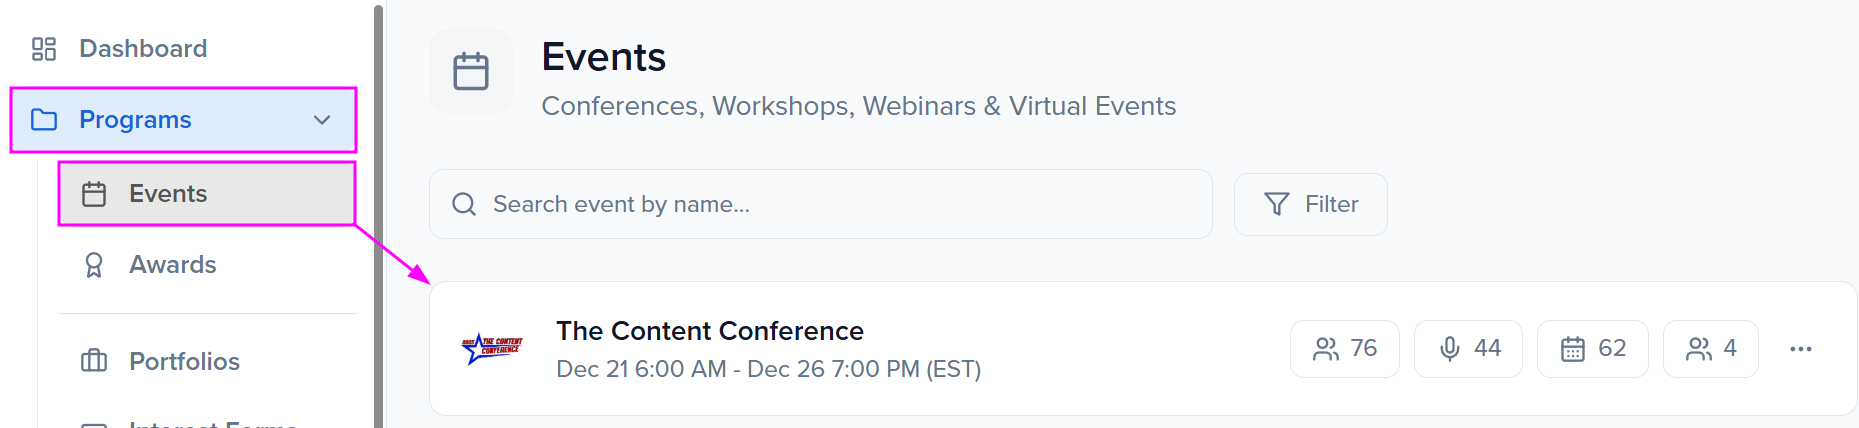
“Within the page address bar, locate the 2-4 digit number within the event URL that proceeds https://appv2.sessionboard.com/event/.This is your event ID.

Create Snöball link field
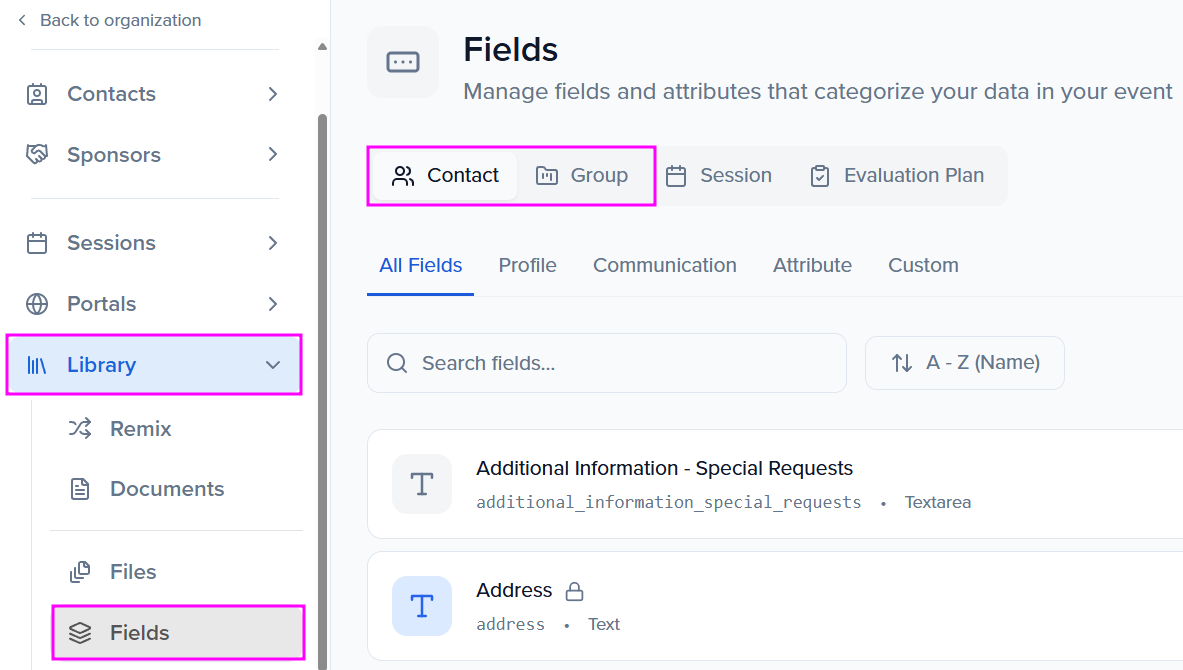
Section titled “Create Snöball link field”Within your event, navigate to the Library > Fields module to create a field that will be used to display the links sent from Snöball.
SPEAKERS: Create a Contact field
SPONSORS: Create a Group field
Select the + Add Field button to the right of your screen to create a new field.
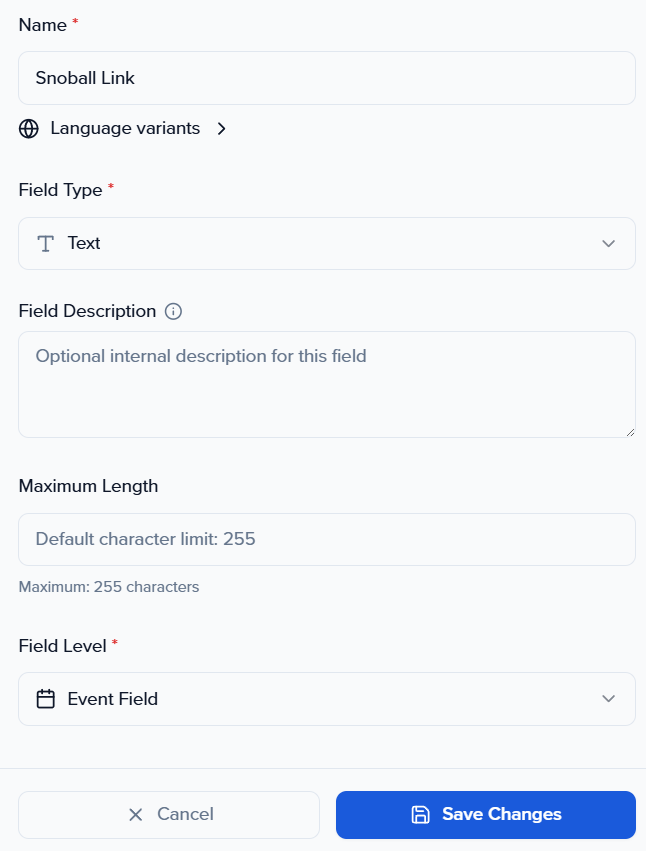
Within the pop-up modal, fill in the fields below. Ensure to Save Changes to your field once complete:
- Field Name: Snoball Link
- Field Type: Text
- Field Level: Event Field
Share API key & event ID with Snöball
Section titled “Share API key & event ID with Snöball”Once you have located/generated your API Token and Event ID, share these details with Snöball so they can connect your Snöball instance with your Sessionboard event.
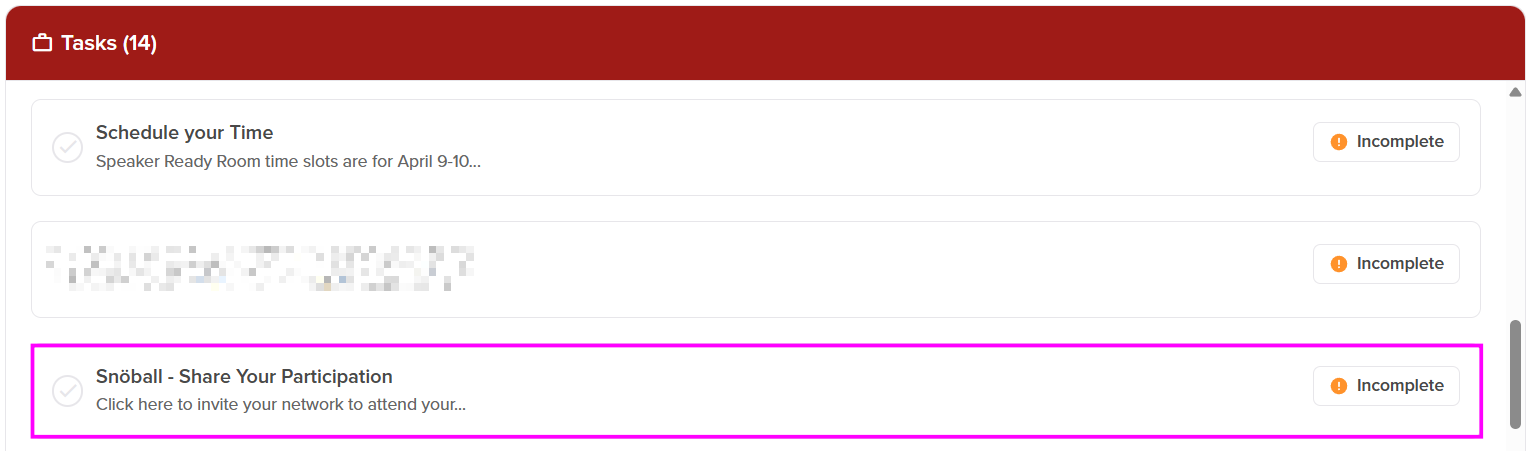
Create Snöball portal task
Section titled “Create Snöball portal task”So that your event contacts can access the Snoball URL and share their participation with their community, event admins need to create a task that will be accessible to your event contacts (i.e. speakers & sponsors) within their portal.
-
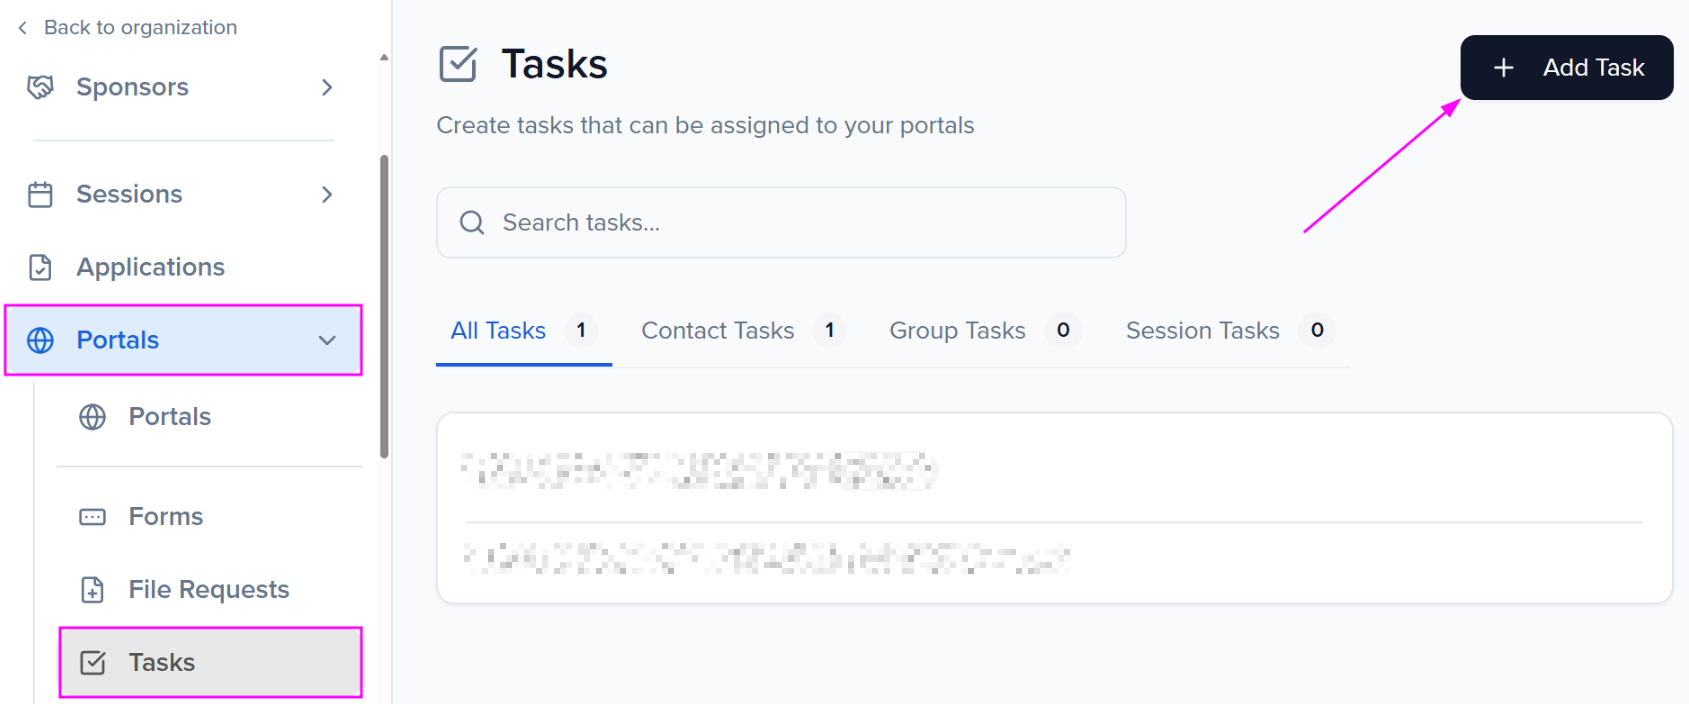
Within your event, navigate to the Portals module and select the page Tasks.
-
Select the “Add Task” button to open a pop-up modal
-
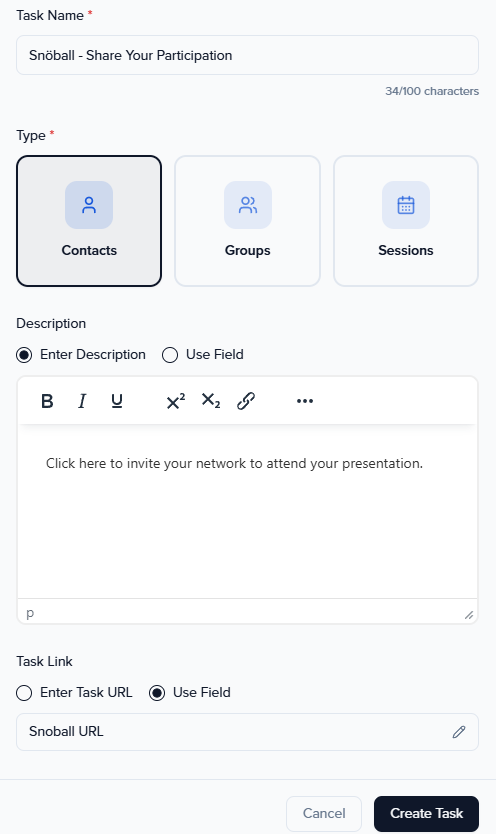
Within the pop-up modal, create a task that references the following criteria:
- Task (Name): Snöball - Share Your Participation
- Contact Type:
- SPEAKERS: Select People
- SPONSORS: Select Groups
- Description: Example descriptions can include: “Click here to invite your network to attend your presentation.”
- Task Link: Select Use Field. Within the pop-up window, locate and select the field you previously created (Snoball URL).
-
Ensure to select the Create Task button once you have completed creating your task.
Assign Snöball task to portal
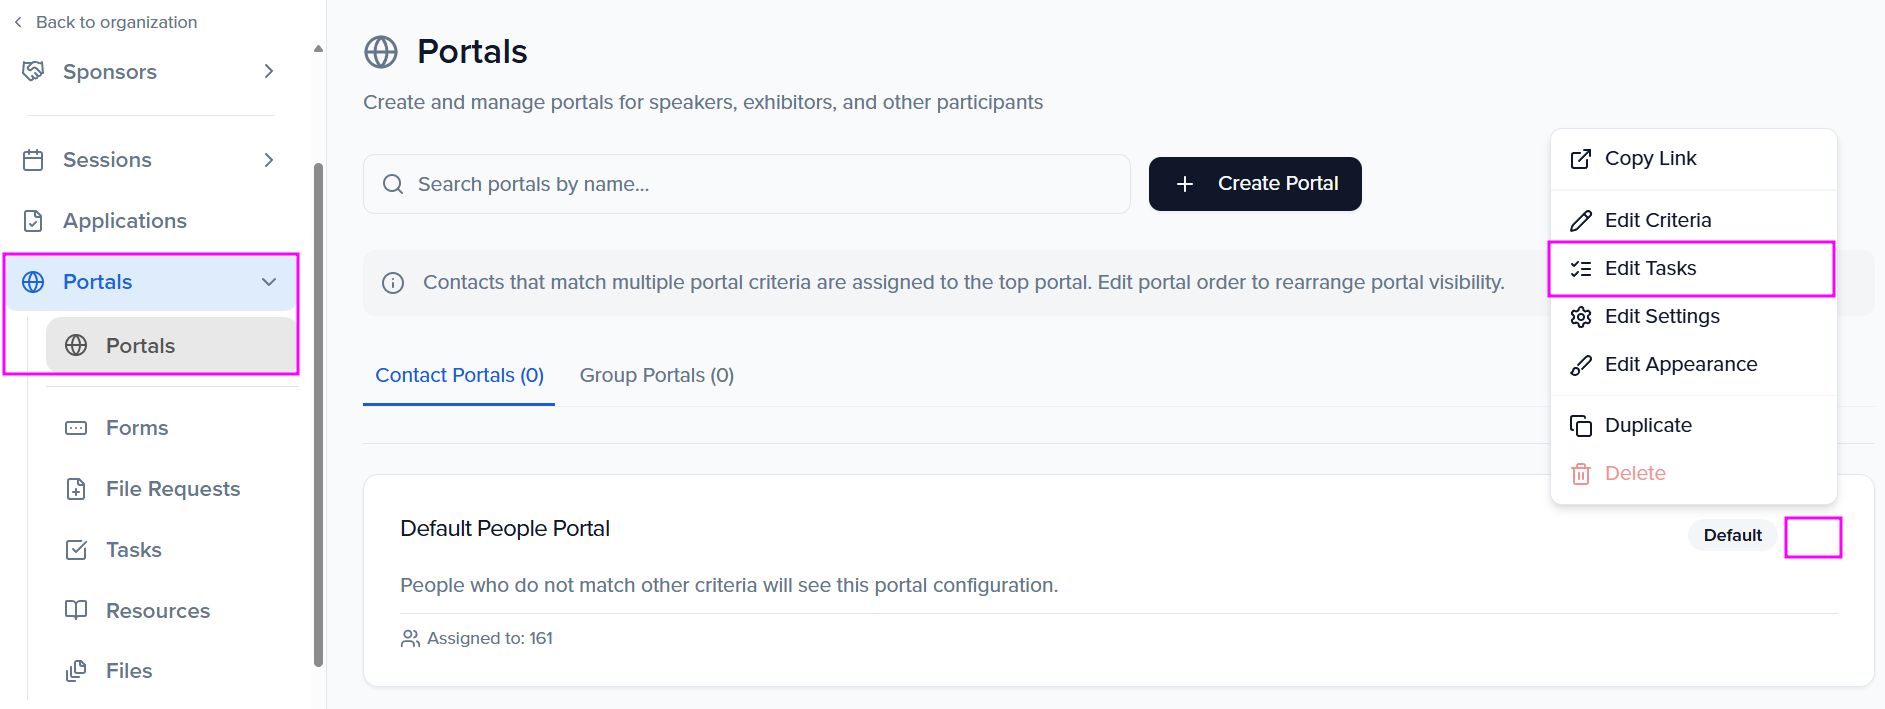
Section titled “Assign Snöball task to portal”Once you have created your task, the task will need to be assigned to the portal(s) your event contacts have access to.
-
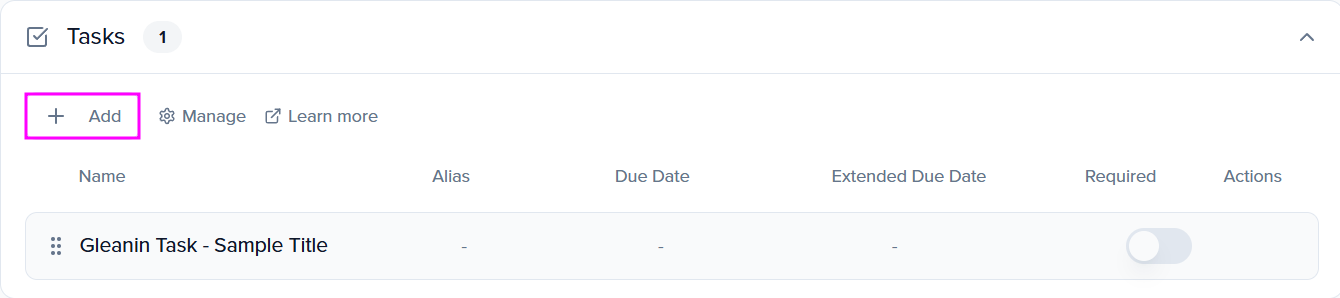
Within the Tasks widget, select the Add button to open a pop-up window. This will show any tasks you have created to select and assign to your portal.
-
Once the tasks have been assigned, you can edit additional settings by selecting the pencil under “Actions”.
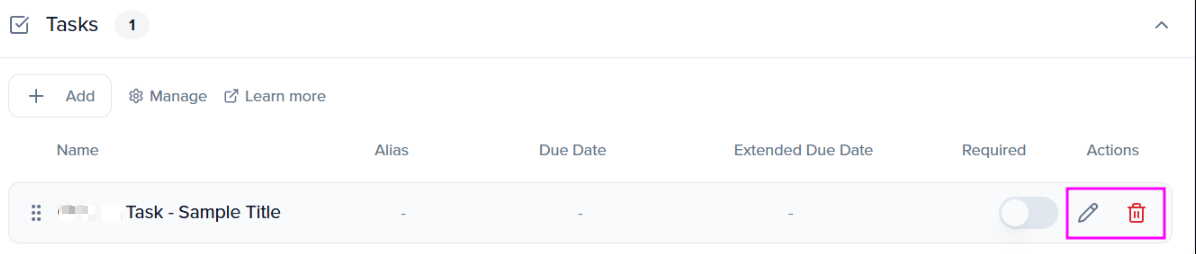
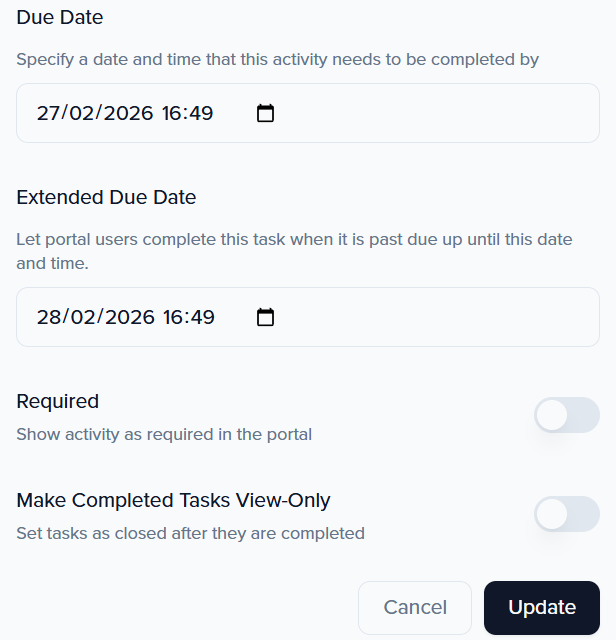
- Alias: Adjust the name of what the task will be listed as in the portal
- Required: Tasks can be marked as required by toggling this button on. This action can also be done from the portal main menu.
- Due Date: Assign a due date to each task that the portal user can track.
- Extended Due Date: Allow task completion beyond the regular due date.
-
Once complete, ensure to click the Update button in the pop-up window.
Portal View How to view a portal as an Admin
Section titled “Portal View How to view a portal as an Admin”