

Create a session
Sessions reach Sessionboard in one of two ways: a speaker completes your session submission form, or you add the session yourself. This page covers adding one yourself, as an event admin, without a speaker filling out the form.
The sessions list
Section titled “The sessions list”Open Program → Sessions. Every session in the event is one row. The tabs across the top are the statuses — All Sessions, Accepted, Accept Queue, Pending, Decline Queue, Declined, Withdrawn, Drafts — and the Source column tells you whether a session came in through a form or was added by hand.
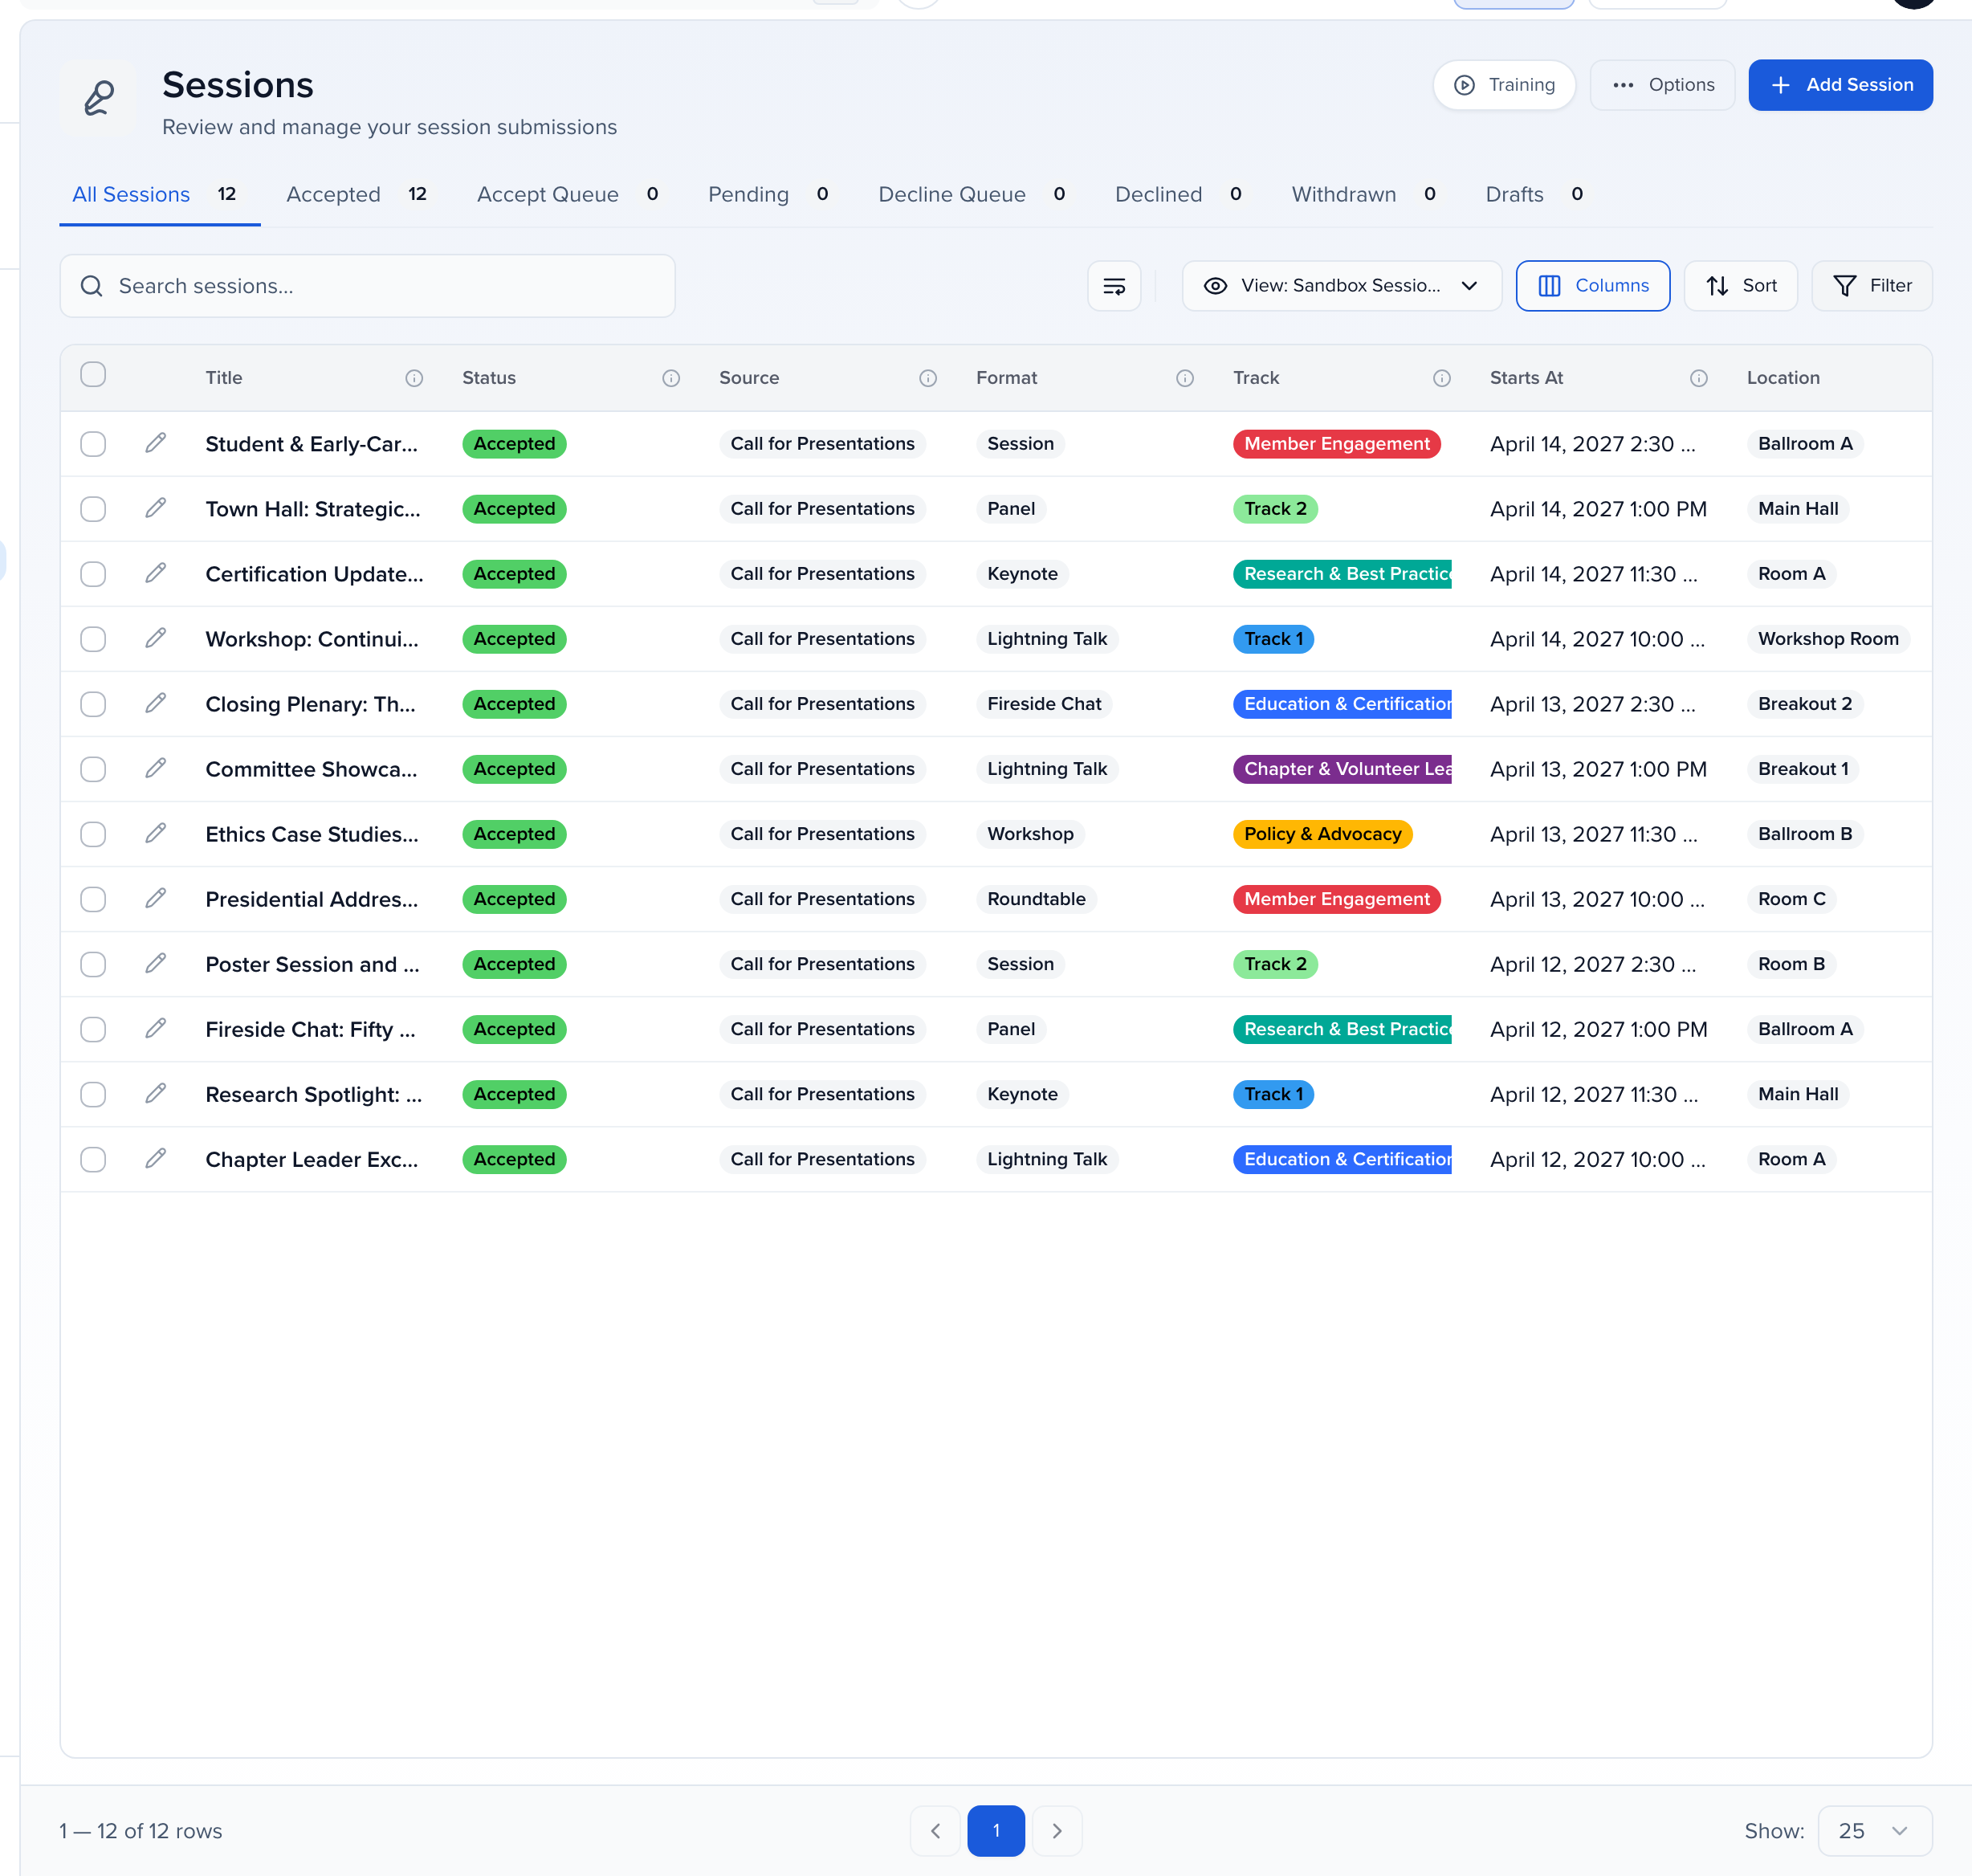
Add a session by hand
Section titled “Add a session by hand”Open Add Session
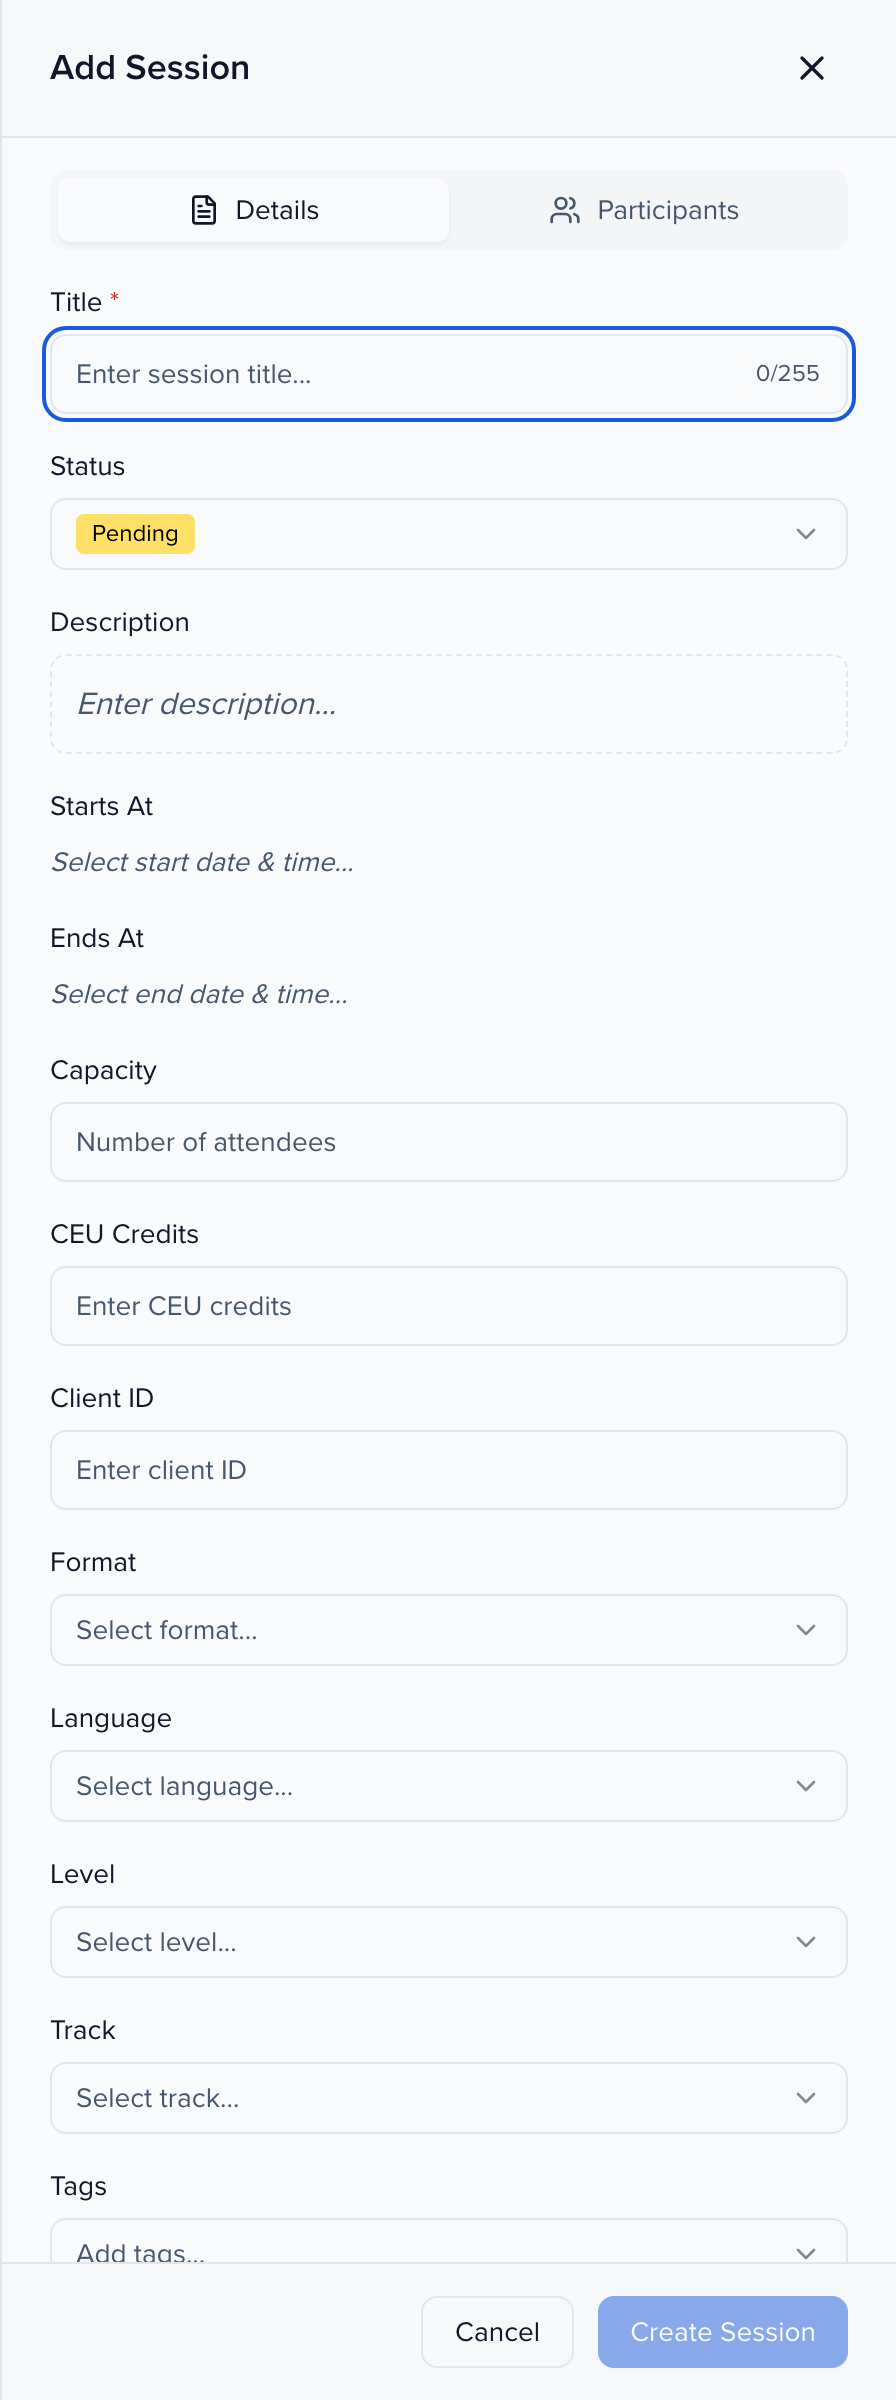
Click Add Session at the top right of the Sessions list. A panel slides in from the right with two tabs.
Details
Title and Status are the only two you must fill. Then description, Starts At and Ends At, Capacity, CEU Credits, Client ID, and the program vocabulary — Format, Language, Level, Track, Tags — and a location. Every dropdown here is populated from program settings. The Starts At and Ends At pickers open on the event’s month and mark the event’s days (in the event time zone); other days stay available.
Participants
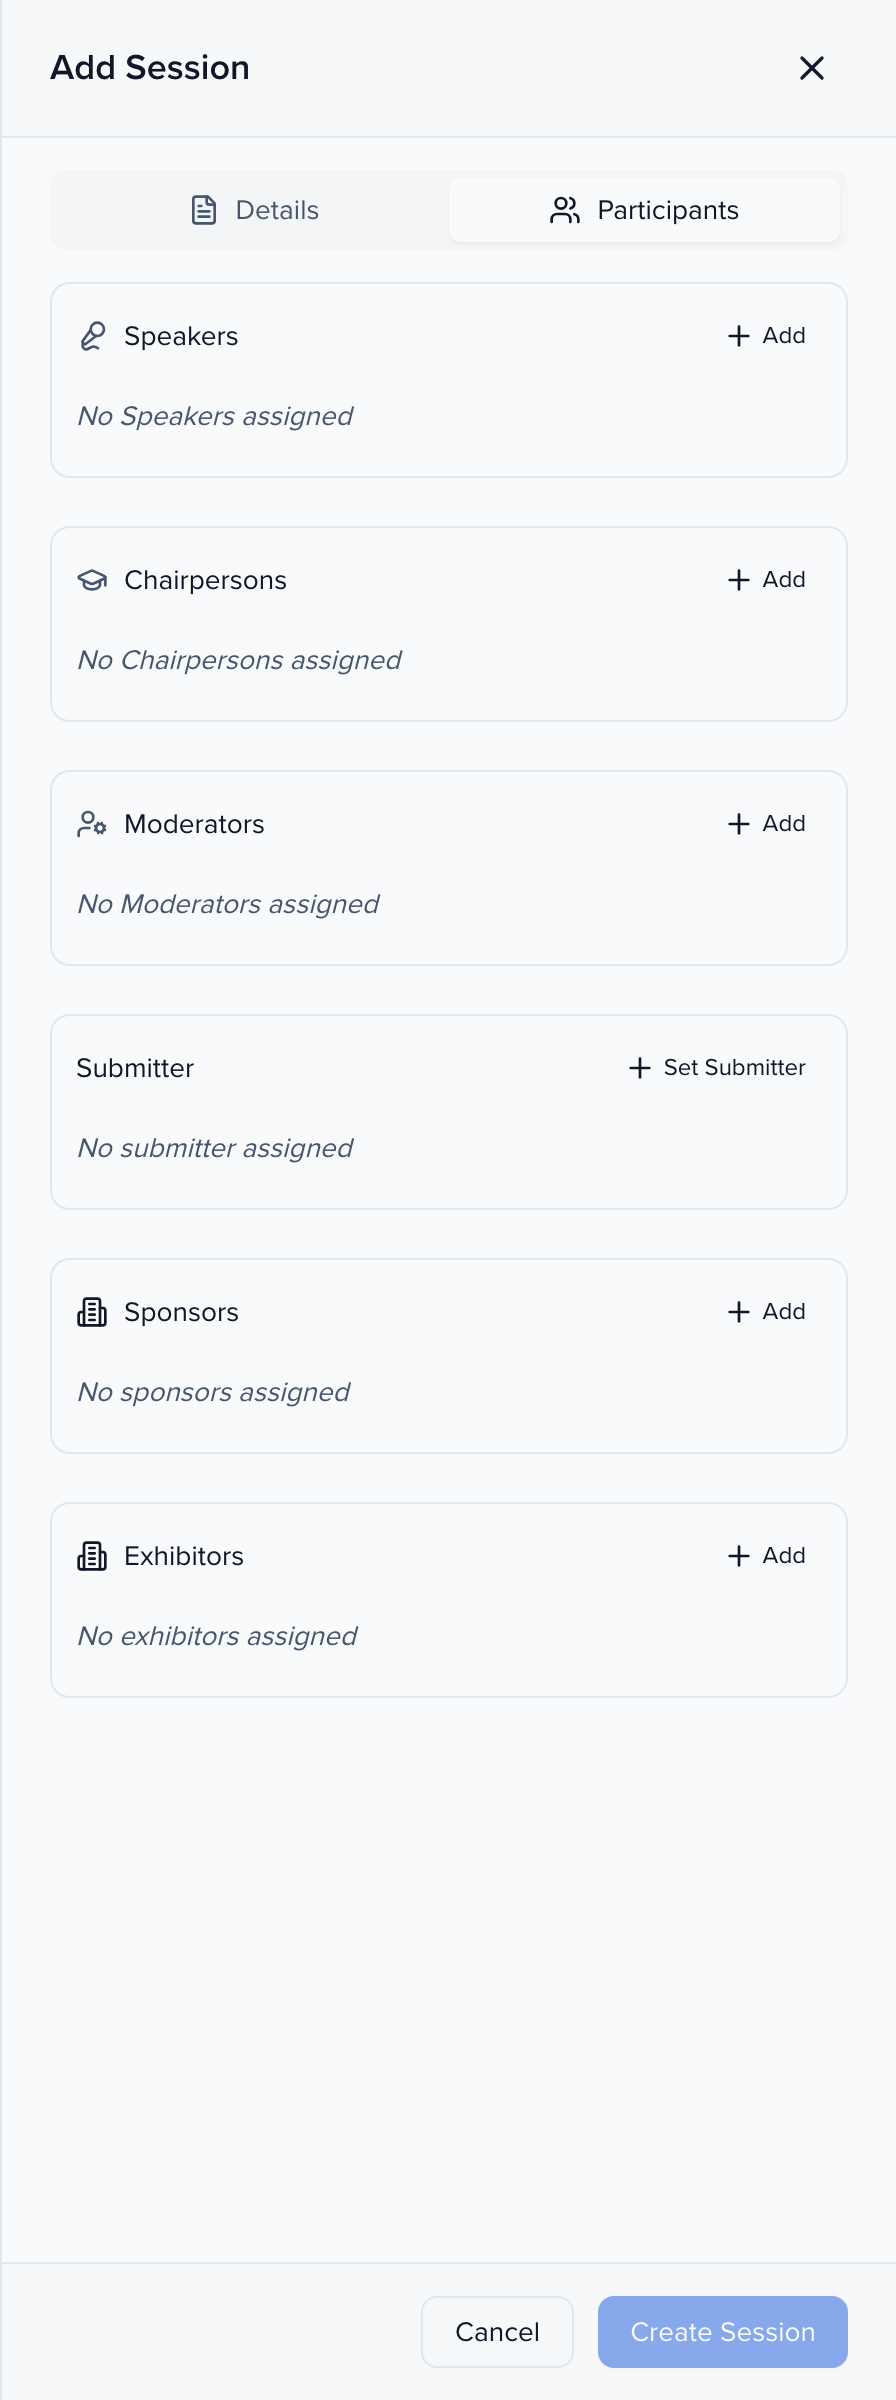
Who’s on the session: Speakers, Chairpersons, Moderators, the Submitter, Sponsors, and Exhibitors. Add on each block searches your contacts.
Create Session
Click Create Session. The new session appears in the list in the status you chose, with Source showing it was added by an admin.
Custom fields
Section titled “Custom fields”The Add Session panel takes the standard fields. To fill in your custom fields:
- Create the session.
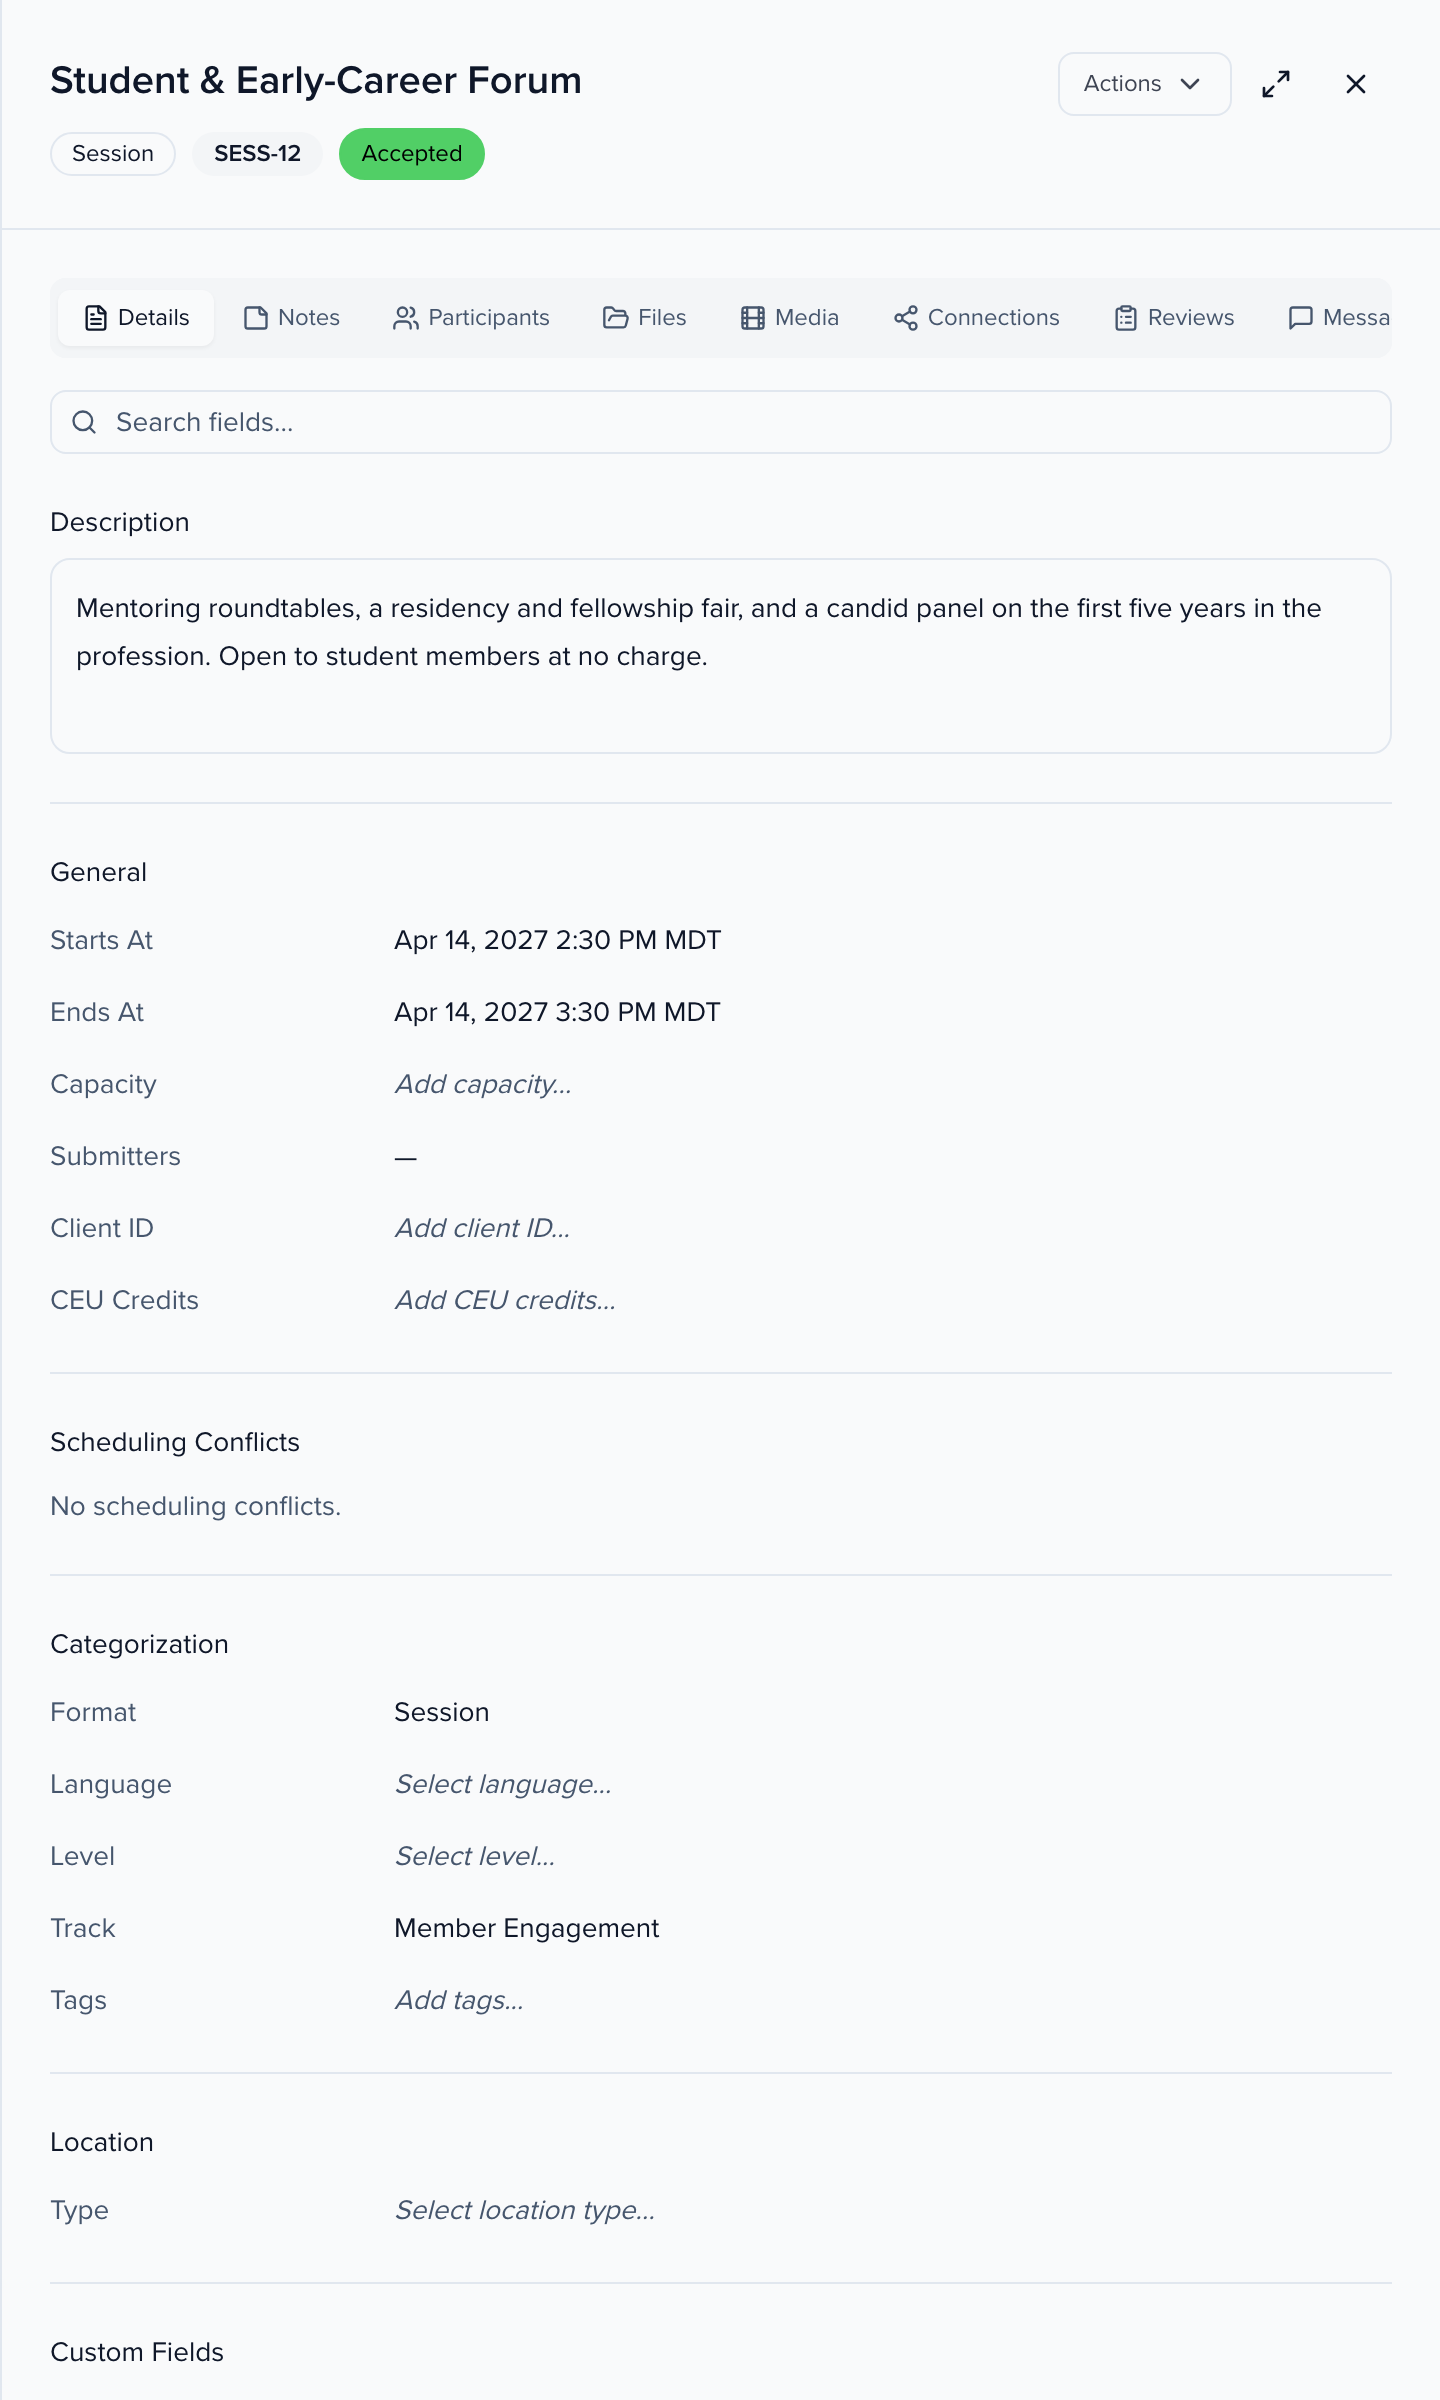
- Click the pencil on its row to open the session editor. The tabs across the top are everything about the session — Details, Notes, Participants, Files, Media, Connections, Reviews, Messages, Activity. Search fields at the top finds any field on the page.
- Custom Fields sit at the bottom of the Details tab. Click a value to edit it in place; each edit saves.
Delete or restore a session
Section titled “Delete or restore a session”To delete one session, open it and choose Delete Session. To delete several, select their rows on Program → Sessions and delete them together. Deleting moves the session to Deleted: it leaves the sessions list, reports and portals, but it is not erased. Whether a connected integration removes it too depends on that integration and its settings (some remove deleted sessions only when you turn that on, some need you to delete it there by hand), so check the integration’s article. Deleting a parent session deletes its sub-sessions with it.
Deleted sessions are not restored from inside your event. To get one back, email support@sessionboard.com with the event name and the session title. Support restores it with its details, participants and reviews as they were, and brings back the sub-sessions that were deleted with it. A sub-session deleted on its own before its parent stays deleted until you ask for it by name. Sync the session again to connected integrations if it was removed there. A session can’t be restored while its event is deleted, so support restores the event first.