

Create sponsor groups & contacts
A sponsor in Sessionboard is a group — the company record, with its tier, logo, website and description — and the contacts attached to it, each with their own portal login. Most sponsors arrive through the sponsor intake form, which creates the group and its first contact in one go. This article covers doing it yourself: adding a group, attaching people, and letting them in.
Video transcript
Exhibitors and sponsors. Speakers are people. Exhibitors and sponsors are companies, and a company brings a booth, a logo, a contract, and usually more than one person who needs to log in. So Sessionboard treats them as groups. A group is the company record, and contacts attach to it. Both live in the CRM section of the sidebar, exhibitors and sponsors each with their own list and their own intake form.
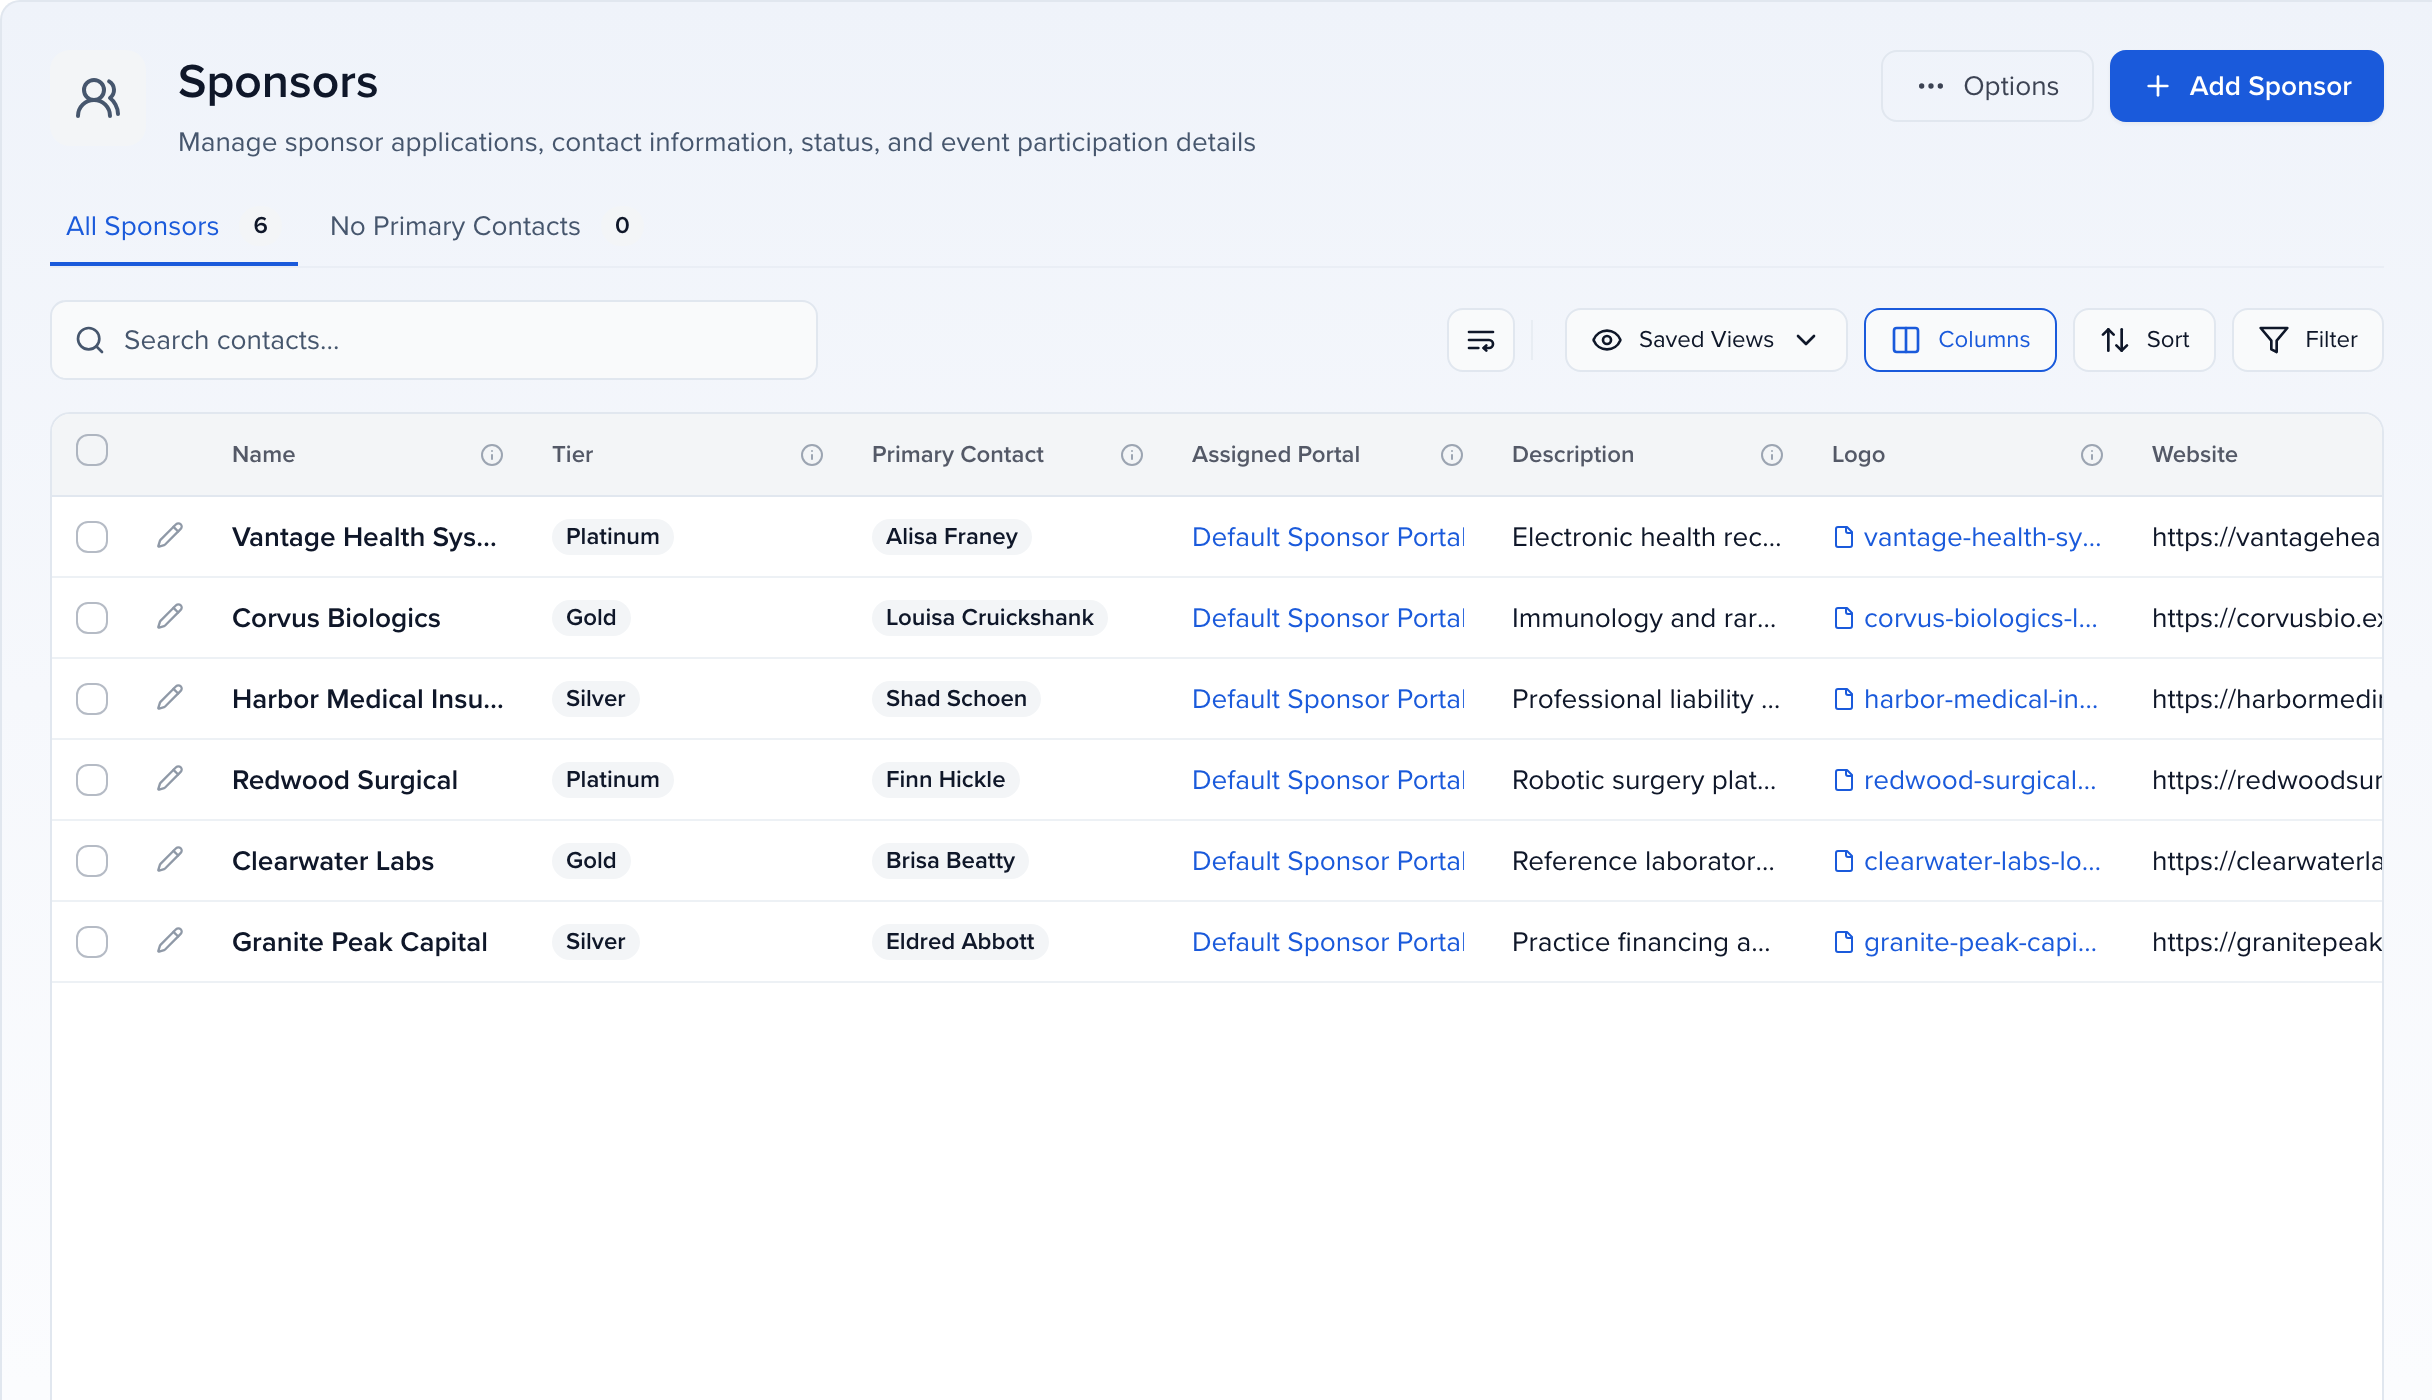
All exhibitors. One row per company. Name, the primary contact, which portal the group has been assigned, then the profile fields, website, address, phone, description, logo, and social links. Same grid as everywhere else, so saved views, columns, sort and filter all work the way you’d expect. The second tab is the useful one, groups with no primary contact yet, which is your list of companies nobody can log in for.
Sponsors is the same list with one extra column, tier. Platinum, gold, silver, whatever your prospectus calls them. Filter by tier and save the view, and you’ve got all gold sponsors as a one-click list you can email, text, or assign tasks to. The pencil at the start of a row opens the profile.
The sponsor profile. Logo, name, and which portal they’re on across the top, and six tabs. Profile is the company itself, tier, description, contact information, social links, and any custom fields you’ve added, here a booth number and whether the contract is signed. Every value is editable in place. Notes and activity are your team’s history with them, messages is what’s been sent, and program is the events they’re part of.
CRM is the people. This company has one contact so far, marked primary, and add attaches more, either someone already in your contacts or a new person. Everyone attached shares the group. Each contact gets their own login, and they all see the same tasks, files and information, so a marketing manager and a booth lead can split the work without sharing a password.
Actions is where you act on the group. Send an email or a text to its people, copy the portal link, view the portal as they’d see it, and manage portal access. That dialog lists everyone attached who can’t log in yet, and give portal access sends them their invitation. When a sponsor writes to say a colleague needs to get in, this is the whole job, add the contact, give access, done.
Tiers. Rename these to match your levels or add new ones, and the count shows how many sponsors sit in each. Tiers matter beyond the label. A portal can be filtered to a tier, so gold sponsors see a task to upload their sponsored session slides and silver sponsors never do. Emails can go to one tier. And if levels change after a sale, an import updates a hundred sponsors at once.
The intake form is how sponsors put themselves in. Four steps to set up. Welcome and terms is what they see first. Group information is the company fields you want filled in. Contact information is the person filling it in, who becomes the primary contact. And notifications decides who on your team hears about it and what the confirmation email says. Copy link gives you the address to put in your sponsor contract or confirmation email. When a sponsor completes it, the group and the contact are created and they’re in the portal.
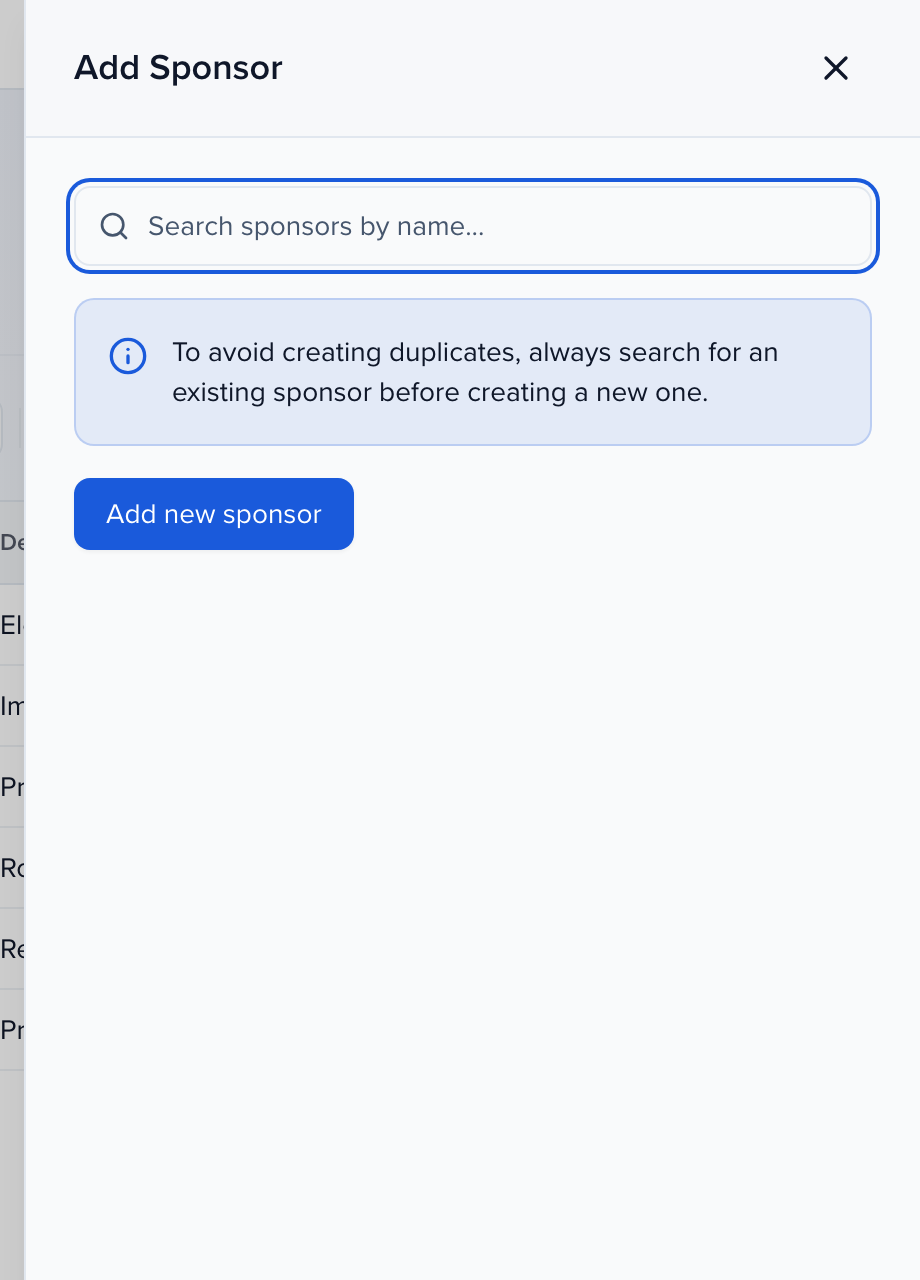
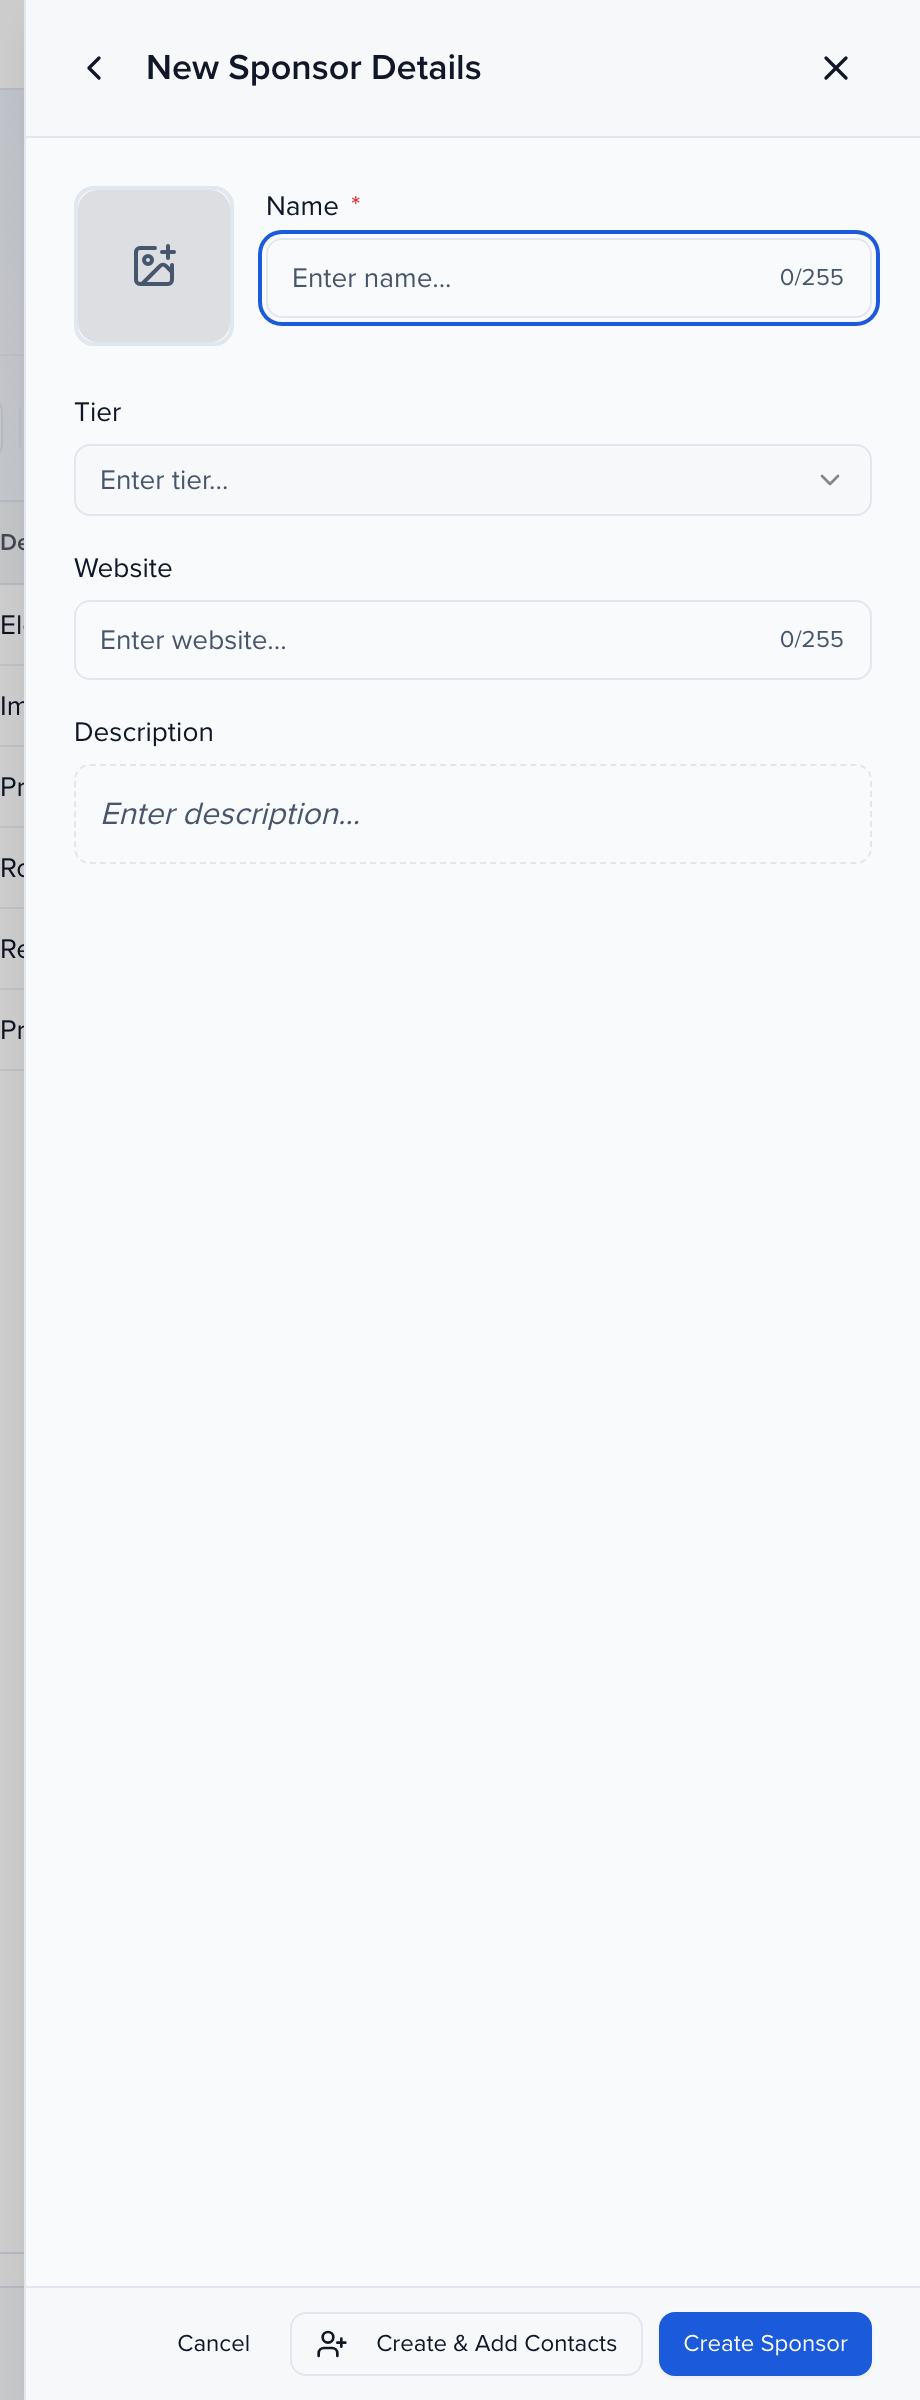
You can always add a group yourself. Add sponsor searches first, in case the company already exists in your organization from another event, so you attach it rather than duplicating it. Add new sponsor opens the company fields, and those fields are the group layout from record settings, so what your team fills in is up to you.
If you take one thing from this, it’s the shape. Company first, people attached, and everything else, tier, portal, tasks, hangs off the company. The Help Center has the exhibitor and sponsor articles under Sponsors and exhibitors. The Speaker portal video shows what a sponsor contact sees once they log in, and Users and permissions covers what your own team can do with these lists.
Why use it
Section titled “Why use it”The sponsor list
Section titled “The sponsor list”CRM → Sponsors shows one row per company: Name, Tier, Primary Contact, Assigned Portal, then the profile fields — description, logo, website, address, phone and social links. It is the same grid as your other lists, so Saved Views, Columns, Sort and Filter all apply, and selecting rows opens the bar with Edit, Send, Assign, More and Delete. The No Primary Contacts tab lists the companies nobody can log in for yet.
Add a sponsor group
Section titled “Add a sponsor group”Add Sponsor
Click Add Sponsor at the top right of the list.
Search first
The panel starts with a search across your organization, so a company that already exists from another event is attached rather than duplicated. Type the name; matches are grouped into sponsors already in this event and sponsors elsewhere in the organization. Tick one or more and click Add to Event.
Add new sponsor
If it is a new company, click Add new sponsor. New Sponsor Details asks for the Name, an optional Tier, Website and Description, plus a logo. Which fields appear here is the Group Fields layout under Settings → Record Settings → Layouts.
Create
Click Create Sponsor to save the group, or Create & Add Contacts to save it and go straight on to attaching people.
Add a contact to a sponsor
Section titled “Add a contact to a sponsor”Open the sponsor with the pencil on its row and select the CRM tab. Contacts lists everyone attached, with the Primary badge on the person who receives the group’s communications.
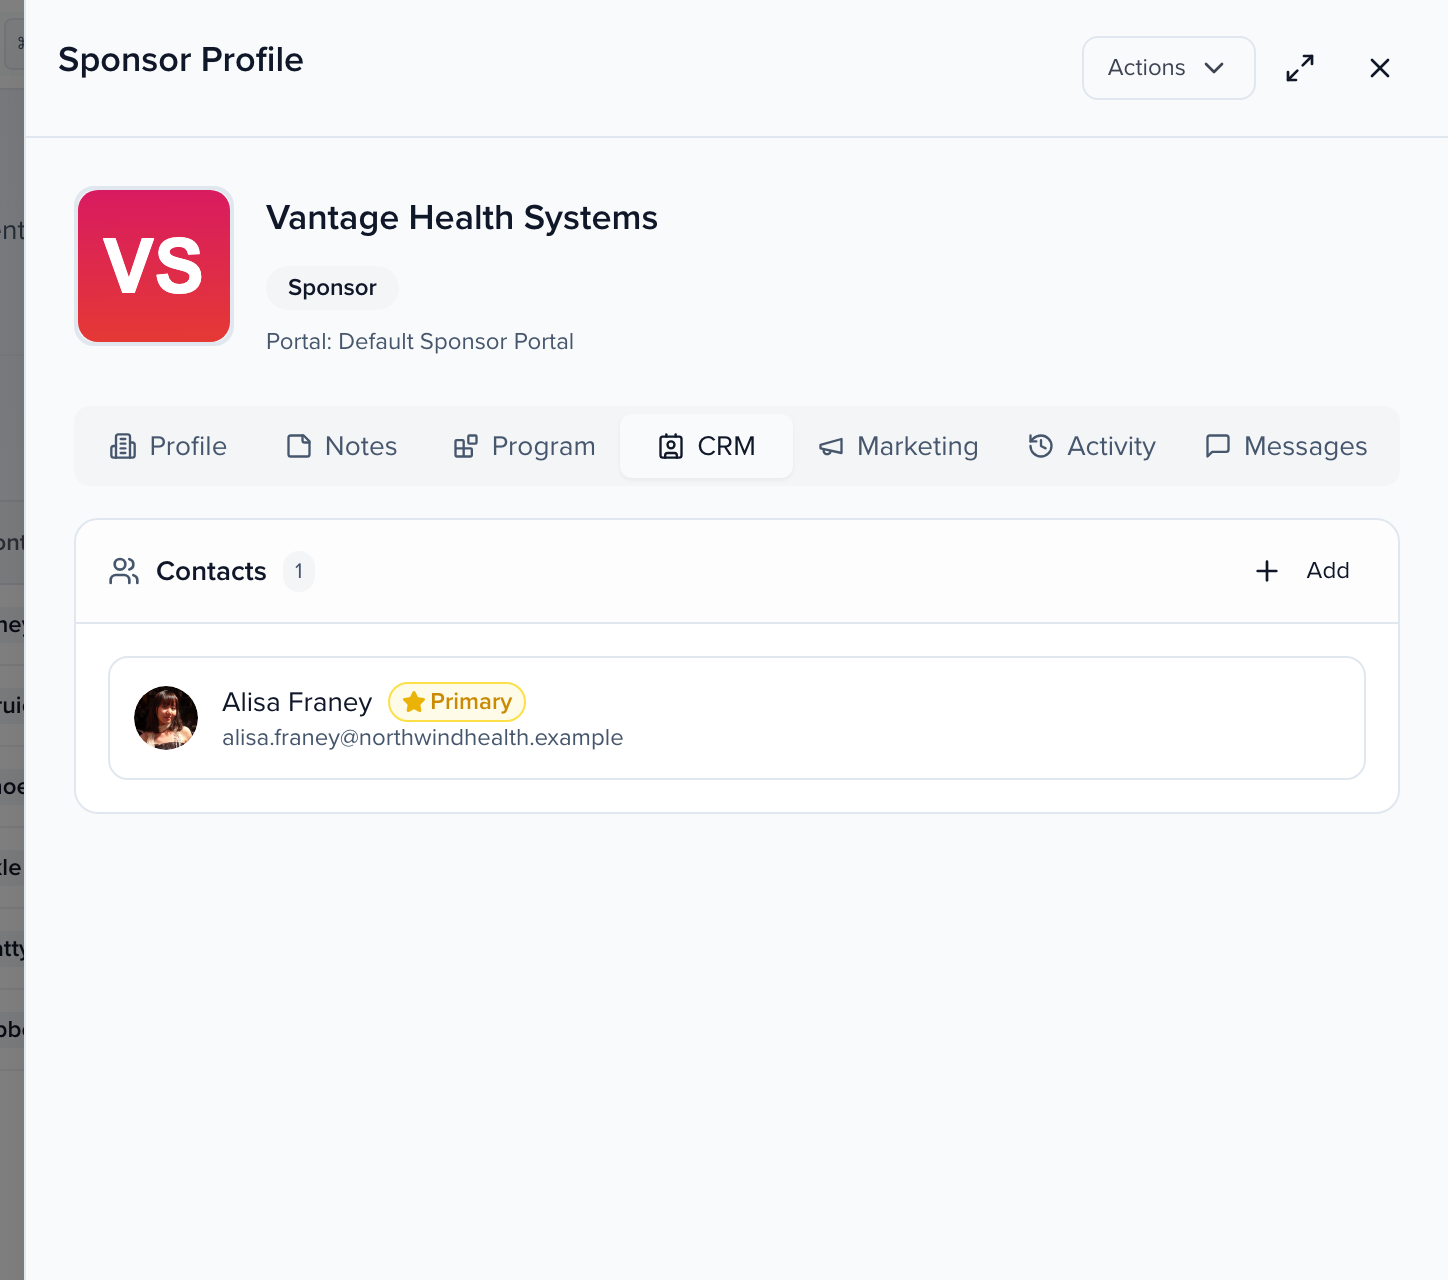
- Click Add. The search lists contacts already in the event — pick one to attach them.
- For someone new, click Create new contact, then Add new contact on the Add Contacts to … panel.
- Fill in First Name, Last Name and Email (mobile phone and biography are optional), tick Set as primary contact for … if this person should receive the group’s emails, and click Create Contact.
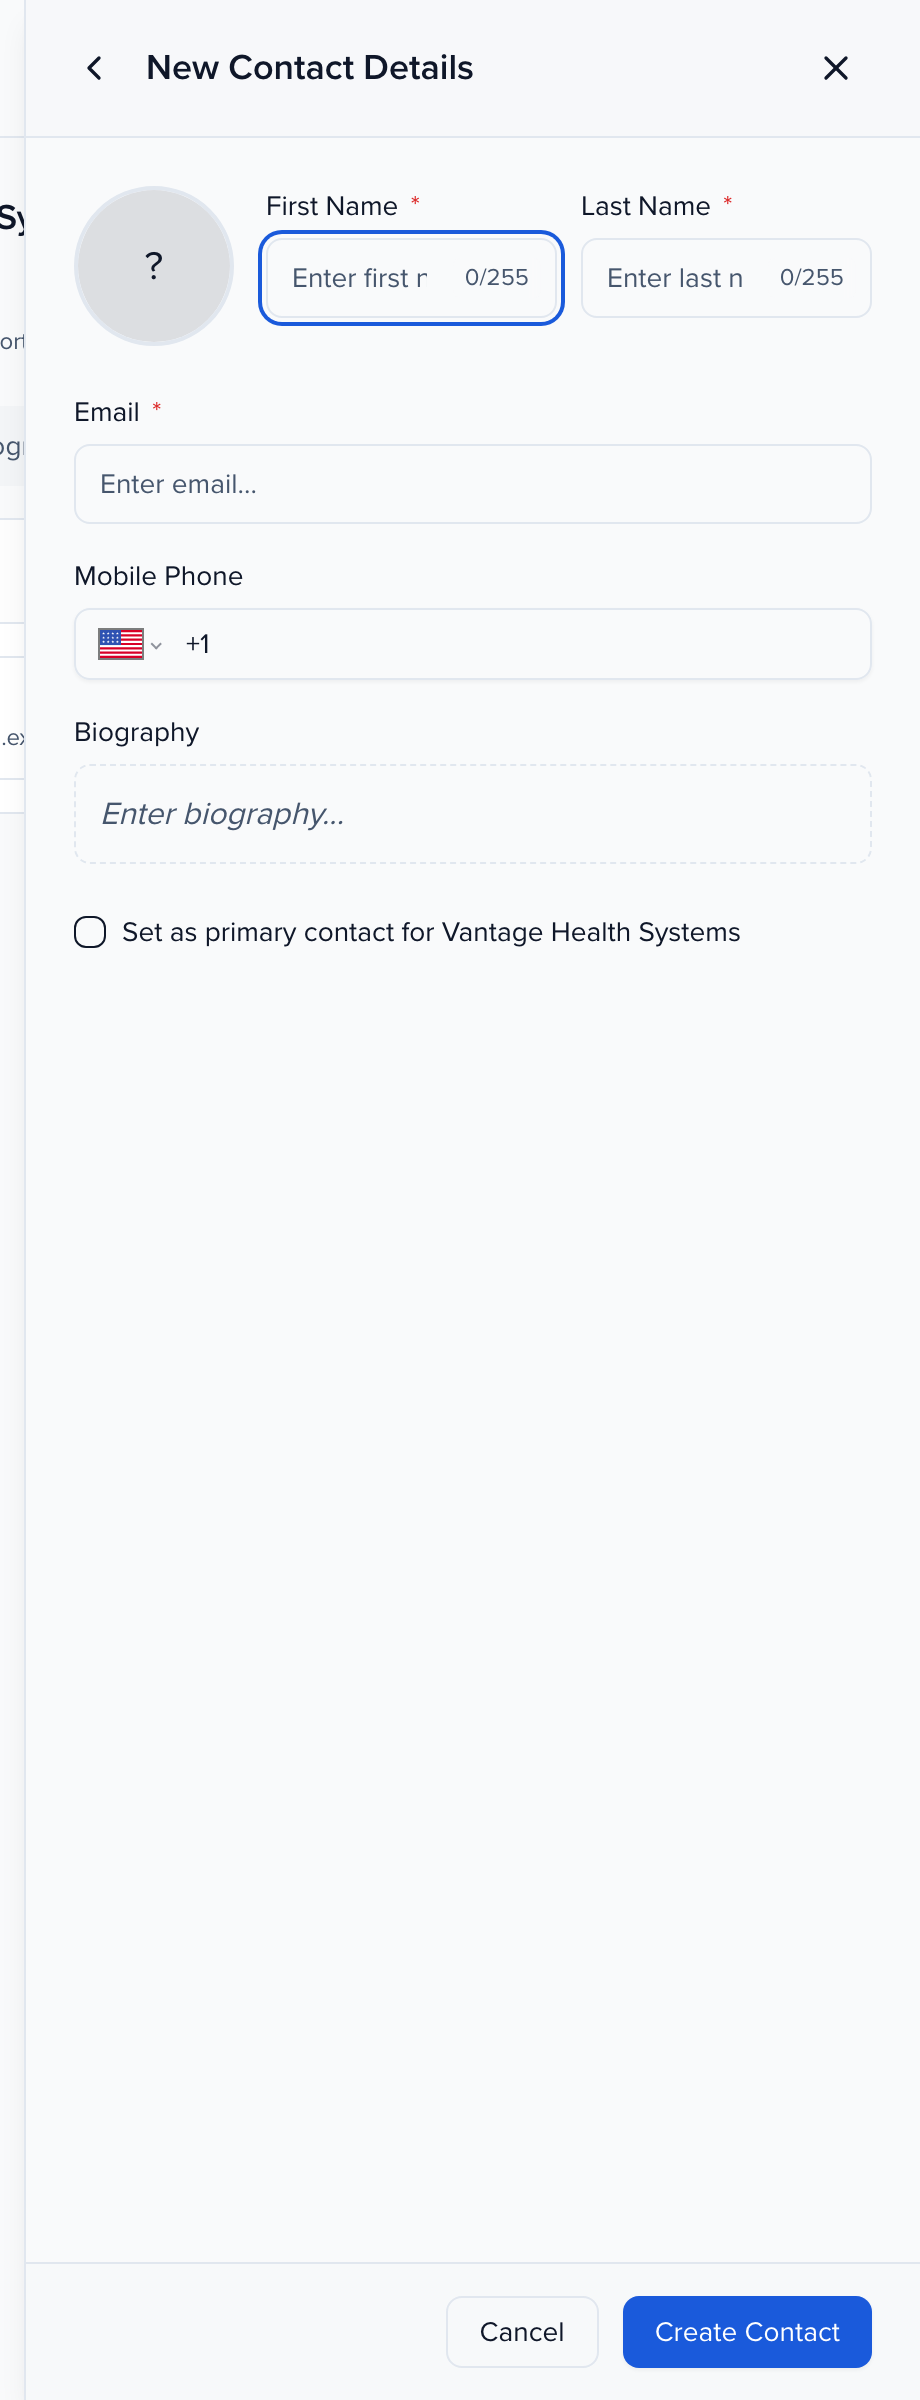
The contact is created as a sponsor contact, attached to the group, and appears in CRM → All Contacts like anyone else. Contacts work on every plan, with or without Sponsor Pro: Advocacy emails them the company’s share card and an agreement can be sent to the primary contact. Every contact attached to a group shares its tasks, files and information in the portal, so a marketing manager and a booth lead can each log in without sharing a password.
Give the contacts portal access
Section titled “Give the contacts portal access”Portal login for a group’s contacts is part of Sponsor Pro. Without it, Manage Portal Access, View Portal and Give Portal Login Access are unavailable, and adding a contact gives them no login.
Creating a contact does not send anything. When they should be able to sign in, open the sponsor, click Actions → Manage Portal Access. People without access lists the attached contacts who cannot log in yet; select them and click Give Portal Access, then choose Send Email — with an optional personal message — or Get Link to copy the invitation link and send it yourself.
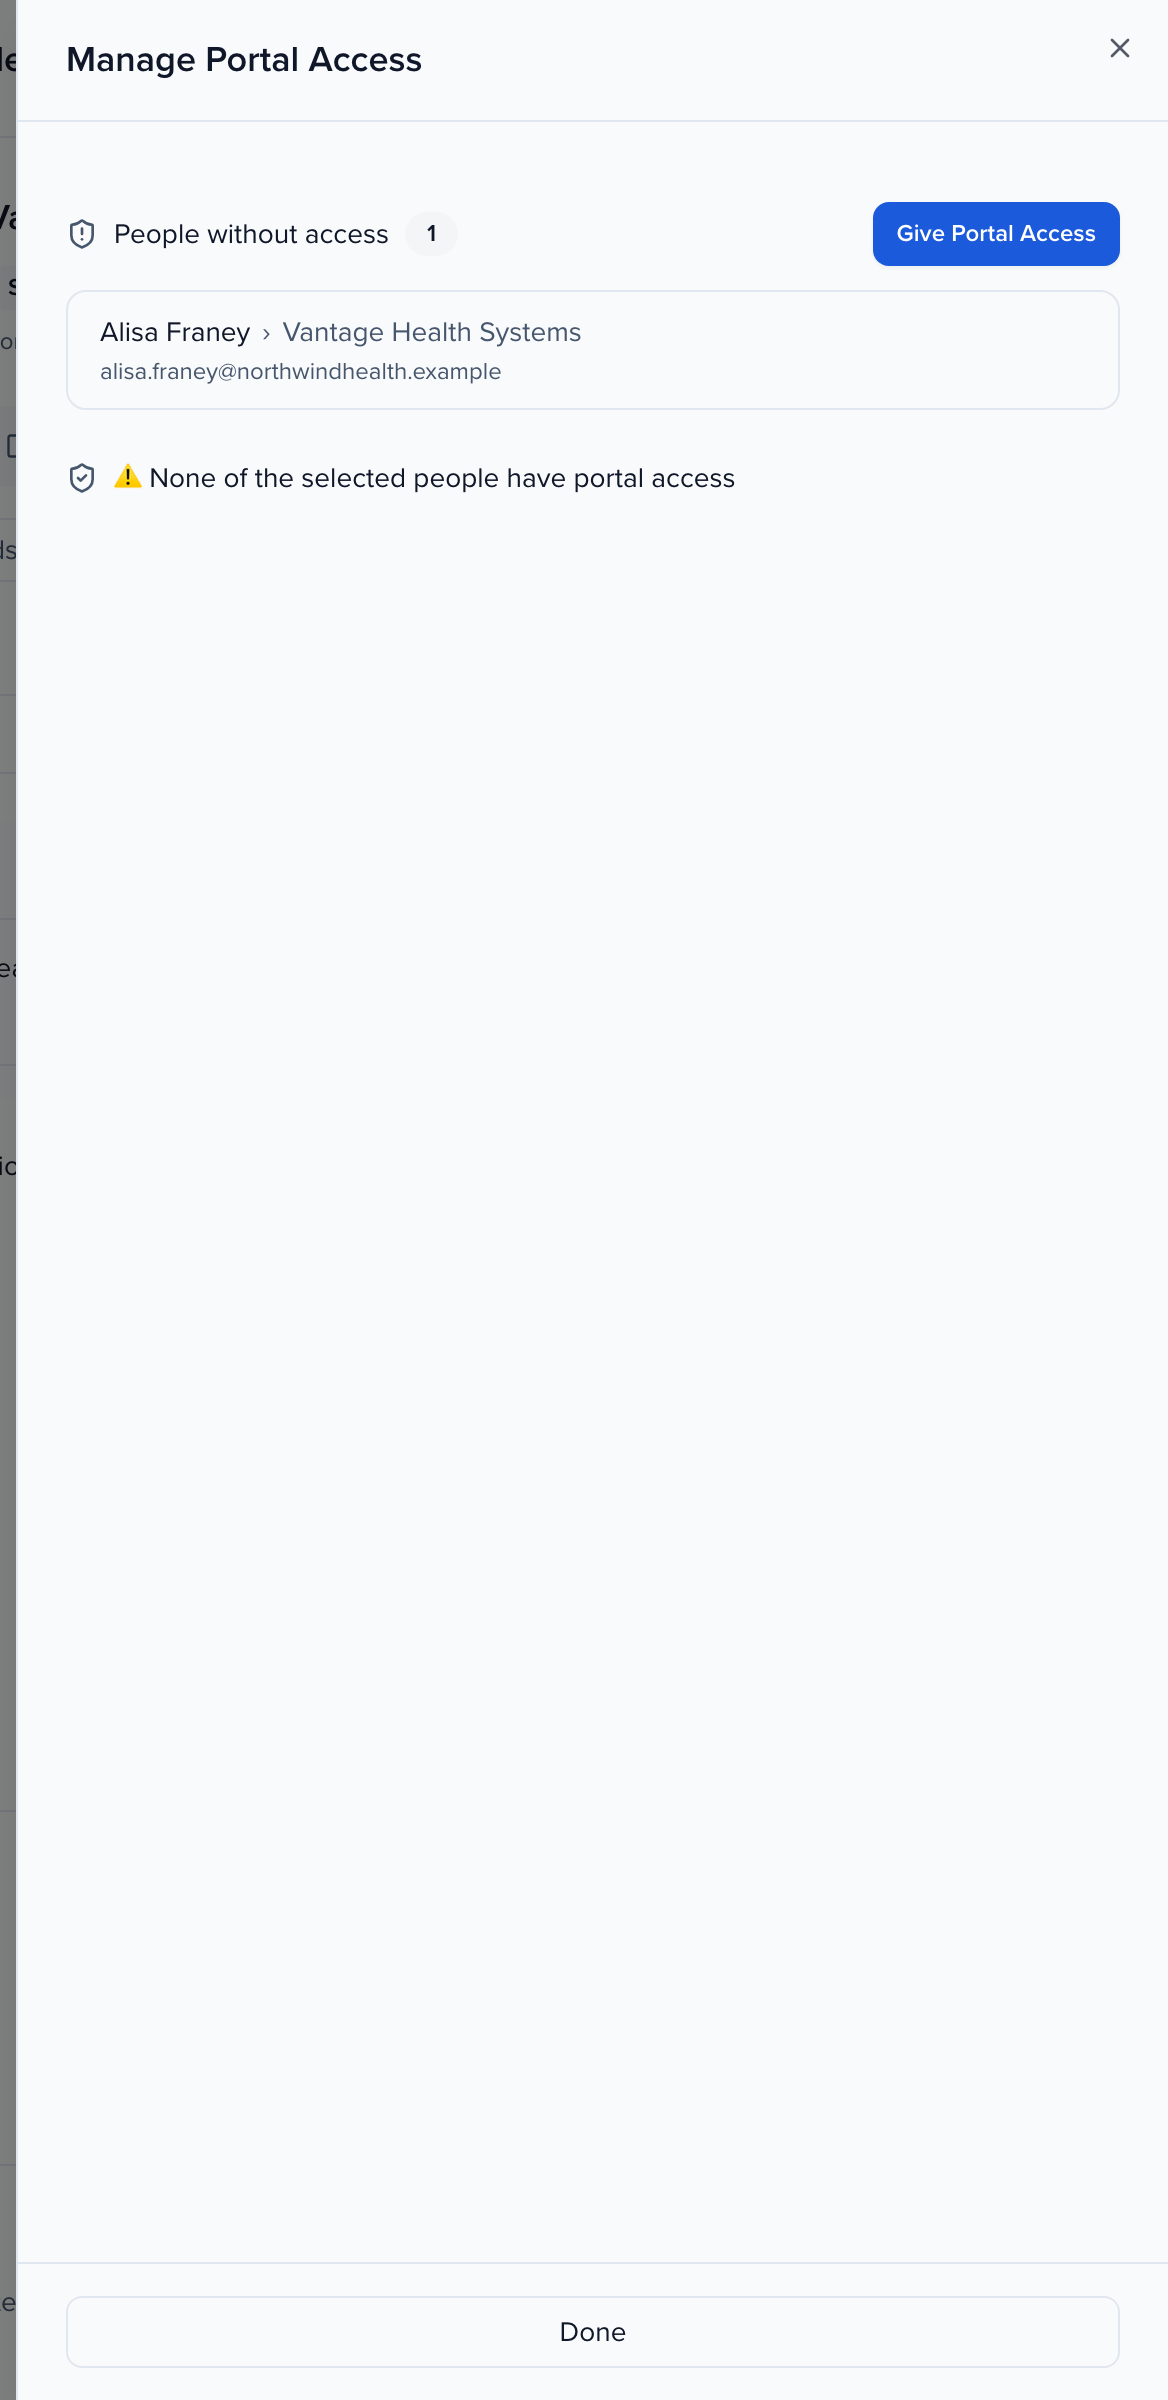
The same Actions menu has Send Email, Send SMS, Copy Portal Link and View Portal, which opens the portal as the sponsor sees it. Which portal that is shows under the group’s name as Portal: and in the Assigned Portal column — see Creating custom portals to point sponsors at a portal of their own.