Upload files & make comments
If Files is enabled for your event, you can upload supporting documents that will accompany your session. Read more below on how to upload your materials as well as communicate to the event admins through comments.
How to upload files
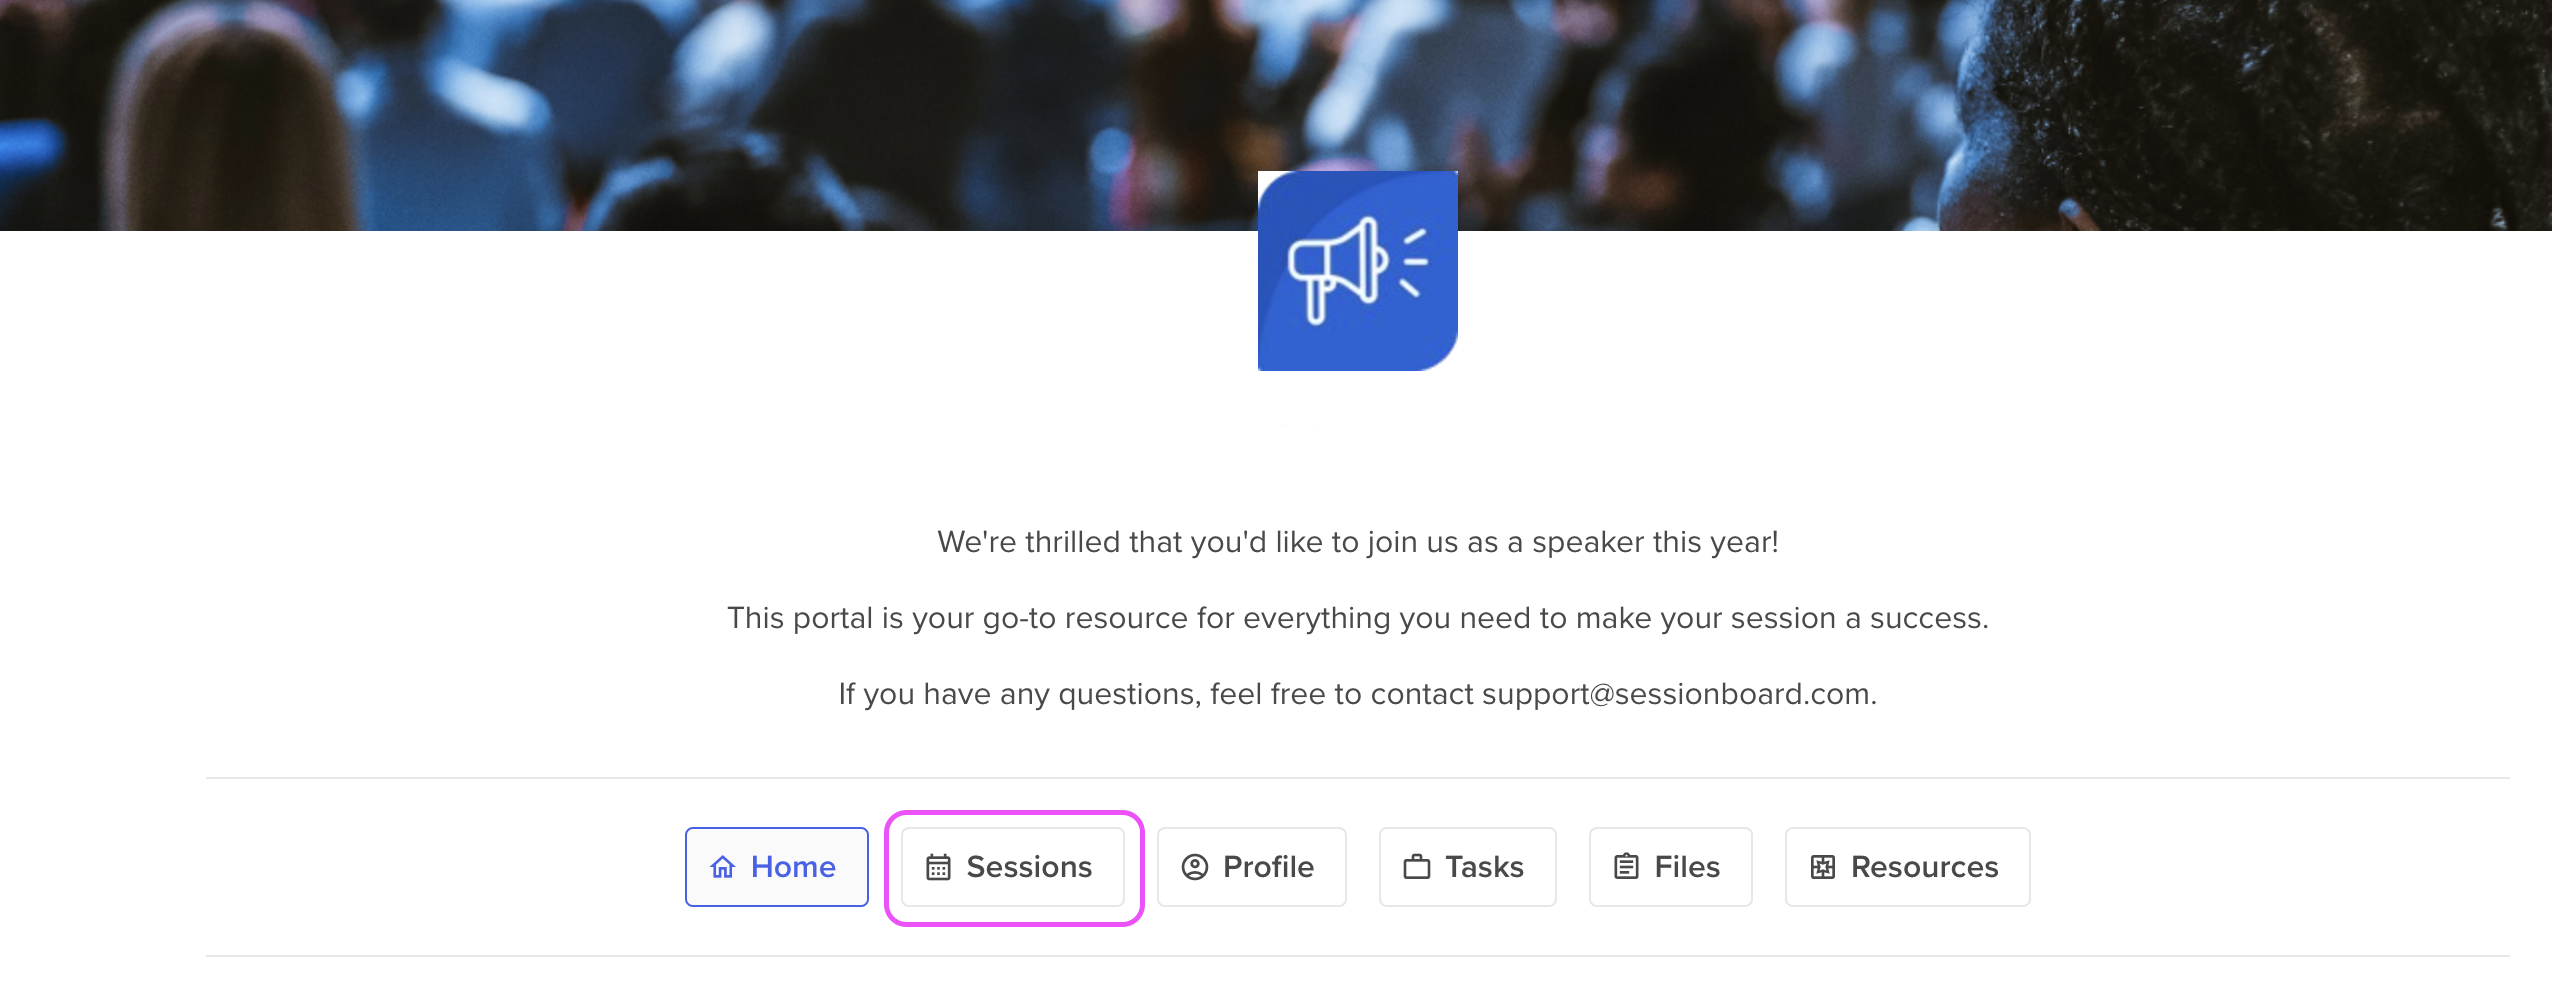
Section titled “How to upload files”- Select the button Submissions at the top of your portal.
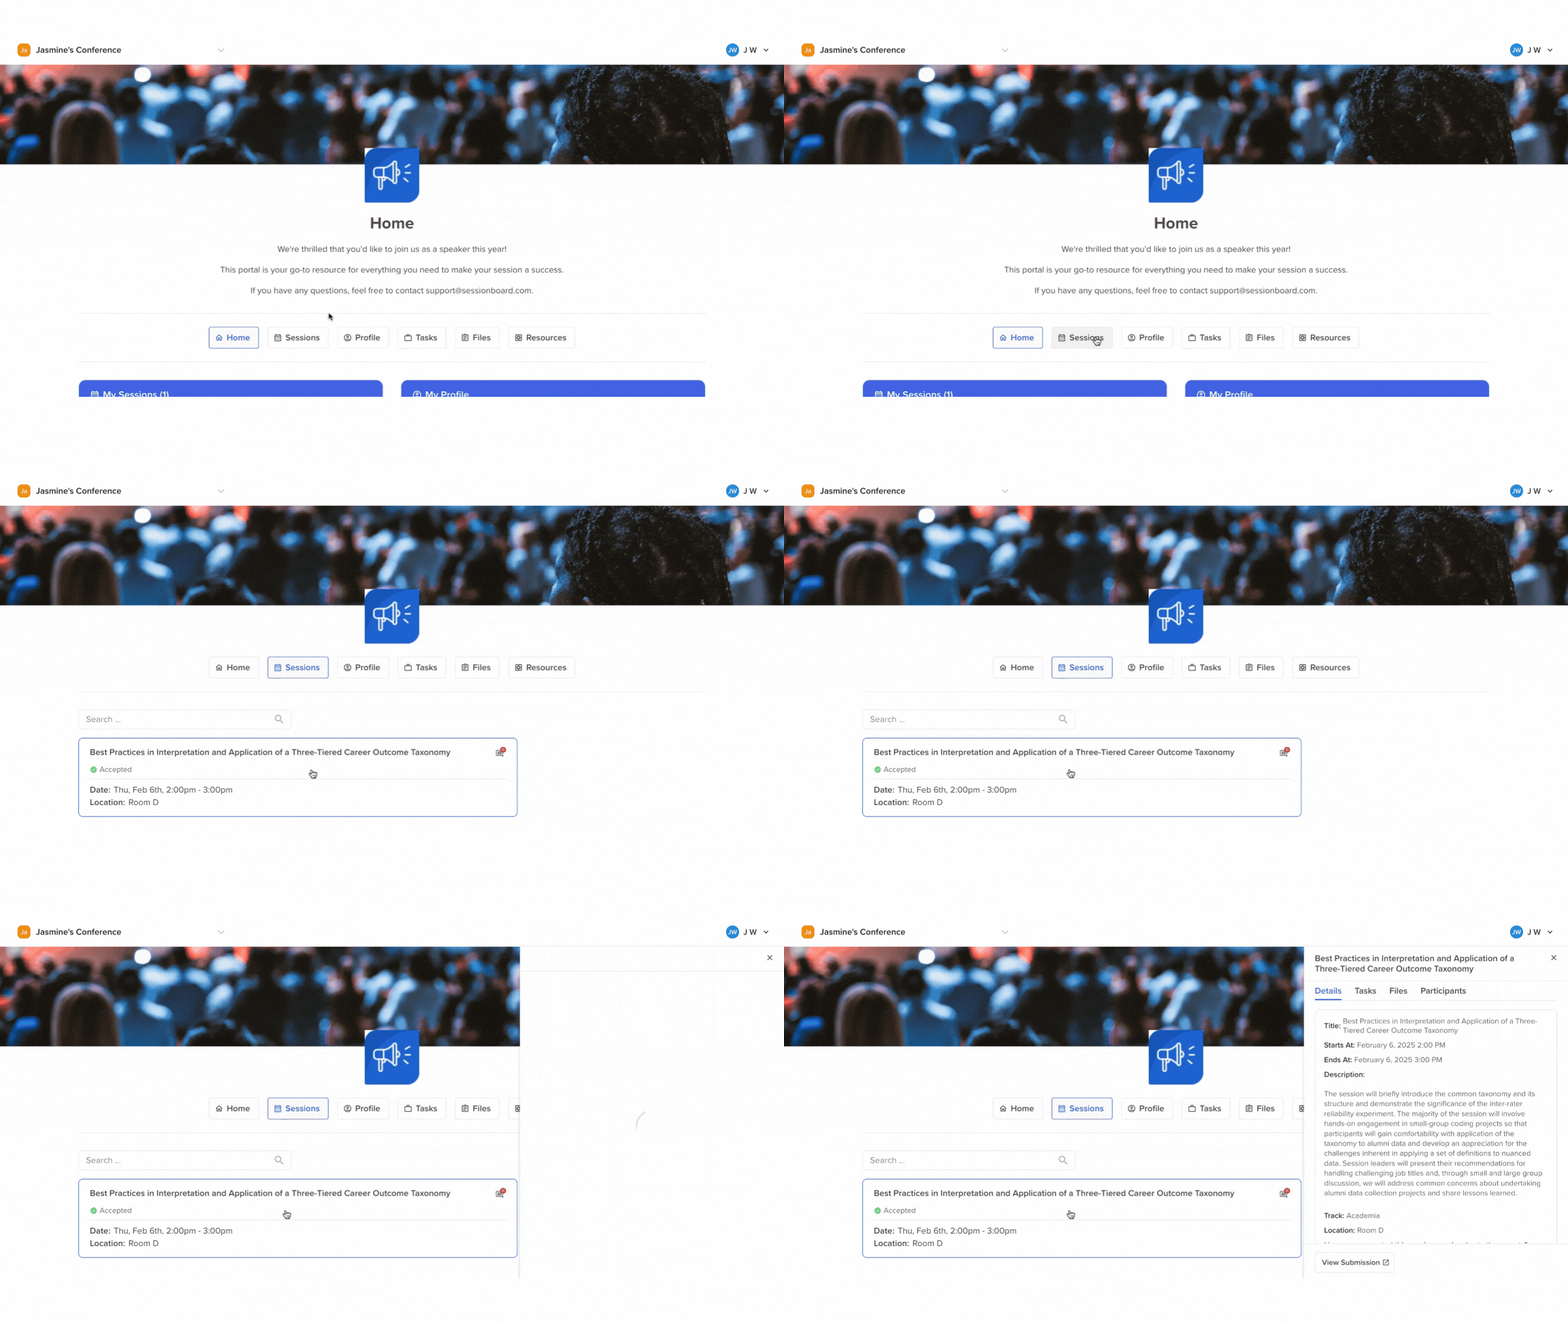
- Within the Submissions page, select the session you would like to upload content for to open the sidebar on the right side of the page.
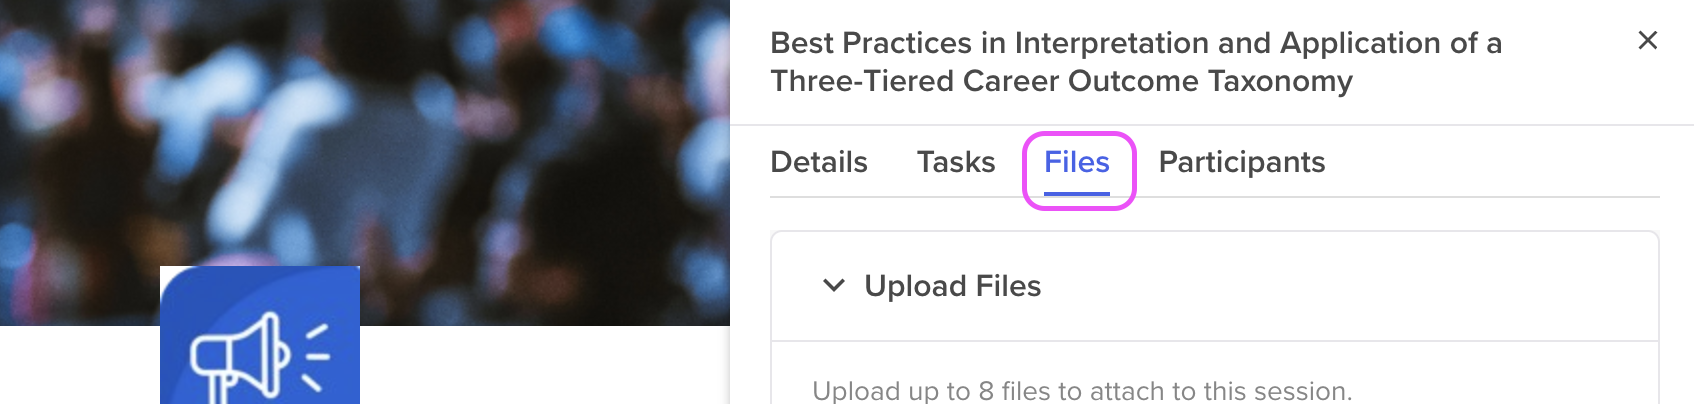
- Within the sidebar, select the Files button below the session name.
- Add your file by either dragging and dropping or selecting the file from your computer.
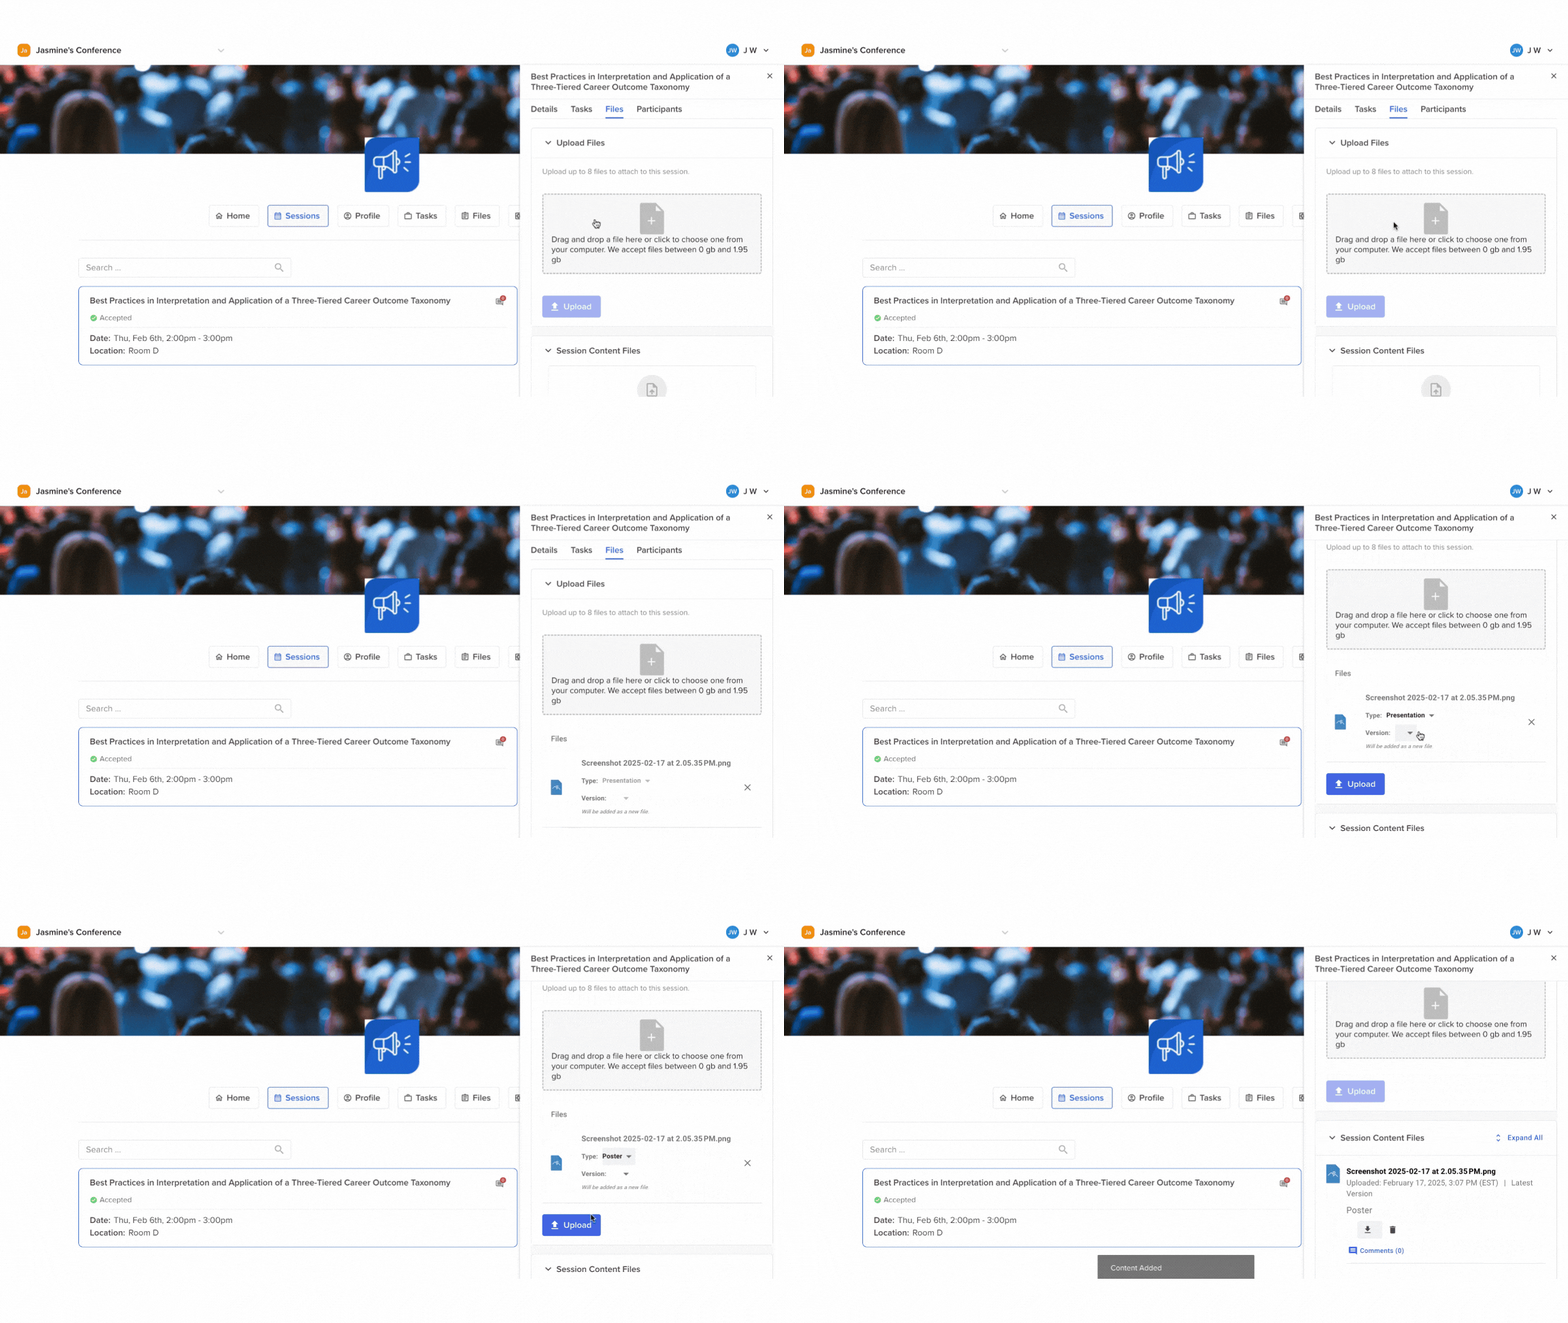
- Once you have added the file, you can adjust the file type and version type. Do not forget to click the blue Confirm Upload button once complete. If the session is already at its file limit, the pending row tells you to choose which file this revises — a brand-new file is not allowed, only a new version of one that is already there. That limit applies in the speaker portal, including when an event admin is using the portal. The Files tab in the event admin app is not held to it, so an admin uploading there sees no file counter and no at-cap prompt.
-
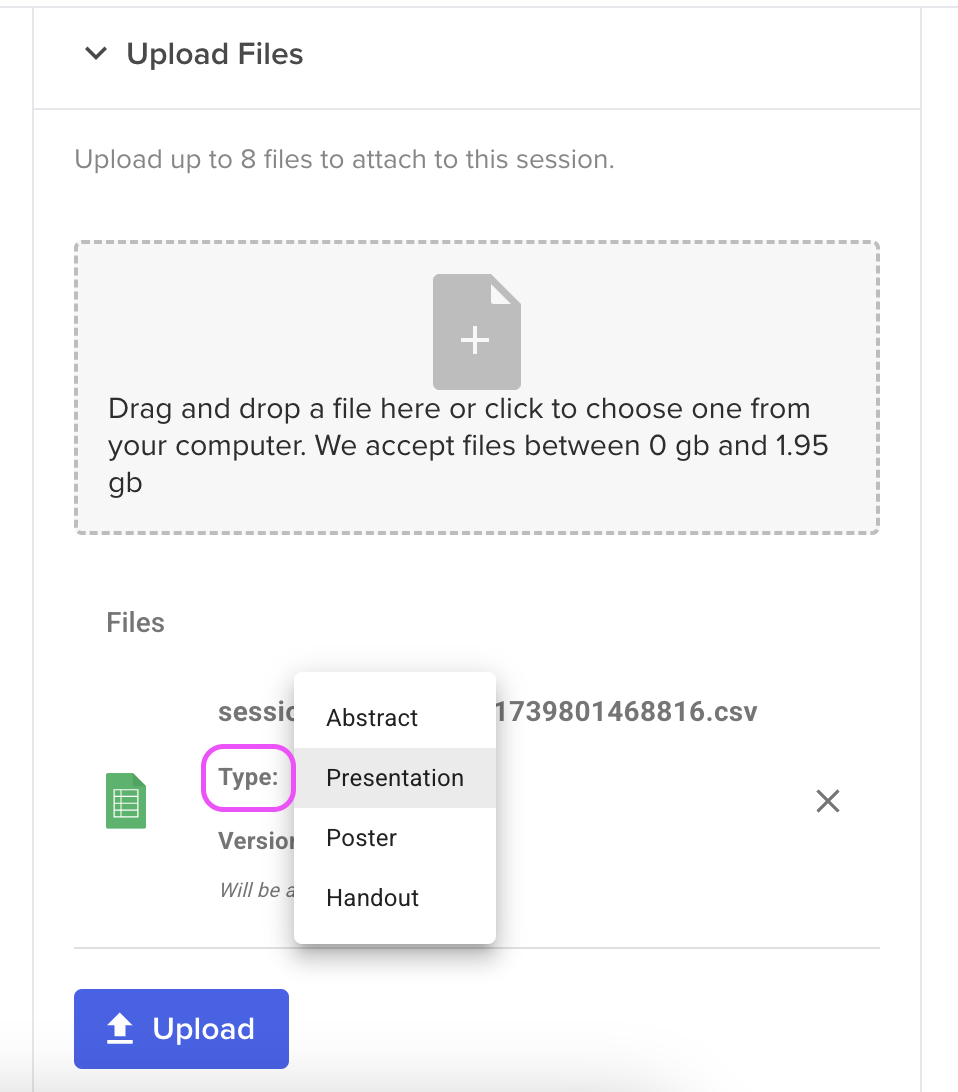
File Type: Once files have been uploaded, they can be assigned a content type. By default, this is set to Presentation; however, this can be changed to Poster or Handout to differentiate types of session content.
-
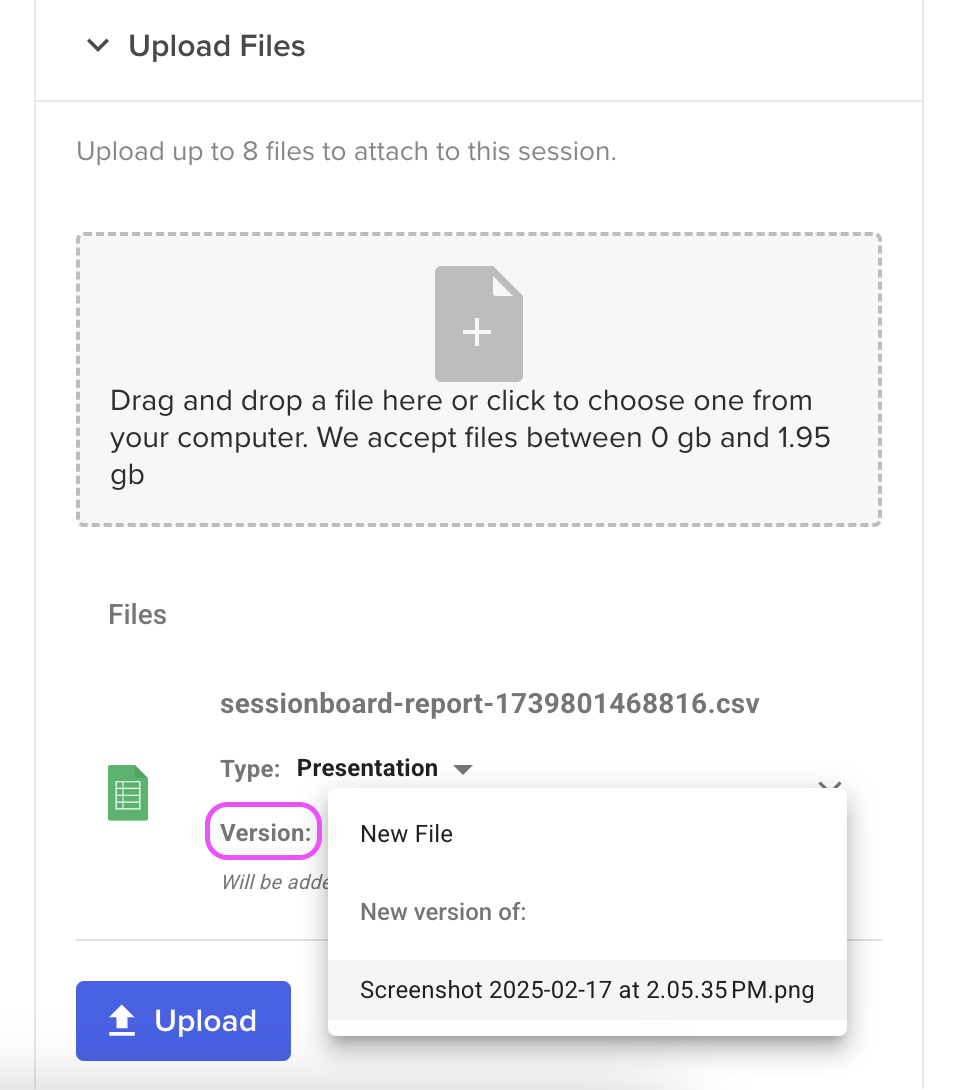
File Versioning: Files can also be marked as versions of previously uploaded files. This allows a new file to be connected to a previous version. All file versions will remain accessible in the content upload history and can be downloaded to cross-reference.
-
When the event asks for specific files
Section titled “When the event asks for specific files”Some events ask for more than one kind of file — a poster and a presentation, say, each with its own deadline. Then the Files tab shows one card per file the event wants from your session instead of a single upload area:
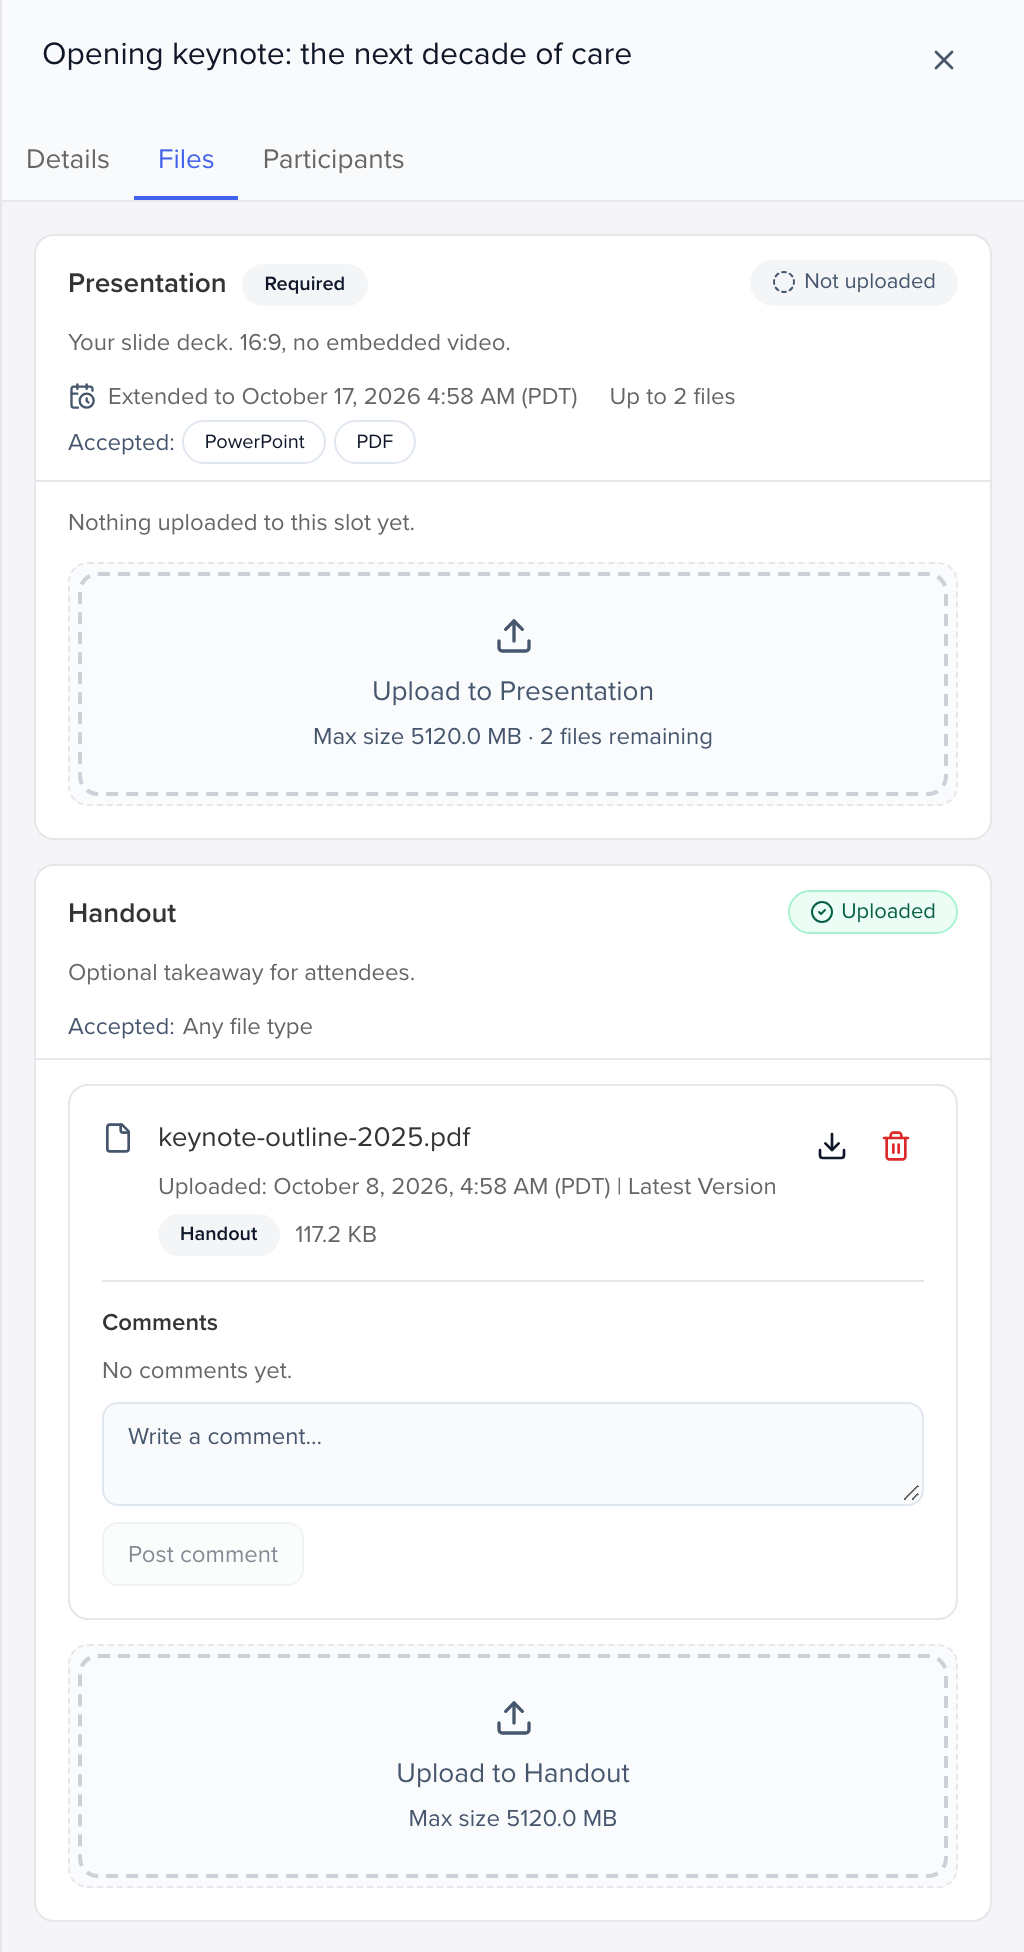
Each card tells you what is wanted: the file’s name and the organizer’s instructions, whether it is Required, the due date (or Extended to a later date), which file types are accepted, and how many files it takes. Drop your file into that card’s upload area; there is no file type to pick, because the card already knows. The badge in the corner changes from Not uploaded to Uploaded once your file is confirmed, and Overdue if the deadline passes with nothing there.
A few things the card will not let you do, and why:
- A file type the card does not list is refused with a message naming the types that are accepted.
- Uploading after the deadline — the card says uploads closed on that date. Your organizer can extend the deadline or accept late uploads; ask them if you need to.
- Adding a file to a full card — when a card has reached its file limit it says so, and you can still upload a new version of a file already in it, which does not count against the limit.
Files you uploaded before the event switched to this layout, or that were not placed in a card, appear under Other files. Once a poster is uploaded, Open poster shows it with its versions, narration and the organizer’s comments.
Asked for a poster? Upload, narrate and share your poster covers versions, the comment thread and recording a narration.
View file version history
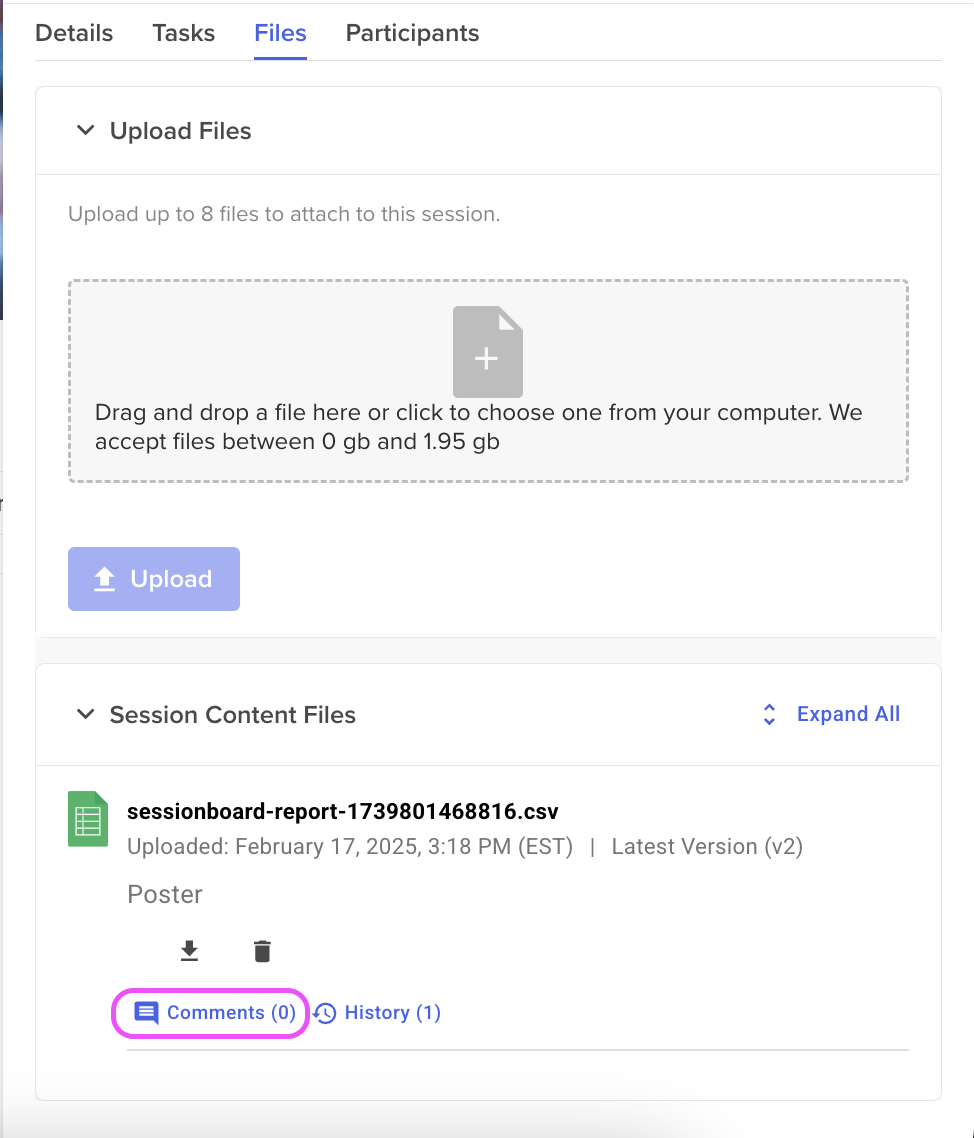
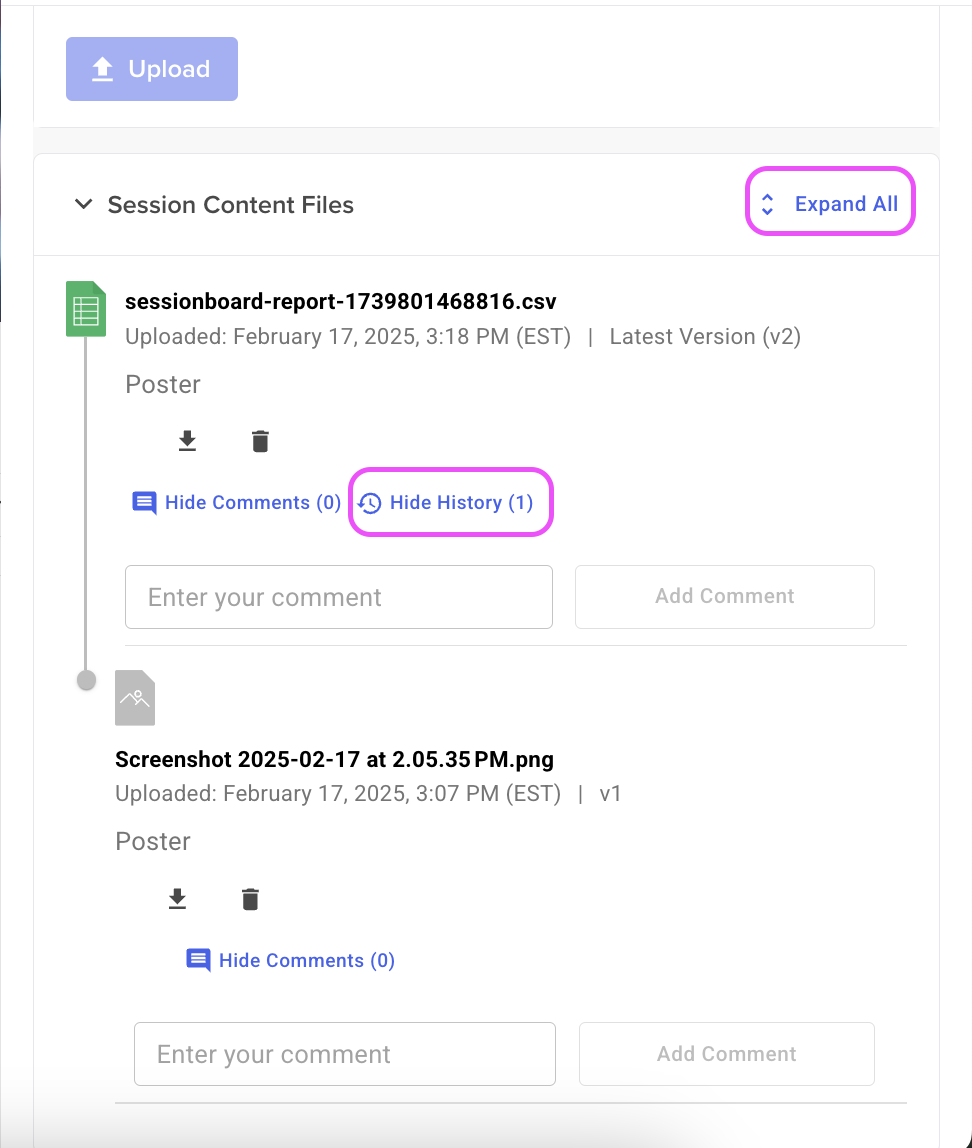
Section titled “View file version history”Selecting “History” or “Expand All” will allow you to see versions of a specific file.
Comments
Section titled “Comments”Speakers can add and view comments on session content within their portals. Commenting is a quick and simple way to communicate with event admins directly.
To view and send new comments, either click “Expand All” or the word “Comment”.