

Create exhibitor groups & contacts
An exhibitor in Sessionboard is a group — the company record, with its logo, website, booth details and description — and the contacts attached to it, each with their own portal login. Most exhibitors arrive through the exhibitor intake form, which creates the group and its first contact in one go. This article covers doing it yourself: adding a group, attaching people, and letting them in.
Why use it
Section titled “Why use it”The exhibitor list
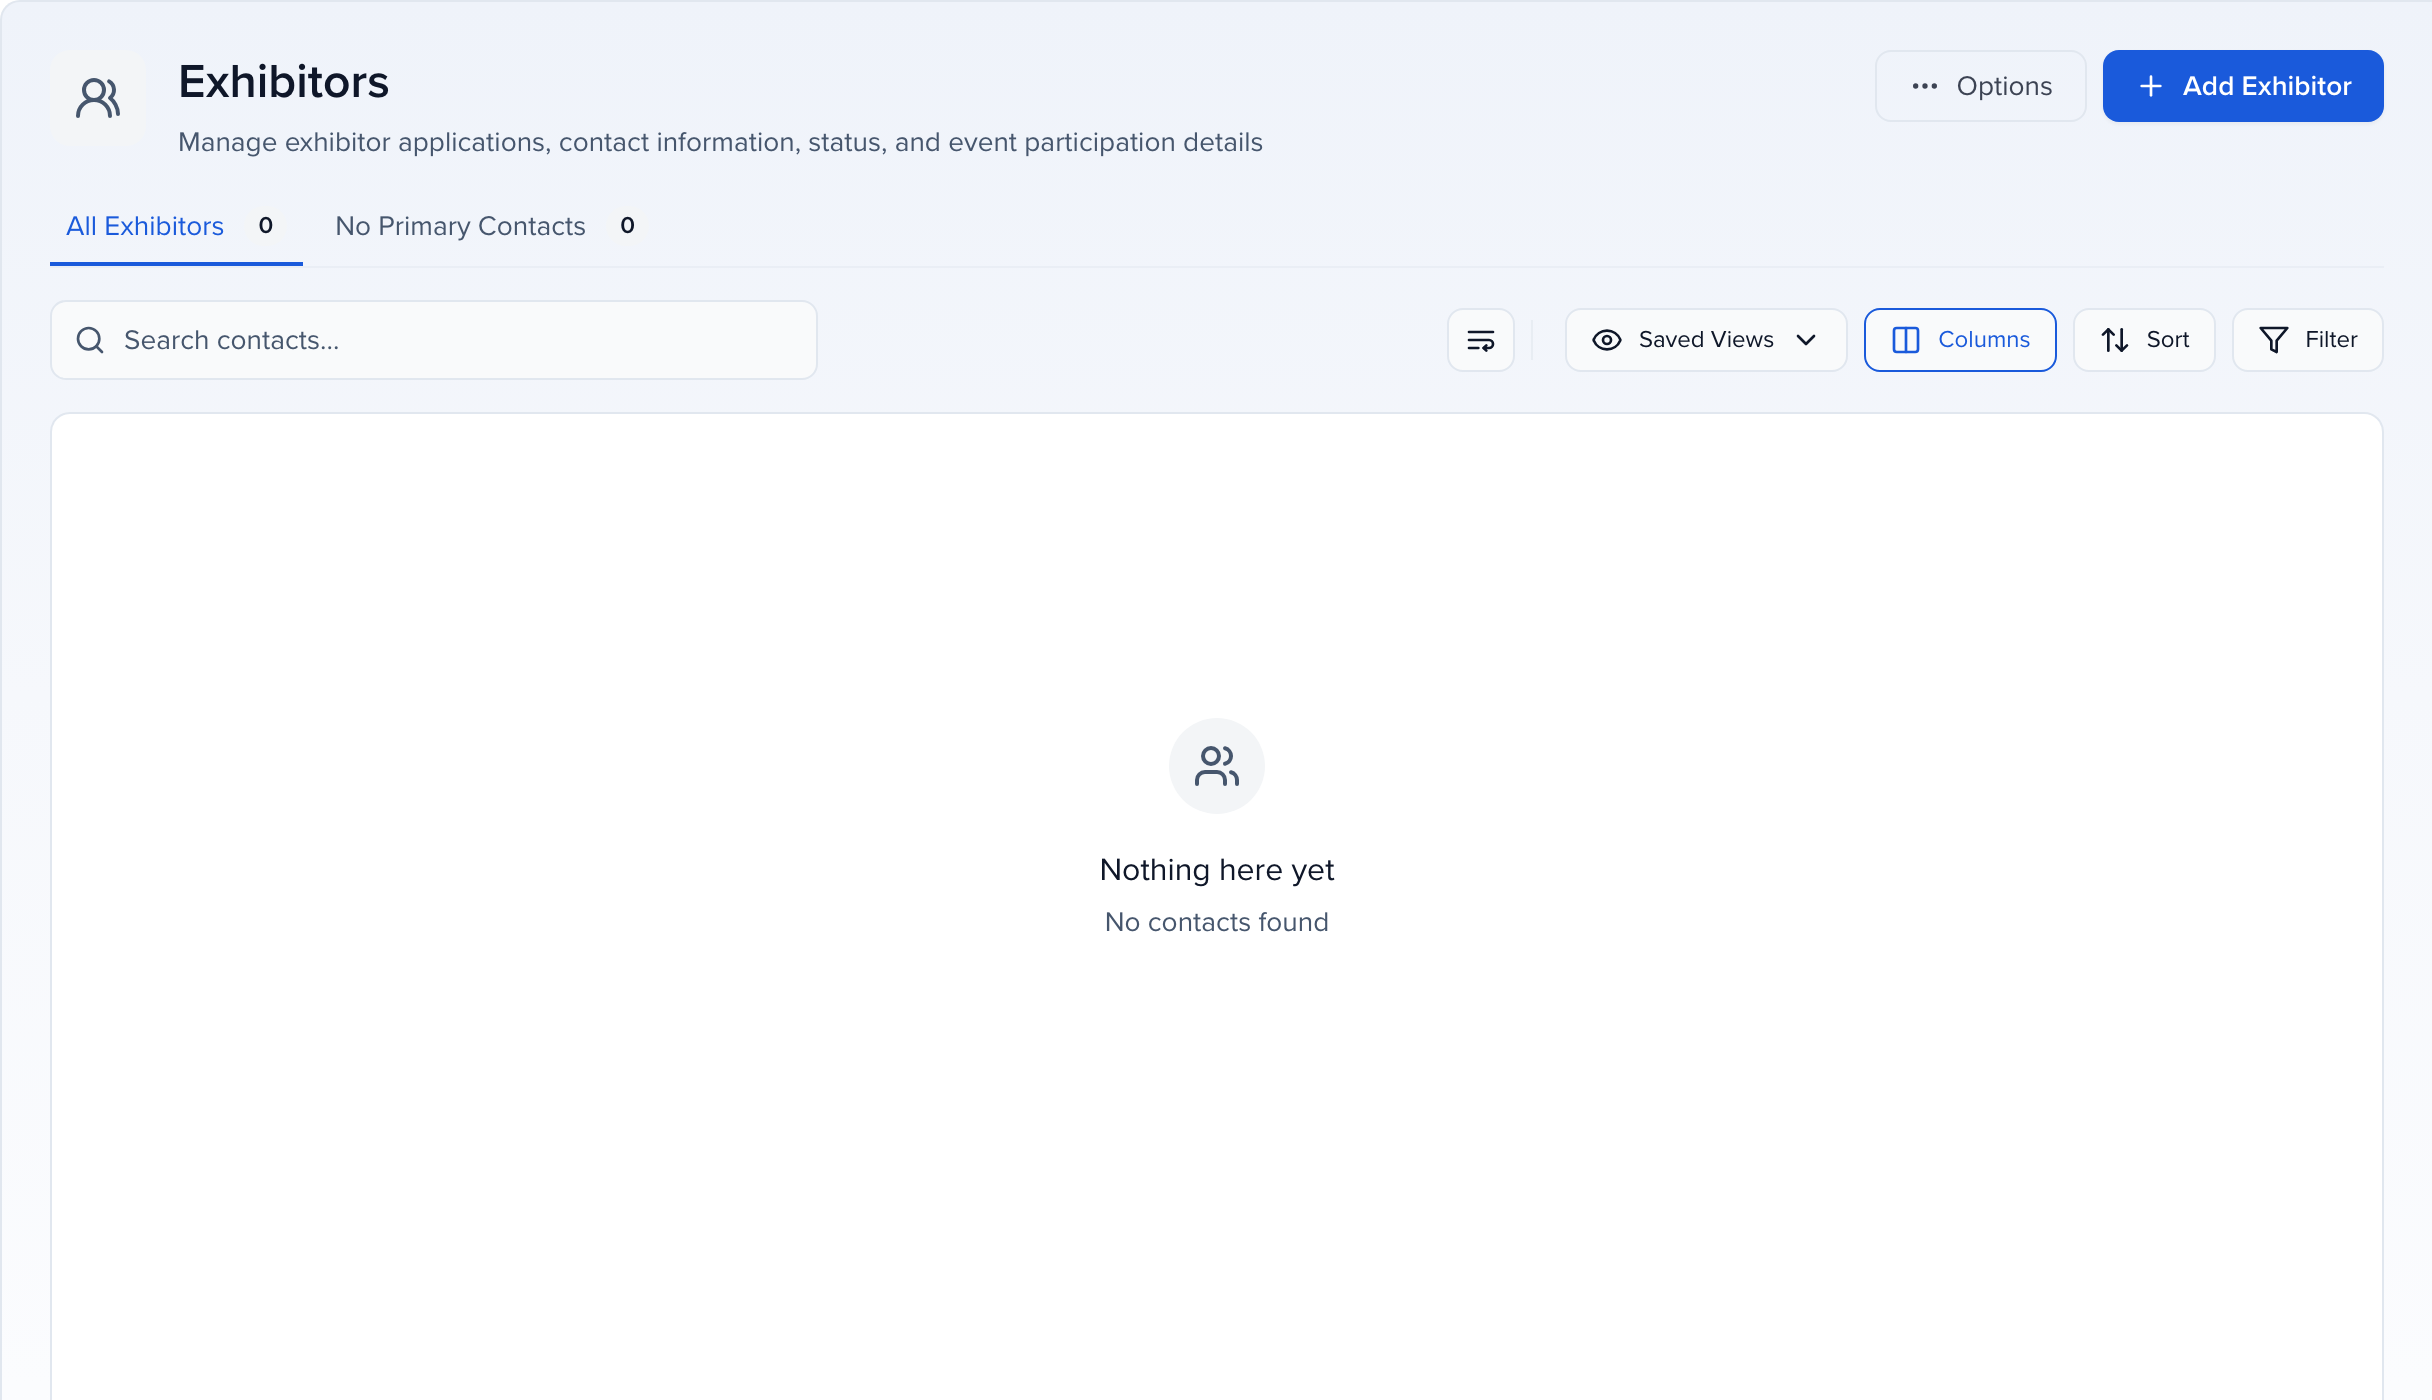
Section titled “The exhibitor list”CRM → Exhibitors shows one row per company: Name, Primary Contact, Assigned Portal, then the profile fields — website, address, phone, description, logo and social links. It is the same grid as your other lists, so Saved Views, Columns, Sort and Filter all apply, and selecting rows opens the bar with Edit, Send, Assign, More and Delete. The No Primary Contacts tab lists the companies nobody can log in for yet.
Add an exhibitor group
Section titled “Add an exhibitor group”The flow is the same as for sponsors, with exhibitor labels; the panels below are the sponsor versions.
Add Exhibitor
Click Add Exhibitor at the top right of the list.
Search first
The panel starts with a search across your organization, so a company that already exhibited at another event is attached rather than duplicated. Type the name; matches are grouped into exhibitors already in this event and exhibitors elsewhere in the organization. Tick one or more and click Add to Event.
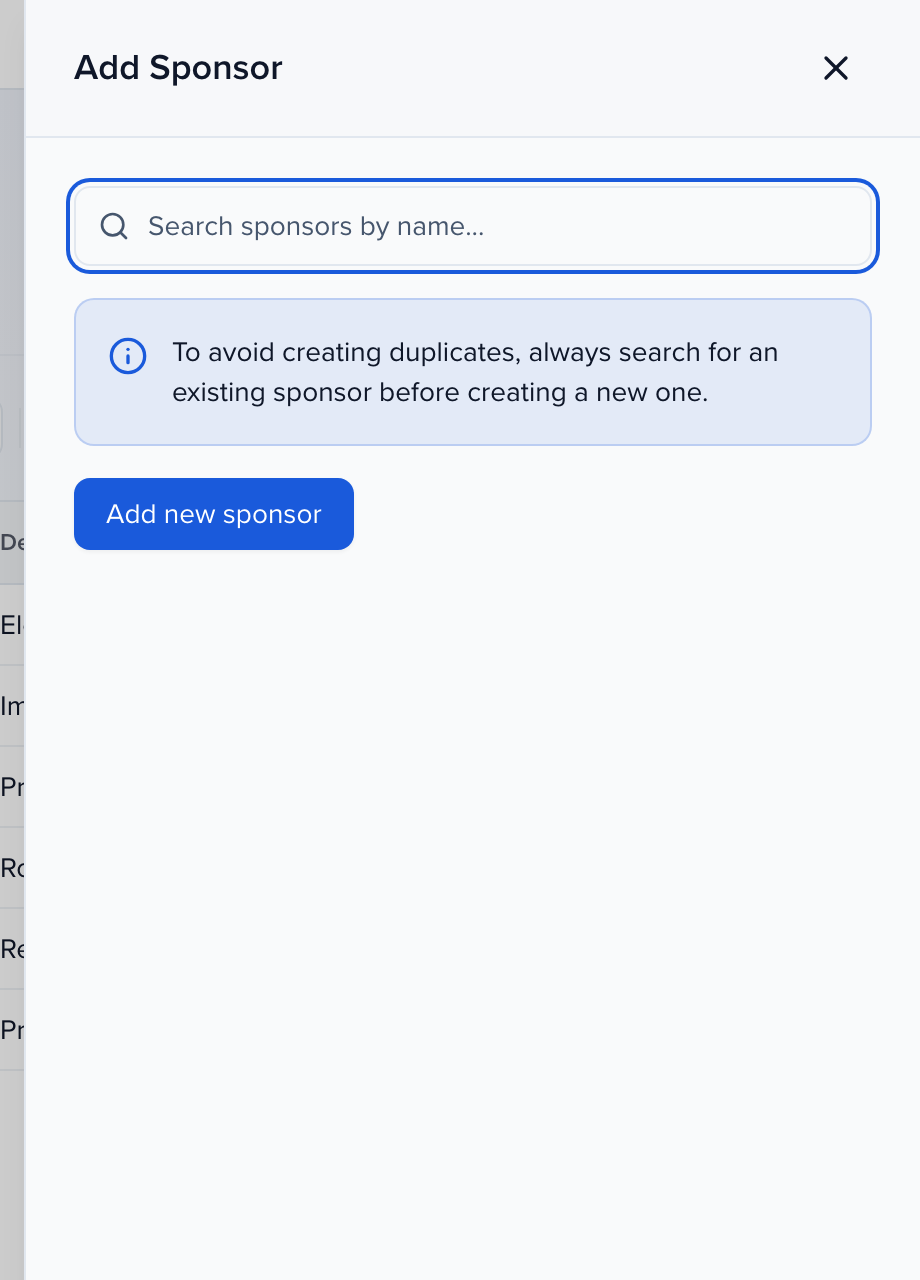
Add new exhibitor
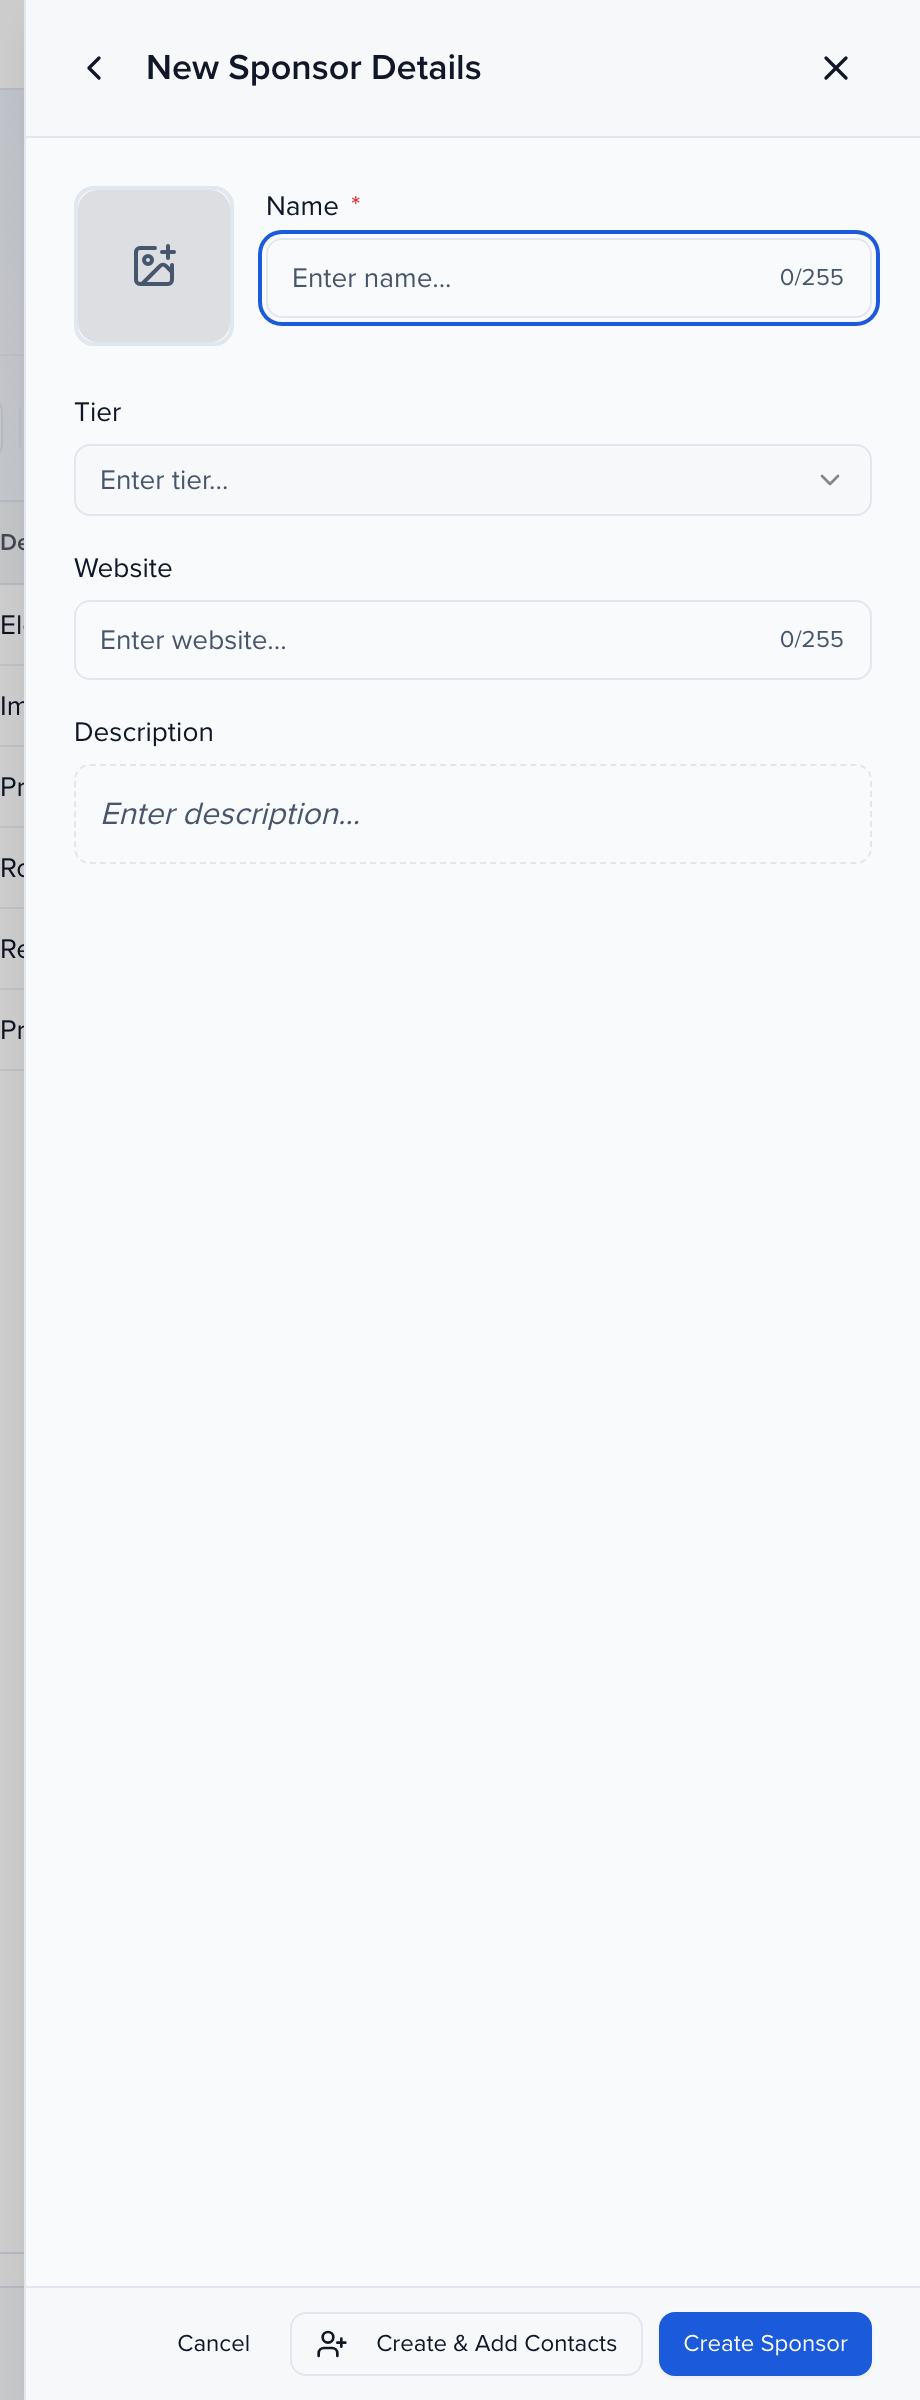
If it is a new company, click Add new exhibitor. New Exhibitor Details asks for the Name, Website and Description, plus a logo. Which fields appear here is the Group Fields layout under Settings → Record Settings → Layouts — add a booth number or contract field there and it shows up in this panel and on every exhibitor’s profile.
Create
Click Create Exhibitor to save the group, or Create & Add Contacts to save it and go straight on to attaching people.
Add a contact to an exhibitor
Section titled “Add a contact to an exhibitor”Open the exhibitor with the pencil on its row and select the CRM tab. Contacts lists everyone attached, with the Primary badge on the person who receives the group’s communications.
- Click Add. The search lists contacts already in the event — pick one to attach them.
- For someone new, click Create new contact, then Add new contact on the Add Contacts to … panel.
- Fill in First Name, Last Name and Email (mobile phone and biography are optional), tick Set as primary contact for … if this person should receive the group’s emails, and click Create Contact.
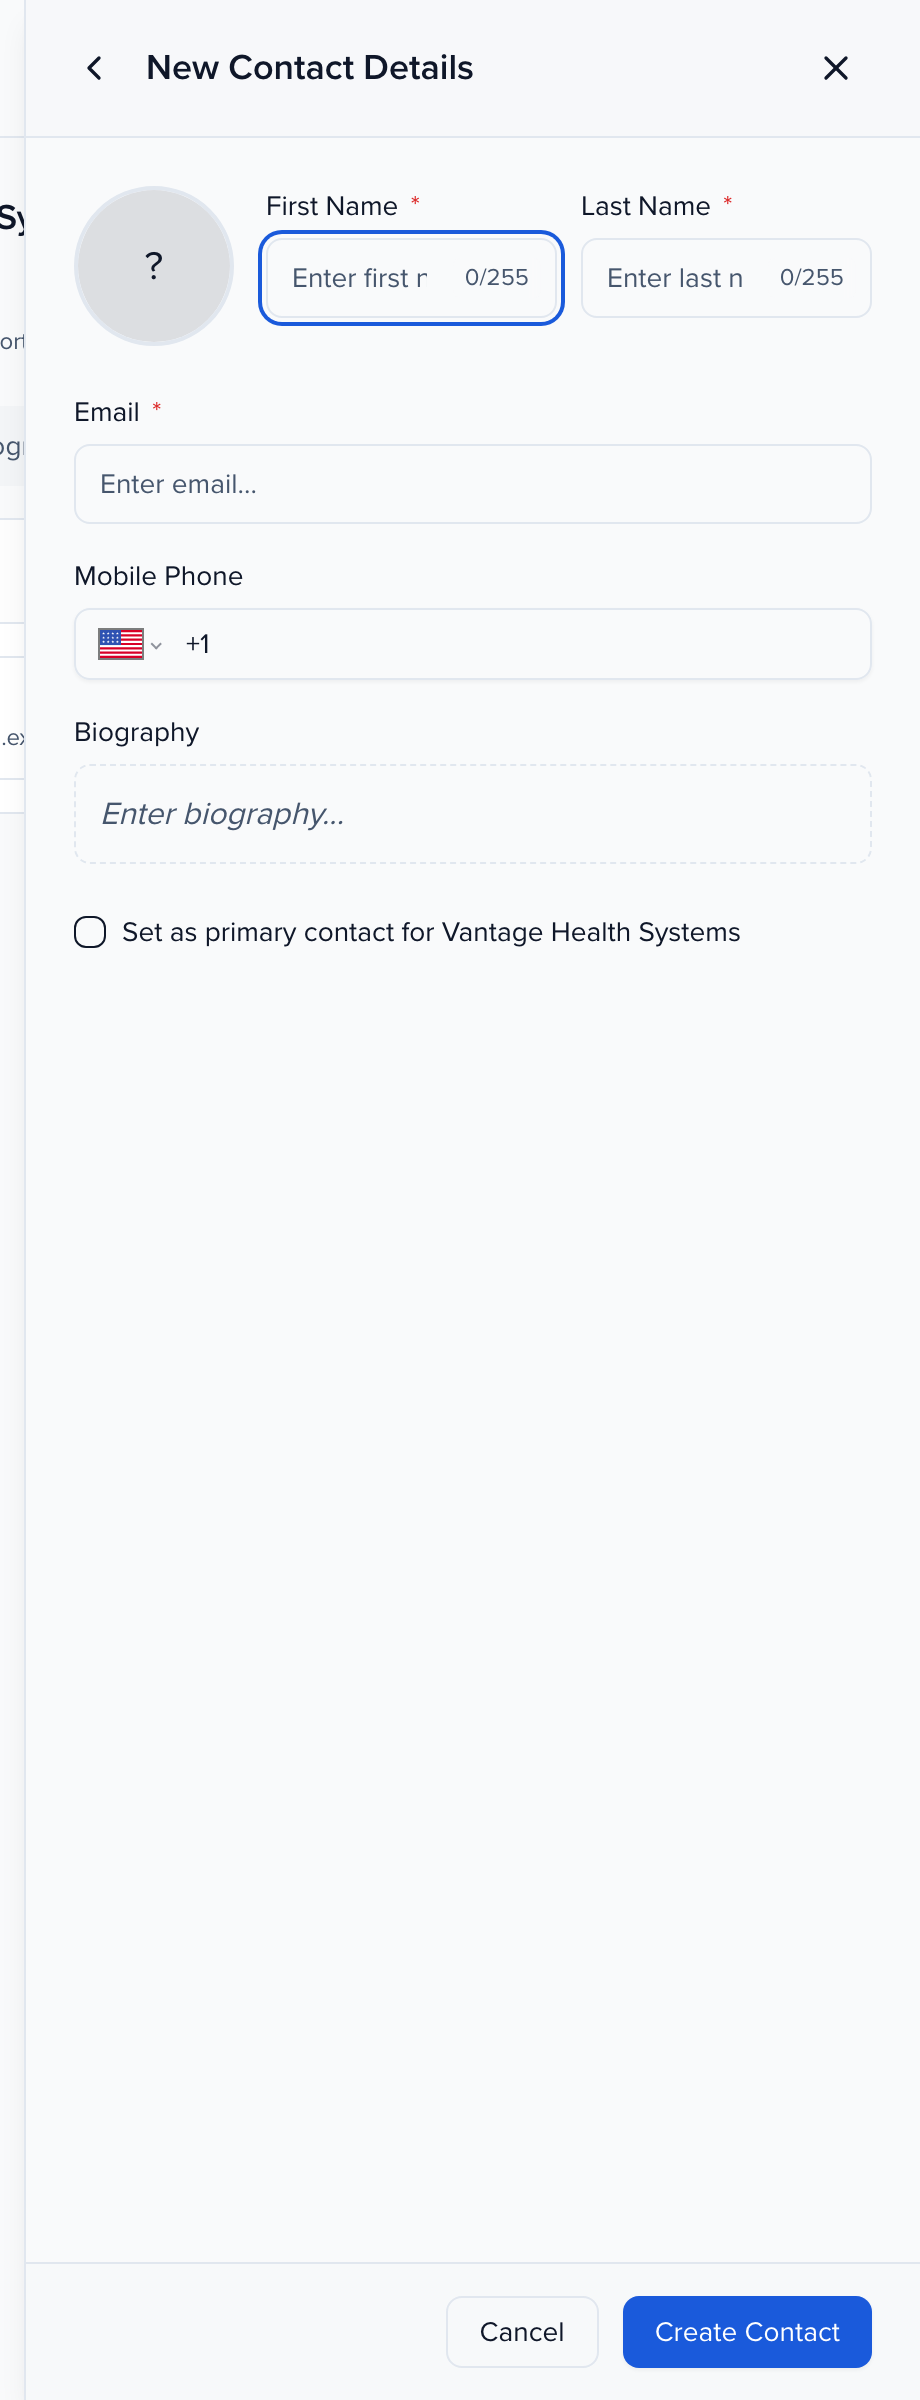
The contact is created as an exhibitor contact, attached to the group, and appears in CRM → All Contacts like anyone else. Contacts work on every plan, with or without Exhibitor Pro: Advocacy emails them the company’s share card and an agreement can be sent to the primary contact. Every contact attached to a group shares its tasks, files and information in the portal, so the booth lead and the person shipping the crates can each log in without sharing a password.
Give the contacts portal access
Section titled “Give the contacts portal access”Portal login for a group’s contacts is part of Exhibitor Pro. Without it, Manage Portal Access, View Portal and Give Portal Login Access are unavailable, and adding a contact gives them no login.
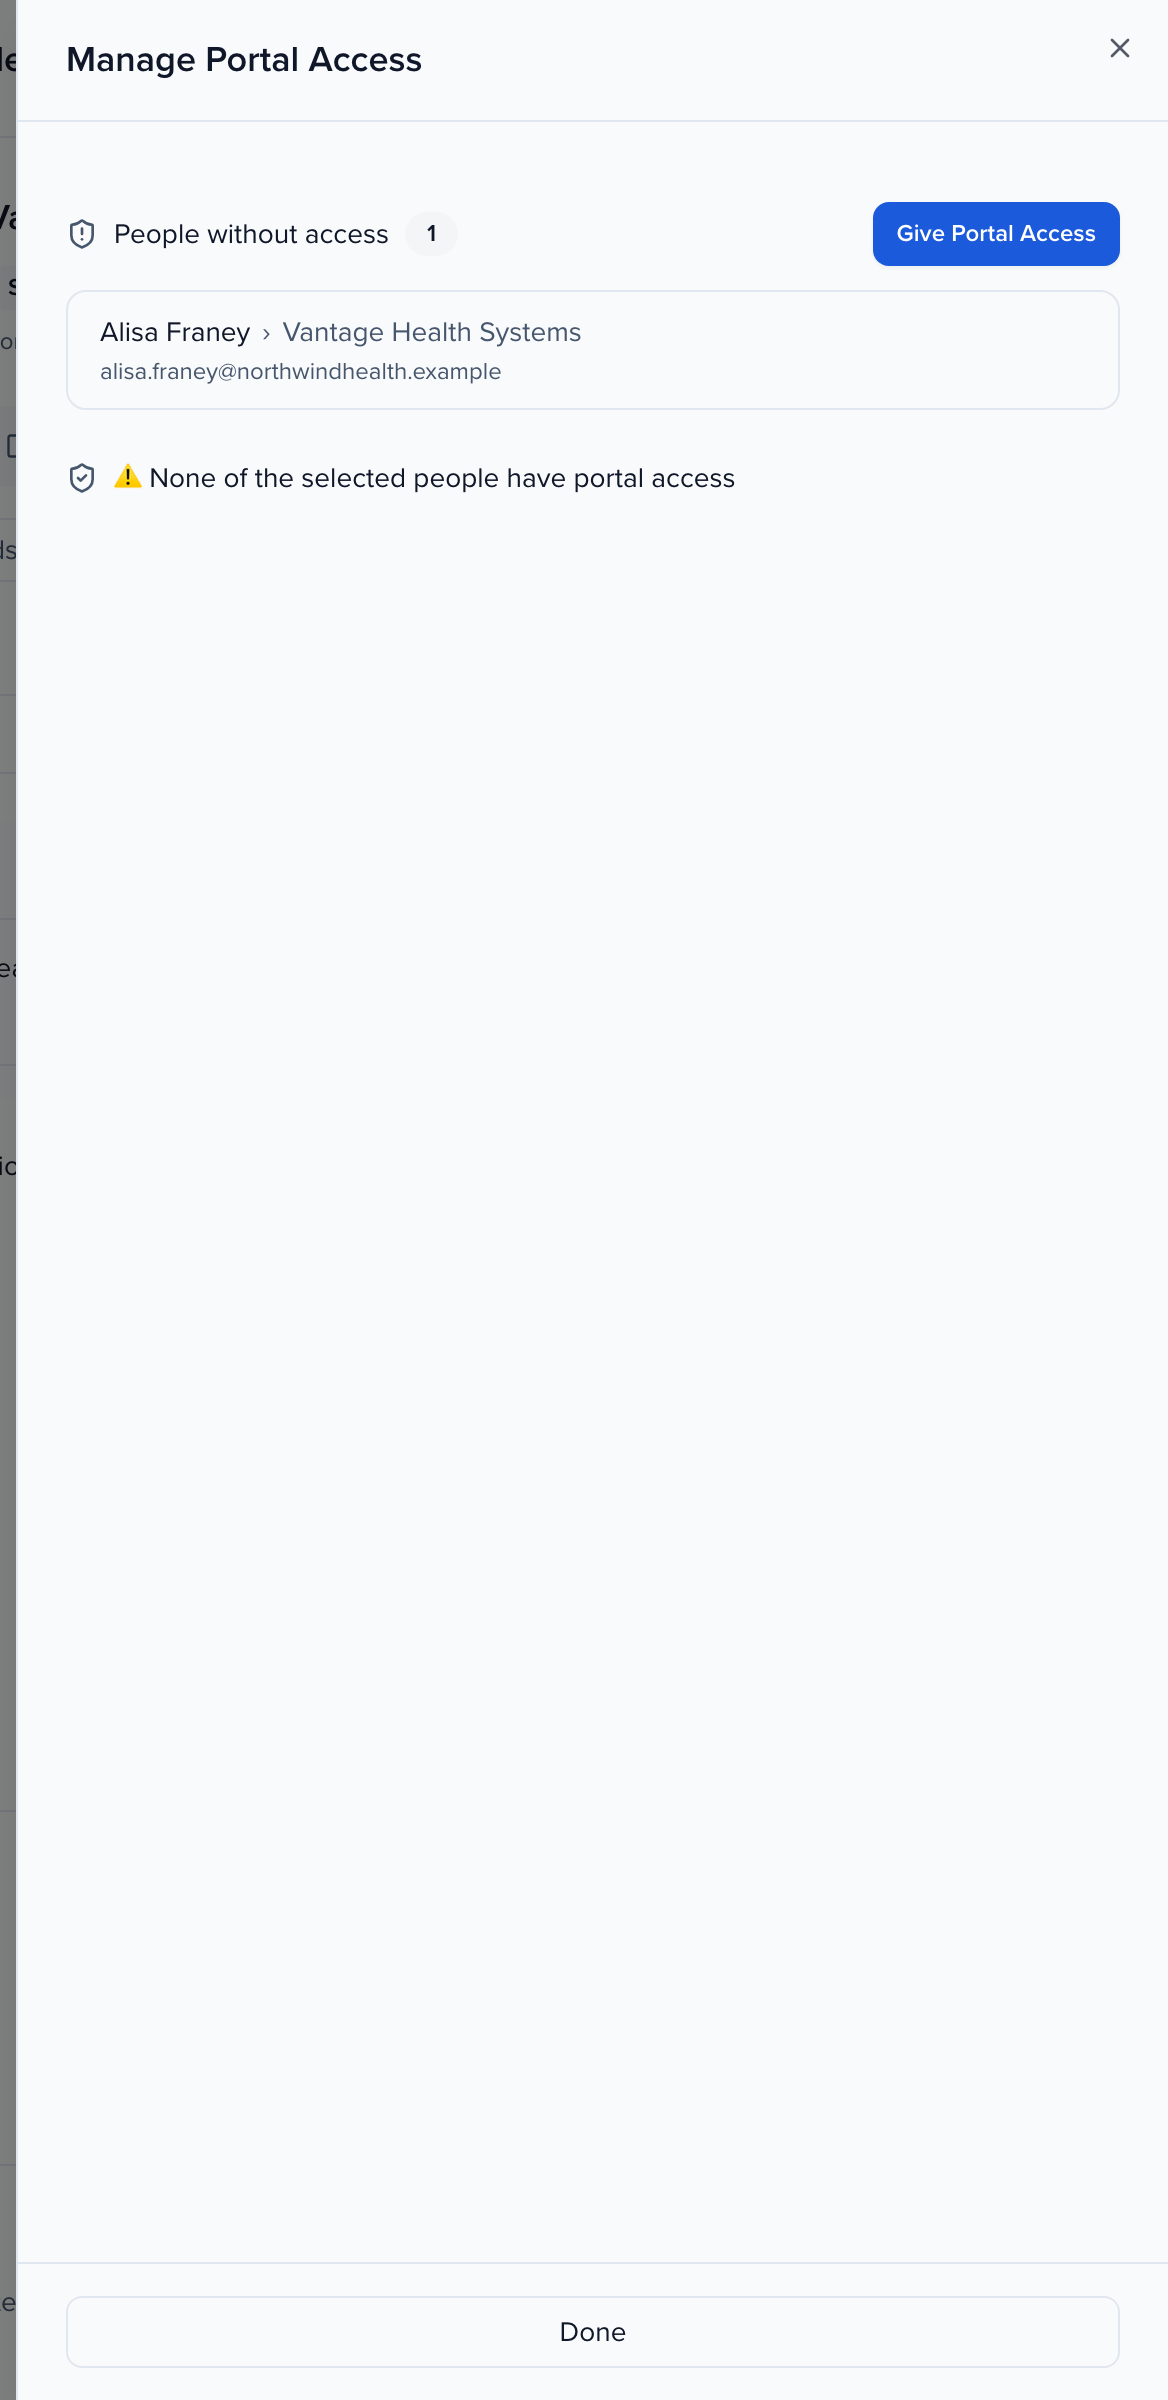
Creating a contact does not send anything. When they should be able to sign in, open the exhibitor, click Actions → Manage Portal Access. People without access lists the attached contacts who cannot log in yet; select them and click Give Portal Access, then choose Send Email — with an optional personal message — or Get Link to copy the invitation link and send it yourself.
The same Actions menu has Send Email, Send SMS, Copy Portal Link and View Portal, which opens the portal as the exhibitor sees it. Which portal that is shows under the group’s name as Portal: and in the Assigned Portal column — see Creating custom portals to give exhibitors a portal of their own, with booth-specific tasks and files.