

Speaker CRM: add contacts to an event
This guide applies only to organizations that have the Speaker CRM enabled.
Contacts belong to your organization, and an event sees a contact once they have been added to it. Adding from the directory carries the whole profile across — name, bio, headshot, company and every global field — so nobody retypes details and you do not end up with a second copy of the same person.
Why use it
Section titled “Why use it”Adding from the directory brings last year’s speakers and this year’s prospects into a new event with their profile already filled in. When a speaker is confirmed before the agenda is final, Add to session goes one step further and puts them straight on a session — adding them to the event on the way if they are not in it yet.
Add contacts to an event
Section titled “Add contacts to an event”- Open CRM > Contacts. Filter or search until the people you want are on screen — a saved segment such as Past keynotes is the quickest way back to a group you add every year.
- Tick the checkbox beside each contact. The header checkbox selects everyone on the page.
- In the bar above the table, click Add To Event.

- The Add to Event panel lists your events under Upcoming and Past; search by name if the list is long. Choose one event and click Add to selected event.
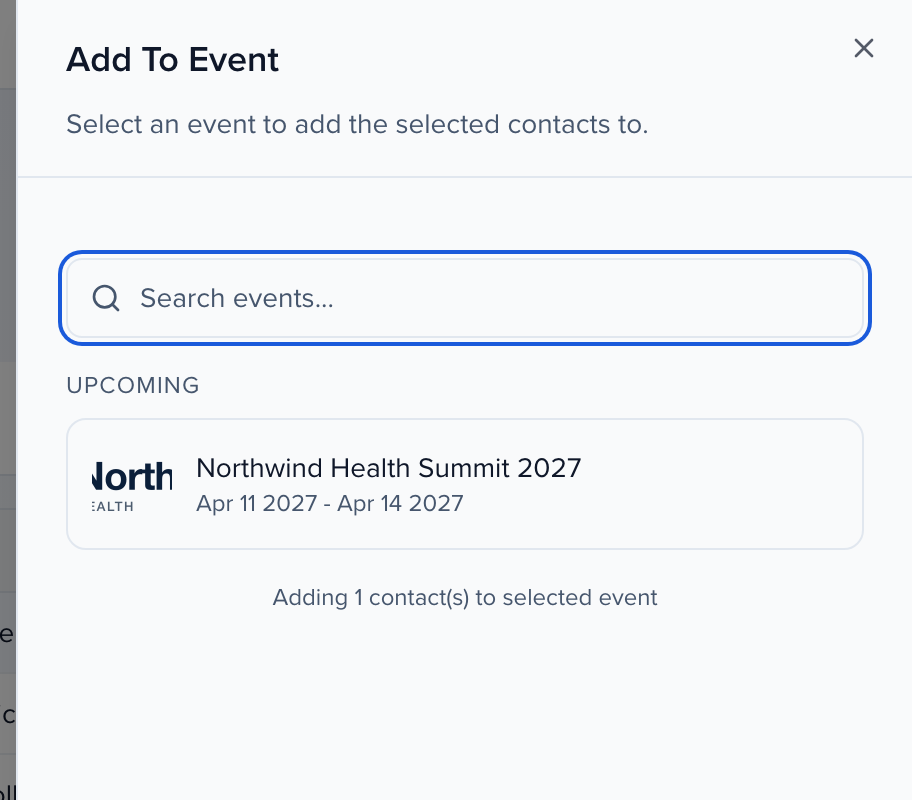
- The Confirm step shows the event and how many contacts you are adding. Click Proceed, then Done when it reports Successfully added!
It can take a few minutes for the contacts to appear in the event’s Contacts, where they arrive with their profiles filled in and can be managed or removed like any other contact. Back in the directory, the event is listed in each person’s Events column. Each event keeps the same color there on every visit, so you can pick it out at a glance.
One event at a time: to place the same people in two events, repeat the steps for the second event.
Add contacts to a session
Section titled “Add contacts to a session”One contact: open the contact’s profile and, on the Submissions card, click Add to session.
Several contacts: tick them in CRM > Contacts, or in an event’s Contacts table, and click Add to session in the bar above the table. You can add up to 200 contacts at a time.
- Choose the Event. From the CRM the list holds every event you can manage sessions in, not only the contact’s current events. From an event’s Contacts table it is fixed to that event.
- Under Session, search and pick a session, or choose Create new session to make one with the name you typed.
- Pick a Role, such as Speaker or Moderator. Every selected contact gets the same role.
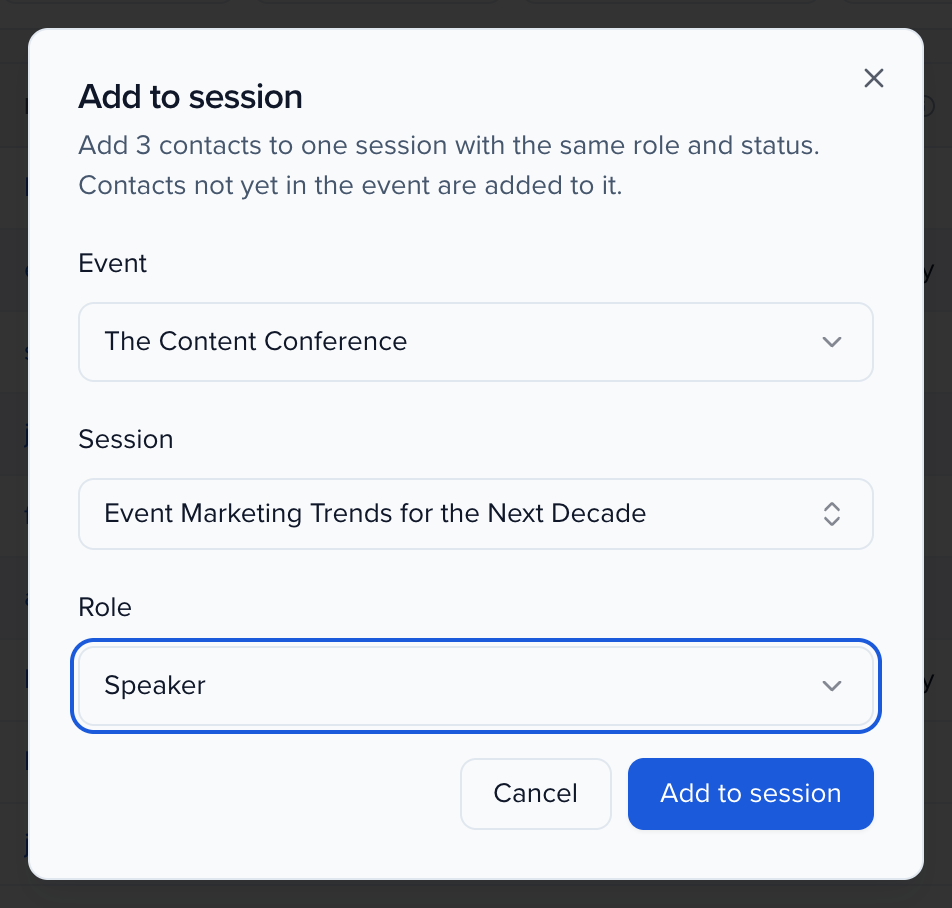
- If the event uses speaker acceptance, choose a Status: Pending or Accepted. Choose Accepted when the speaker is already confirmed, so syncs and portal tasks that wait for accepted speakers pick them up right away. Without speaker acceptance there is no status to set.
- Click Add to session.
A contact who is not in the event yet is added to it first, with their profile, exactly as Add To Event would. Contacts already on the session are left as they are. When adding several, a message reports how many were added and names anyone who wasn’t.