

Create custom portals
Every event has a default portal for people and, if sponsors and exhibitors are enabled, one for groups. A custom portal is one you add on top with filters: only contacts or groups that match land in it, and everything on it — tasks, forms, pages, appearance — is yours to shape for that audience. Keynote speakers get a slides deadline that breakout speakers never see; Gold sponsors get the tasks that come with their package.
Create the portal
Section titled “Create the portal”Create Portal
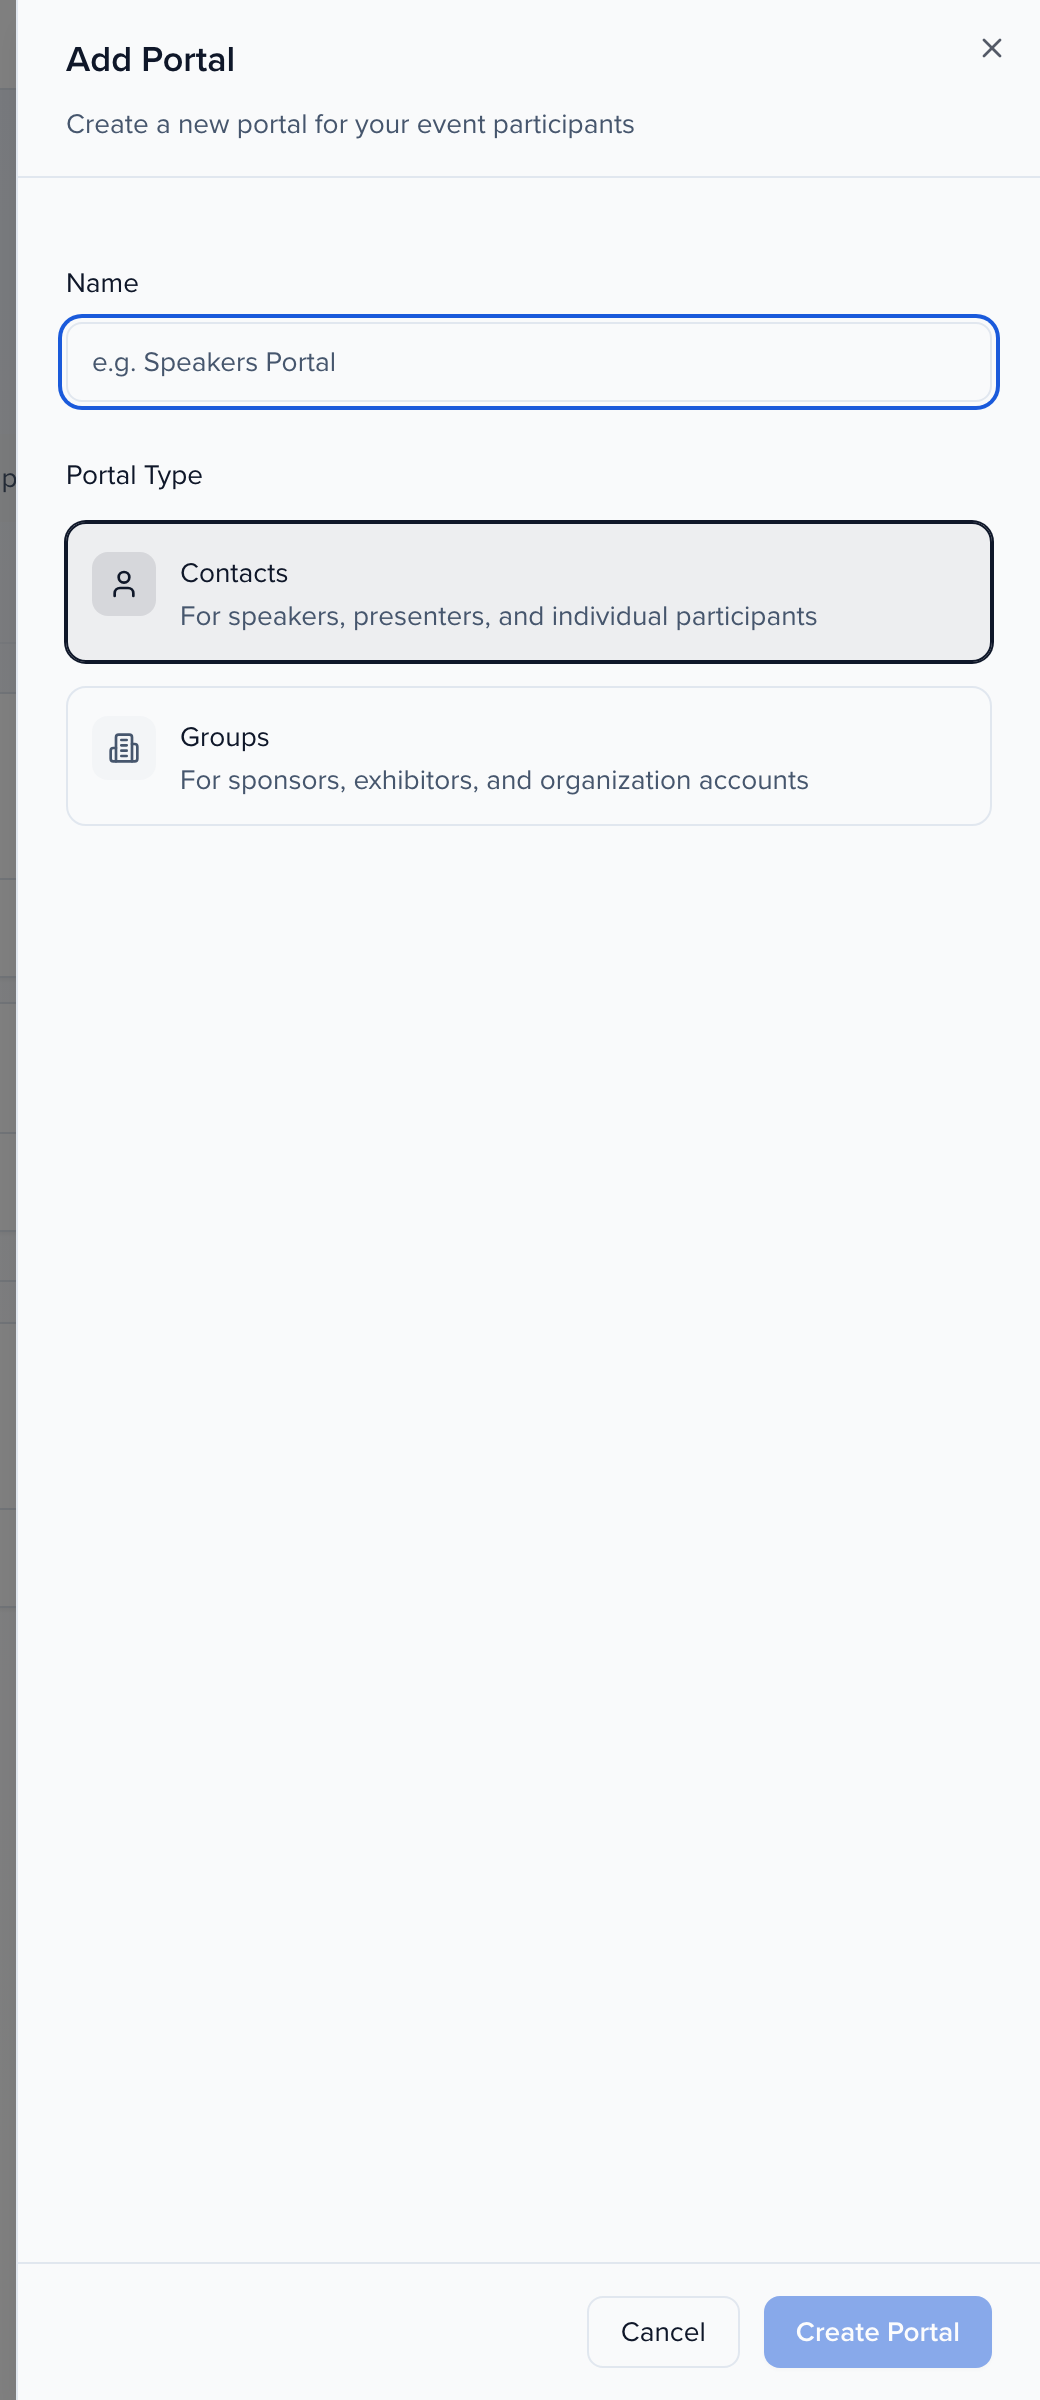
Go to Program → Portals and click Create Portal. Give it an internal Name and pick the Portal Type:
- Contacts — people: speakers, chairs, moderators, submitters, and the individual contacts of sponsors and exhibitors.
- Groups — sponsor and exhibitor companies. Only available when those modules are on.
Sponsor and exhibitor contacts also have a contact portal of their own, so you can hand a task to one person at the company (share your details) as well as to the company (upload your logo).
Set the filters
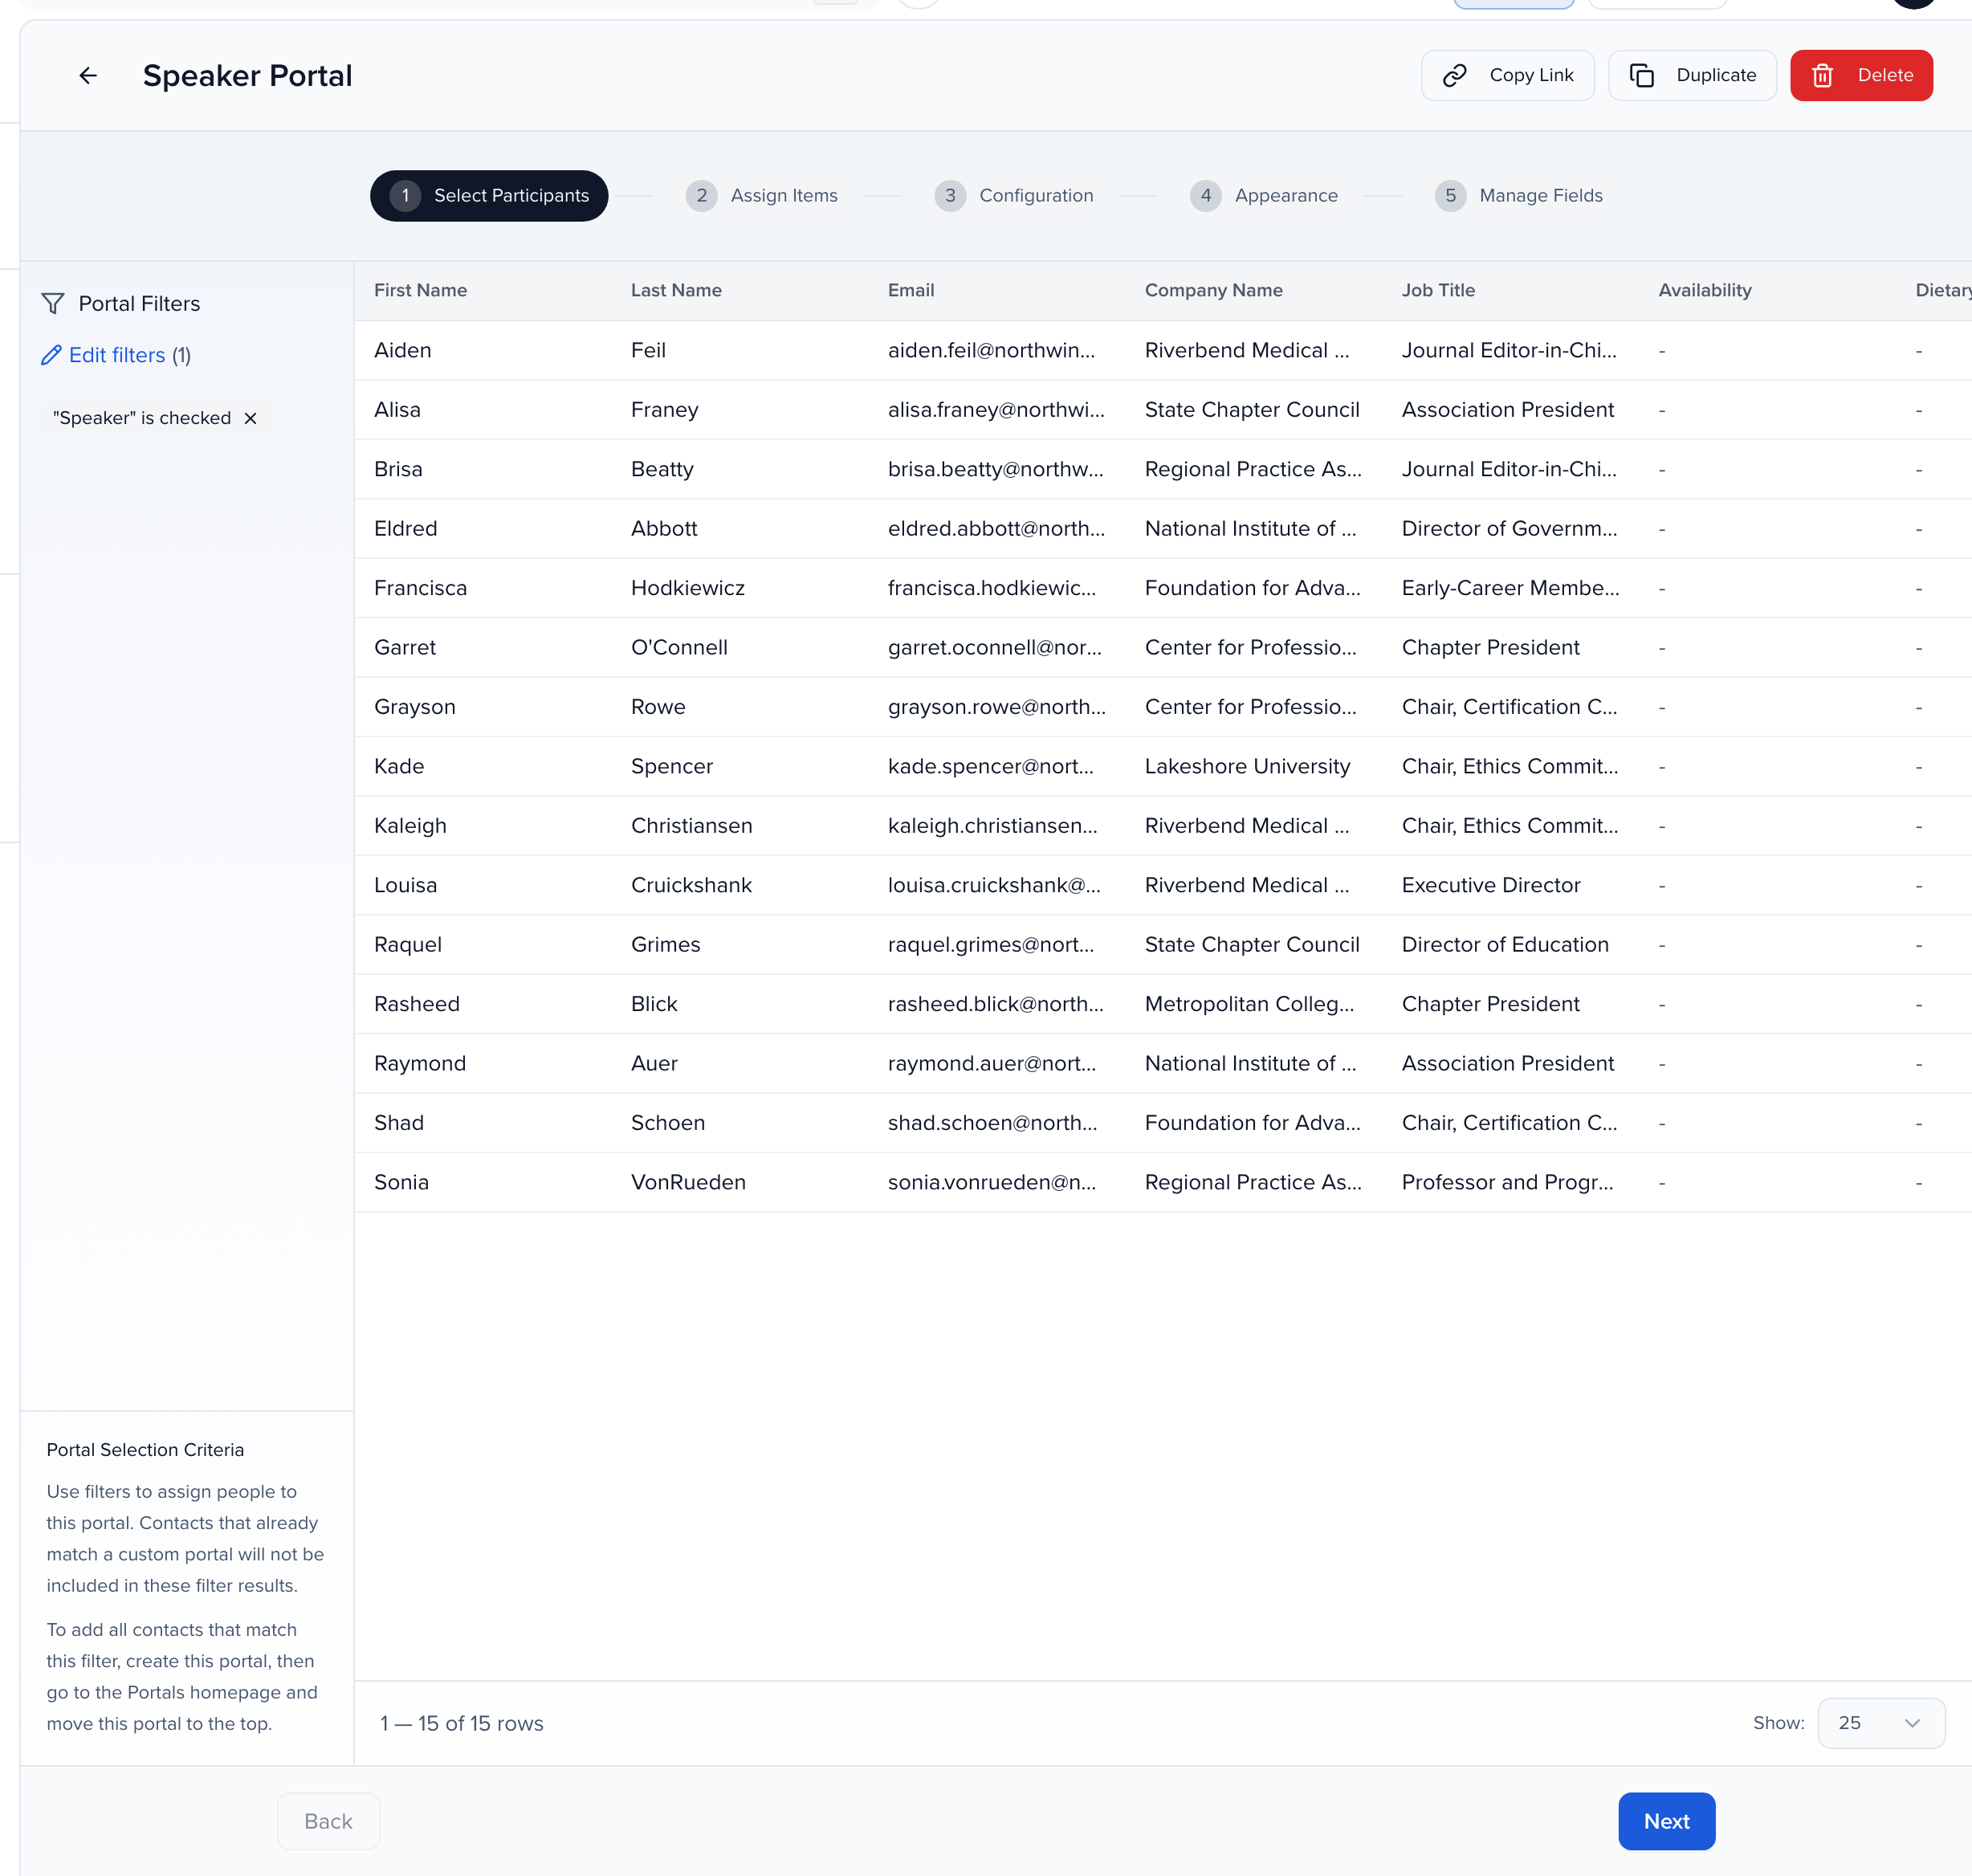
The editor opens on Select Participants. Under Portal Filters click Add filter, build the criteria, then Save Filters. Portal Selection Criteria on the right fills in with everyone who matches, so you can check the audience before you go further.
| Portal type | What you can filter on |
|---|---|
| Contacts | Contact fields (name, email, job title, custom fields), plus session fields on the sessions they are attached to — [Session] Tags, Tracks, Levels, Languages, Formats, Session Names, Source and Session Status — and Role. |
| Groups | Group fields (name, custom fields) and [Account] Tiers. |
Two filters worth knowing about:
- [Session] Source — which form brought the contact in: any submission or application form on the event, or Manual for people you added by hand. Use it to give one call for papers its own portal.
- [Session] Session Status — the status of the contact’s session, including custom statuses. This is how you build a portal for accepted speakers only.
How filters combine:
- Every filter must match. Two filters mean “this and that”, never “either”. Each Session Status filter takes one status, so a second Session Status filter narrows the portal rather than widening it. For “Accepted or Confirmed”, Duplicate the portal and give each copy one status.
- Incomplete rows are not saved. Save Filters keeps a row only when it has a field, an operator and a value, so a row left without a value disappears after you save. Is empty, Is not empty, Is checked and Is not checked need no value.
Filters are live. As a session’s status changes or a track is reassigned, people move between portals automatically; anyone who stops matching every custom portal falls back to the default.
Finish the editor
Save and Next through Assign Items, Configuration, Appearance and Manage Fields — the same steps as any portal. Portals 101 covers each one.
Order portals by priority
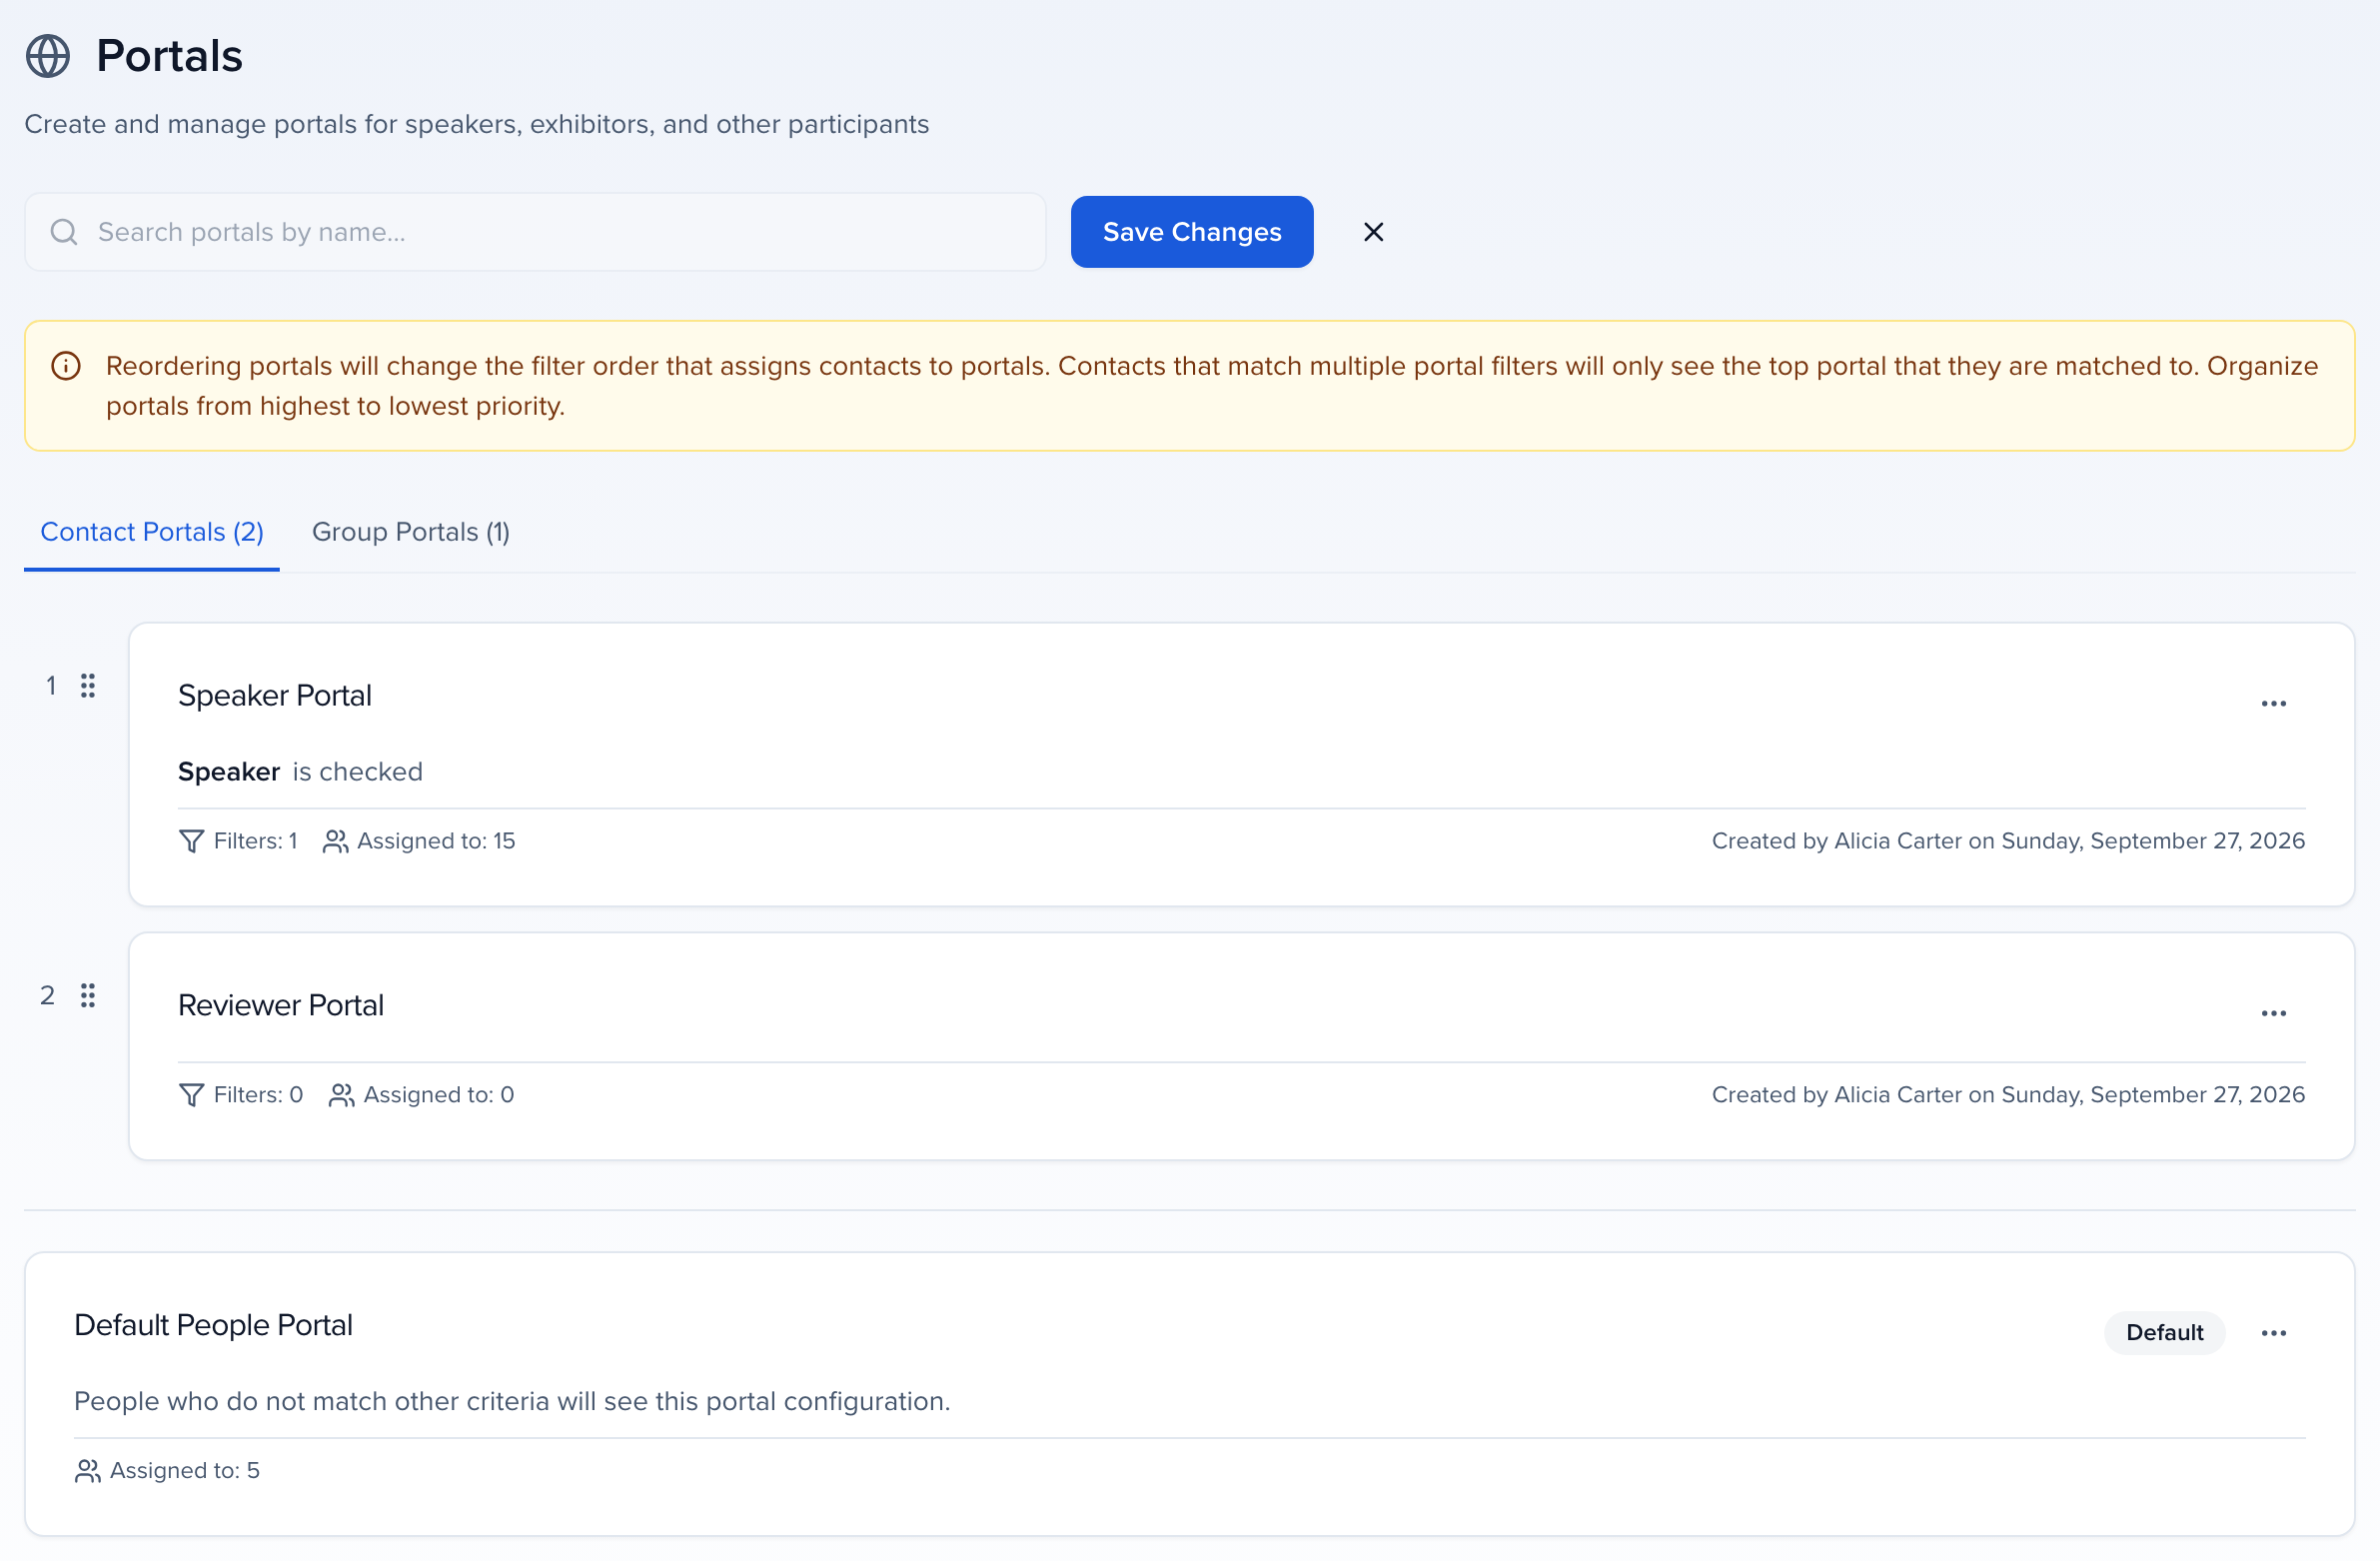
Section titled “Order portals by priority”On Program → Portals, click the pencil next to Create Portal to enter edit mode, drag the cards into order, and click Save Changes. Sessionboard asks you to confirm, because reordering changes which portal people who match more than one will see.
Duplicate, resync and delete
Section titled “Duplicate, resync and delete”From the ⋯ menu on a portal card:
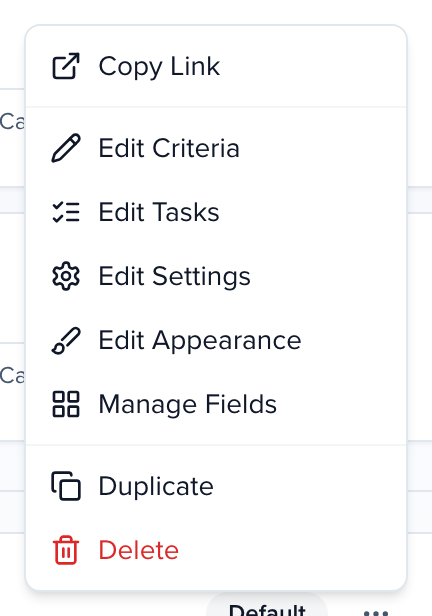
- Duplicate copies the portal — filters, content, configuration and appearance — so a Day 2 portal starts from Day 1.
- Delete removes it; the people in it fall through to the next portal they match. Confirm in the dialog.
Resync Portal Assignments (in the ⋯ menu next to Create Portal) recomputes who belongs where across every portal. Use it after a large import or if a card’s Assigned to count looks stale.
Ideas that work
Section titled “Ideas that work”| Audience | Filter |
|---|---|
| Keynote vs breakout speakers | [Session] Formats |
| Day 1 vs Day 2 speakers | [Session] Session Names or a custom contact field |
| Speakers vs moderators vs chairs | Role |
| Accepted speakers only | [Session] Session Status is Accepted |
| One call for papers | [Session] Source |
| Gold / Silver / Bronze sponsors | [Account] Tiers |