

Event details & record settings
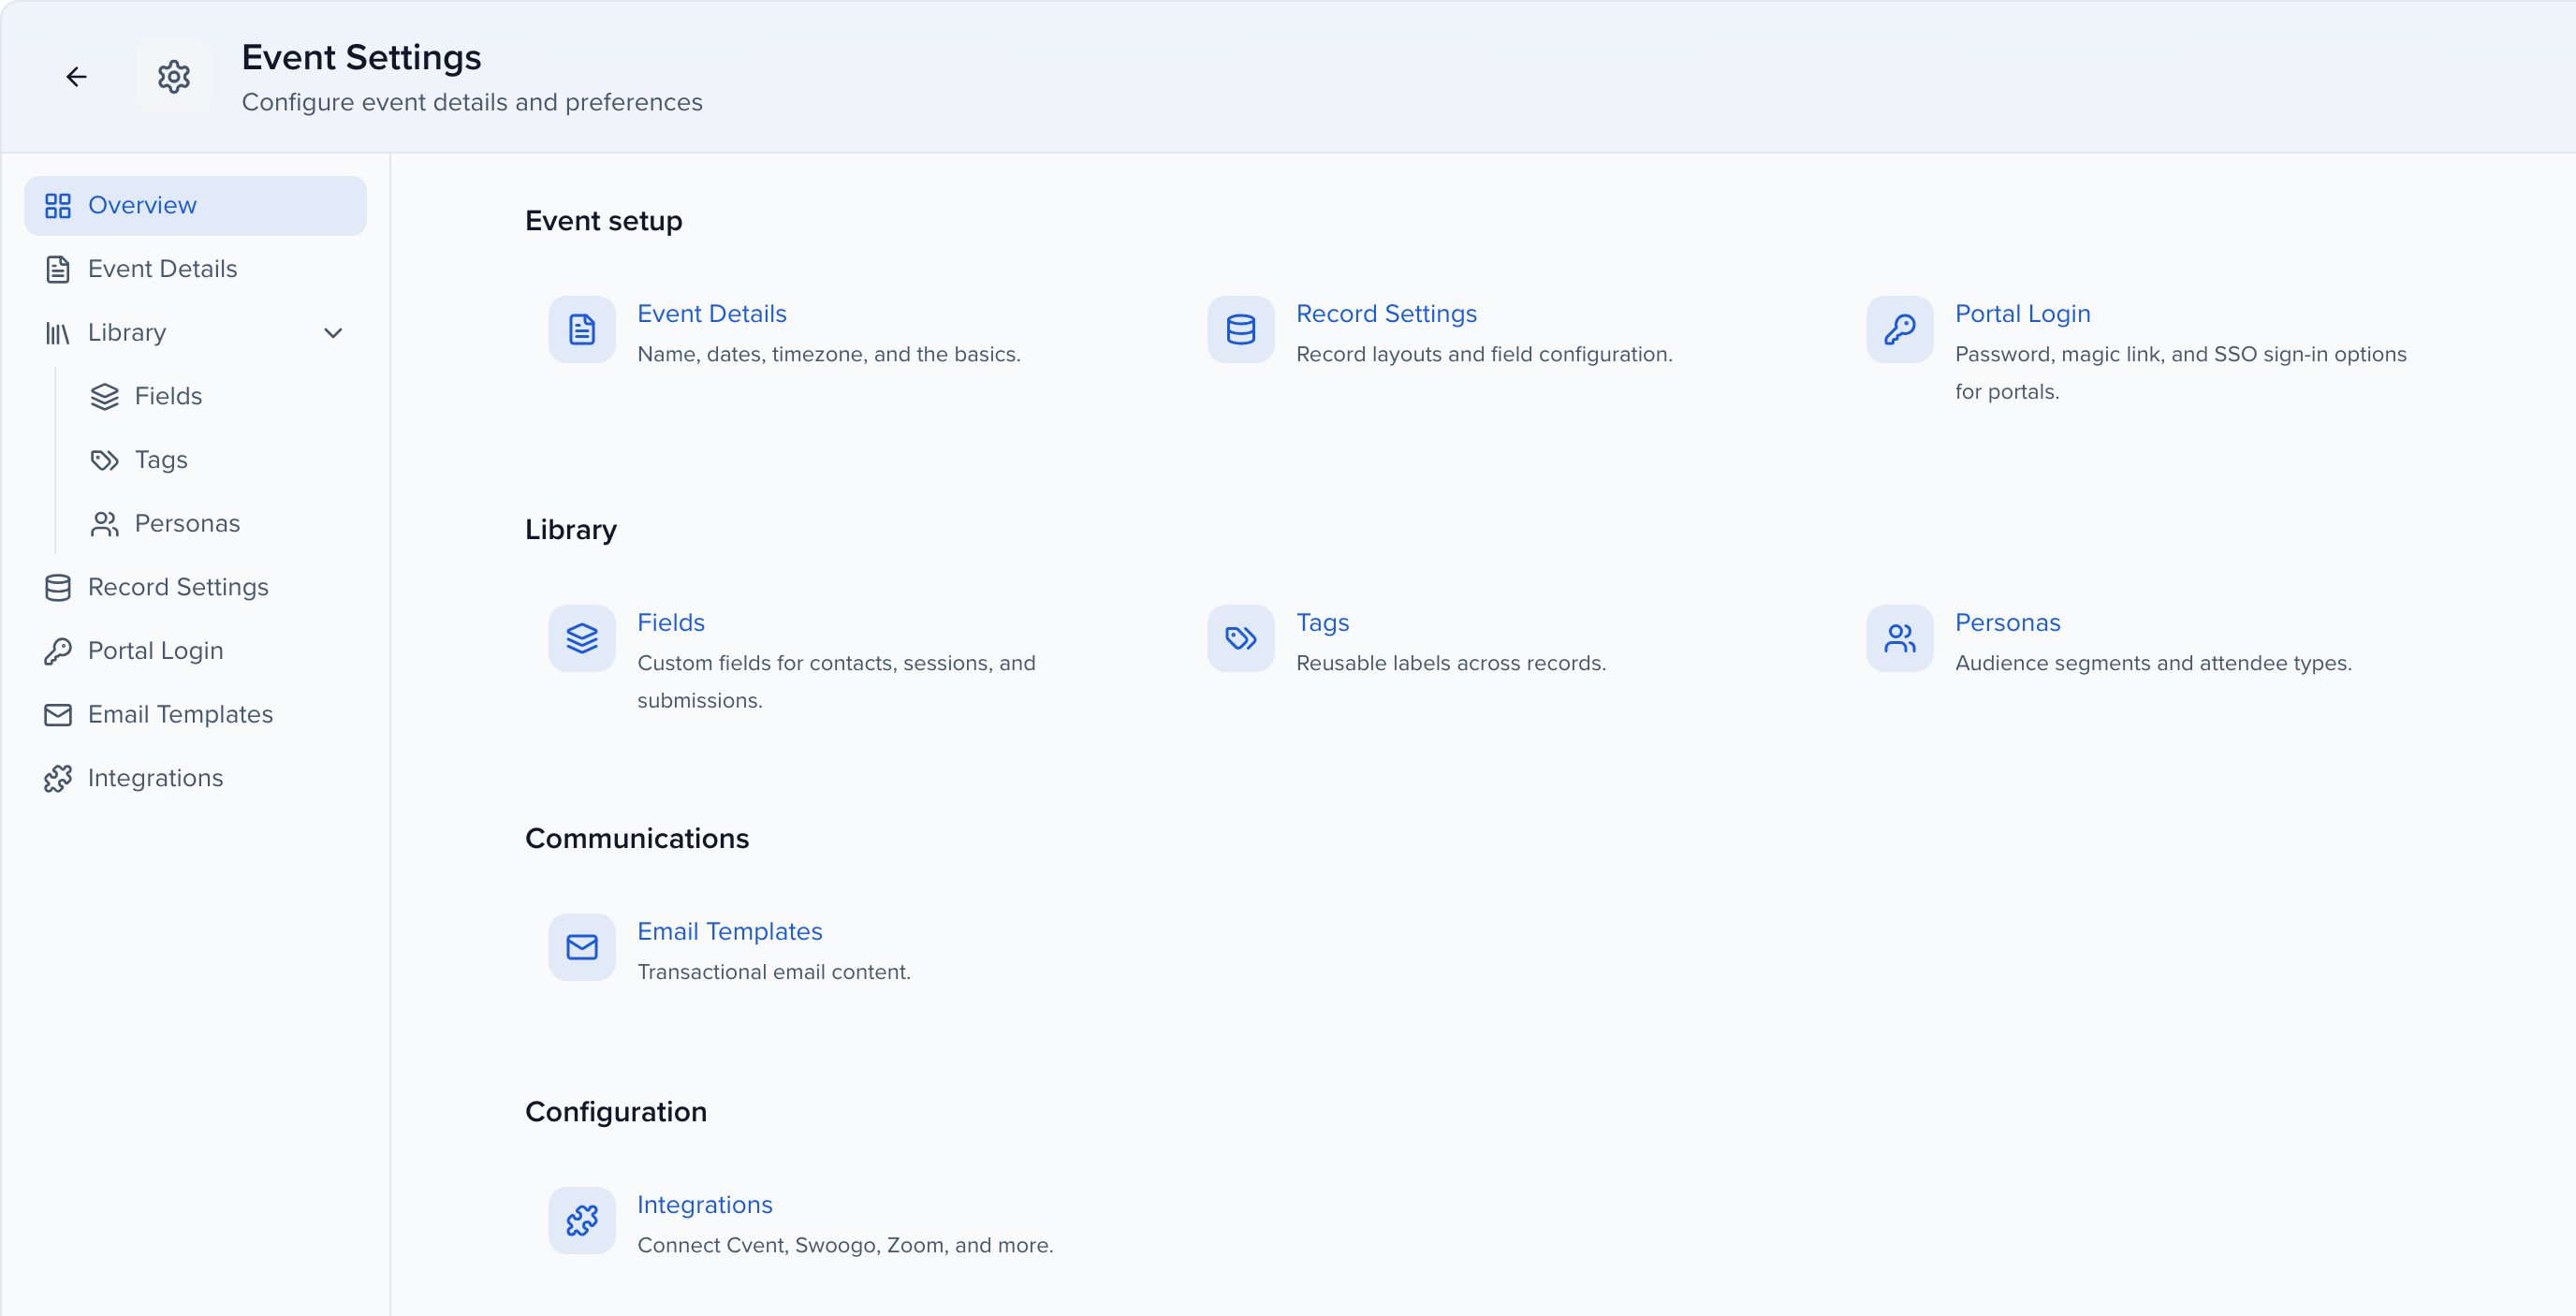
Once you’ve created an event, configure its details before onboarding contacts. Navigate to the Settings module within your event. Its Overview groups everything into Event setup, Library, Communications, and Configuration:
Video transcript
Let’s go back to the start. Before anyone imports a spreadsheet or opens a form, there’s a short list of settings that everything else reads from. Get these right once and the rest of the event behaves. Four stops. Event details, record settings, custom fields, and your team.
Settings, bottom of the navigation. The Overview groups everything into event setup, library, communications and configuration. Today we’re in the first group.
Event Details is the basics. The name and the slug, that’s the address in every portal link. Event type, website, location, and the theme, a sentence about who the event is for. Those four aren’t decoration, the AI features read them to understand your event, so a real sentence here makes the agents noticeably better.
Timezone is the one to double check. It’s the clock every participant sees. Session times and any date field in a portal render in this zone, with its abbreviation, not the reader’s own. Leave it blank and they fall back to UTC, and a speaker in Denver sees a keynote at the wrong hour. Then start and end, and your logo and background image under Image Settings.
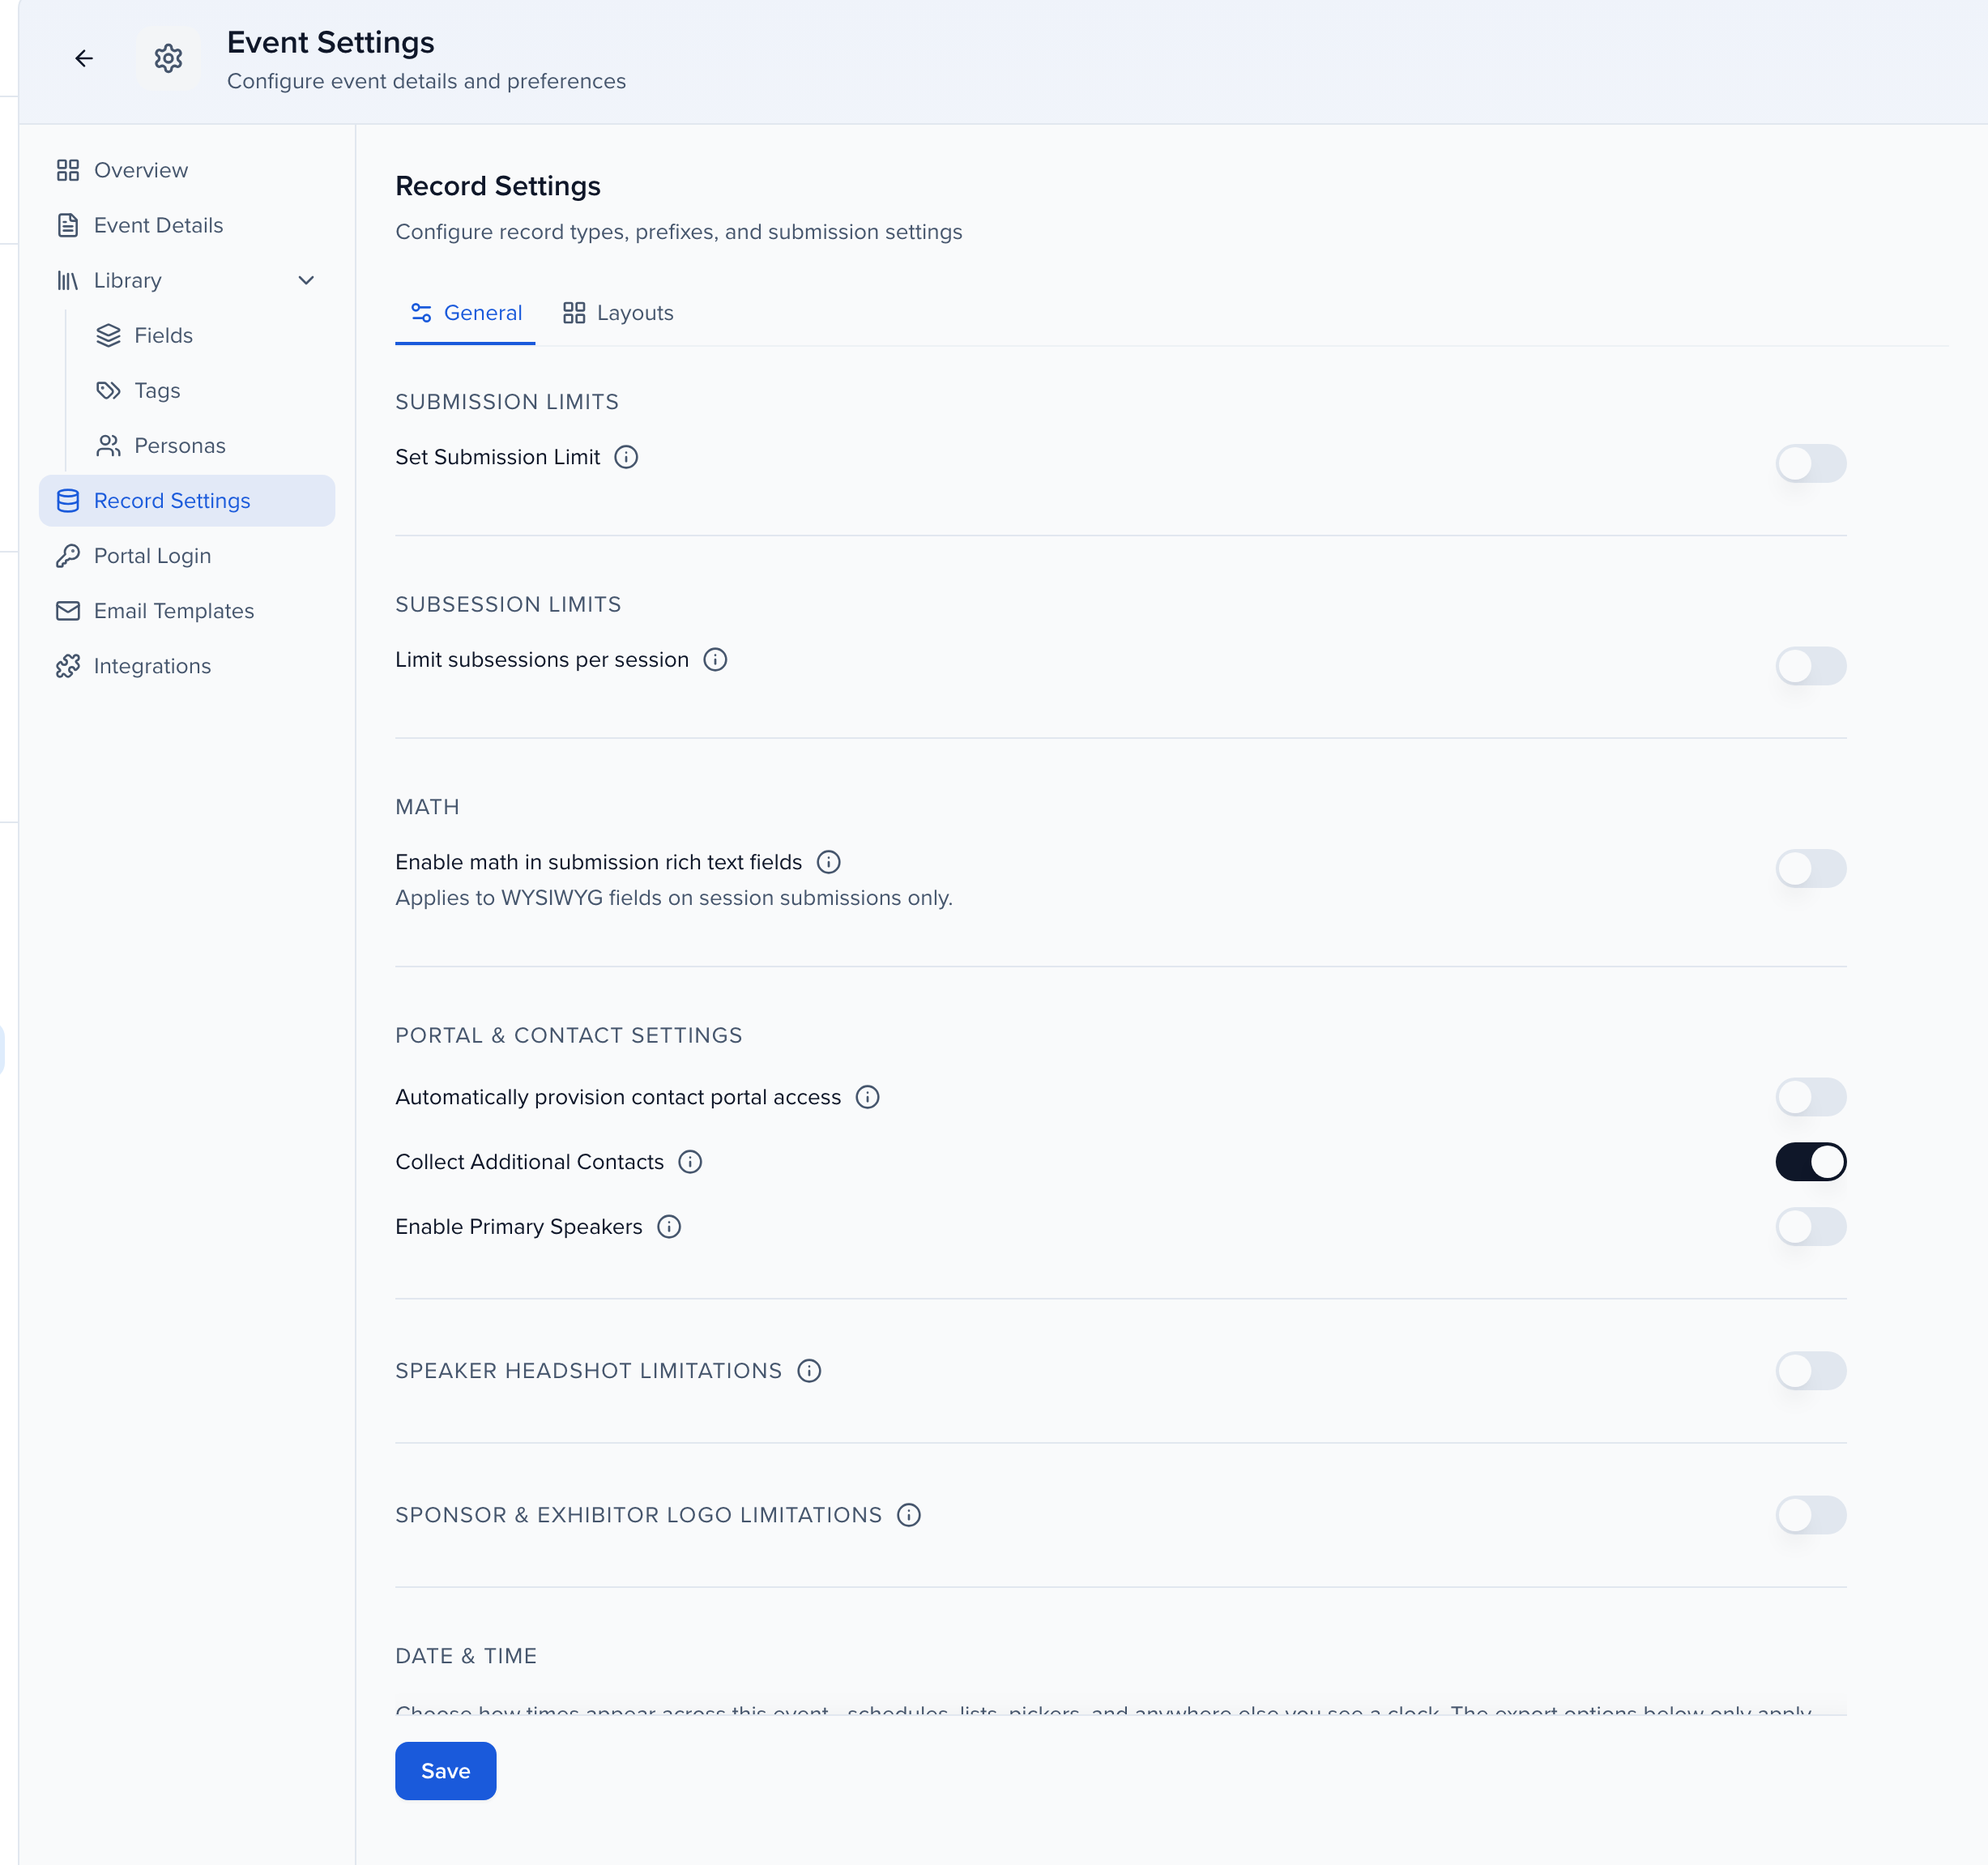
Record Settings, General. This page shapes how submissions and contacts behave across the whole event. Submission limit caps how many sessions one person can submit, counted across every form, not per form. Subsession limits do the same for the sessions under a parent, and you can override it by filter, say a higher cap for anything in the expo format.
The Portal and Contact group is where most onboarding questions land. Automatically provision portal access means anyone you add or import can sign into the portal without another step. Collect Additional Contacts adds an assistant or co-author section to the submission form, and those people get copied on emails. Enable Primary Speakers lets you mark who the point of contact is on a session with several people.
Speaker Headshot Limitations is worth turning on before the first upload. Set accepted formats, an optional file size cap, and maximum dimensions. Dimensions and size behave differently. An oversized image is resized for you, an oversized file is refused. If you want consistent headshots for the website, set the dimensions.
Down at the bottom, Record IDs. The prefix goes in front of every submission, contact and group number, so this is where SESS or ABST comes from. It’s applied when an ID is displayed, not when the record is made, which means changing it renames every existing record at once. Fine before launch, disruptive after you’ve sent IDs to reviewers.
Custom fields. Settings, then Library, then Fields, inside the event. Three tabs, Contact, Group and Submission, and each has the fields that already exist, with the system ones locked. Two reasons this comes before anything else. If you import, the column has to have a field to land in. And on a submission form, a field becomes a question, so building the field first is building the form.
Add Field, then Add Field. A name. The type, and this is the one decision you can’t undo, the type is locked once you save. Text, dropdown, date, file, formula, and so on. For a dropdown, the options go here, and you can let submitters add their own if you want the list to grow. Field Level, event or global, decides whether this field exists on every event in the organization or just this one.
Contains Personal Data is easy to miss. Turn it on for anything sensitive and the value is masked in AI queries and in reports you share outside the team. Save Changes, and it’s on the list and available to forms, columns and filters.
When a field stops being useful, archive it rather than delete it. Archived fields disappear from forms and pickers but keep their data, shown read-only on the record, and you can restore them from the Hidden Fields tab. Delete is for a field made by mistake, because it takes the data with it.
Last, your team. Event Team, then Add, Invite User. Email and name, then the type of user, and that’s the real question. Admin User sees everything. Admin Lite and the manager roles each cover one area, sessions, content or communications. Reporting Only is for the person who needs the numbers and nothing else. Session Managers can be given a filter so they only see their track. Tags here are for evaluation plans later on.
That’s the foundation. Details, the record settings that shape every form, fields before data, and the right role for each person. Roles and field-level permissions get their own chapter, Users and permissions. The submission form itself is the Call for papers chapter. The Help Center article is Event details and record settings, and it’s worth reading once with your event open beside it.
Why use it
Section titled “Why use it”Event details and record settings are the handful of choices the rest of the event reads from: the timezone participants see, how many sessions one person can submit, which headshots the uploader accepts, and the prefix on every record ID. Set them before you import contacts or open a submission form. Some of them, like the ID prefix, rename every existing record when you change them later.
Event details
Section titled “Event details”Settings → Event Details holds the basic information every other part of the event reads from.
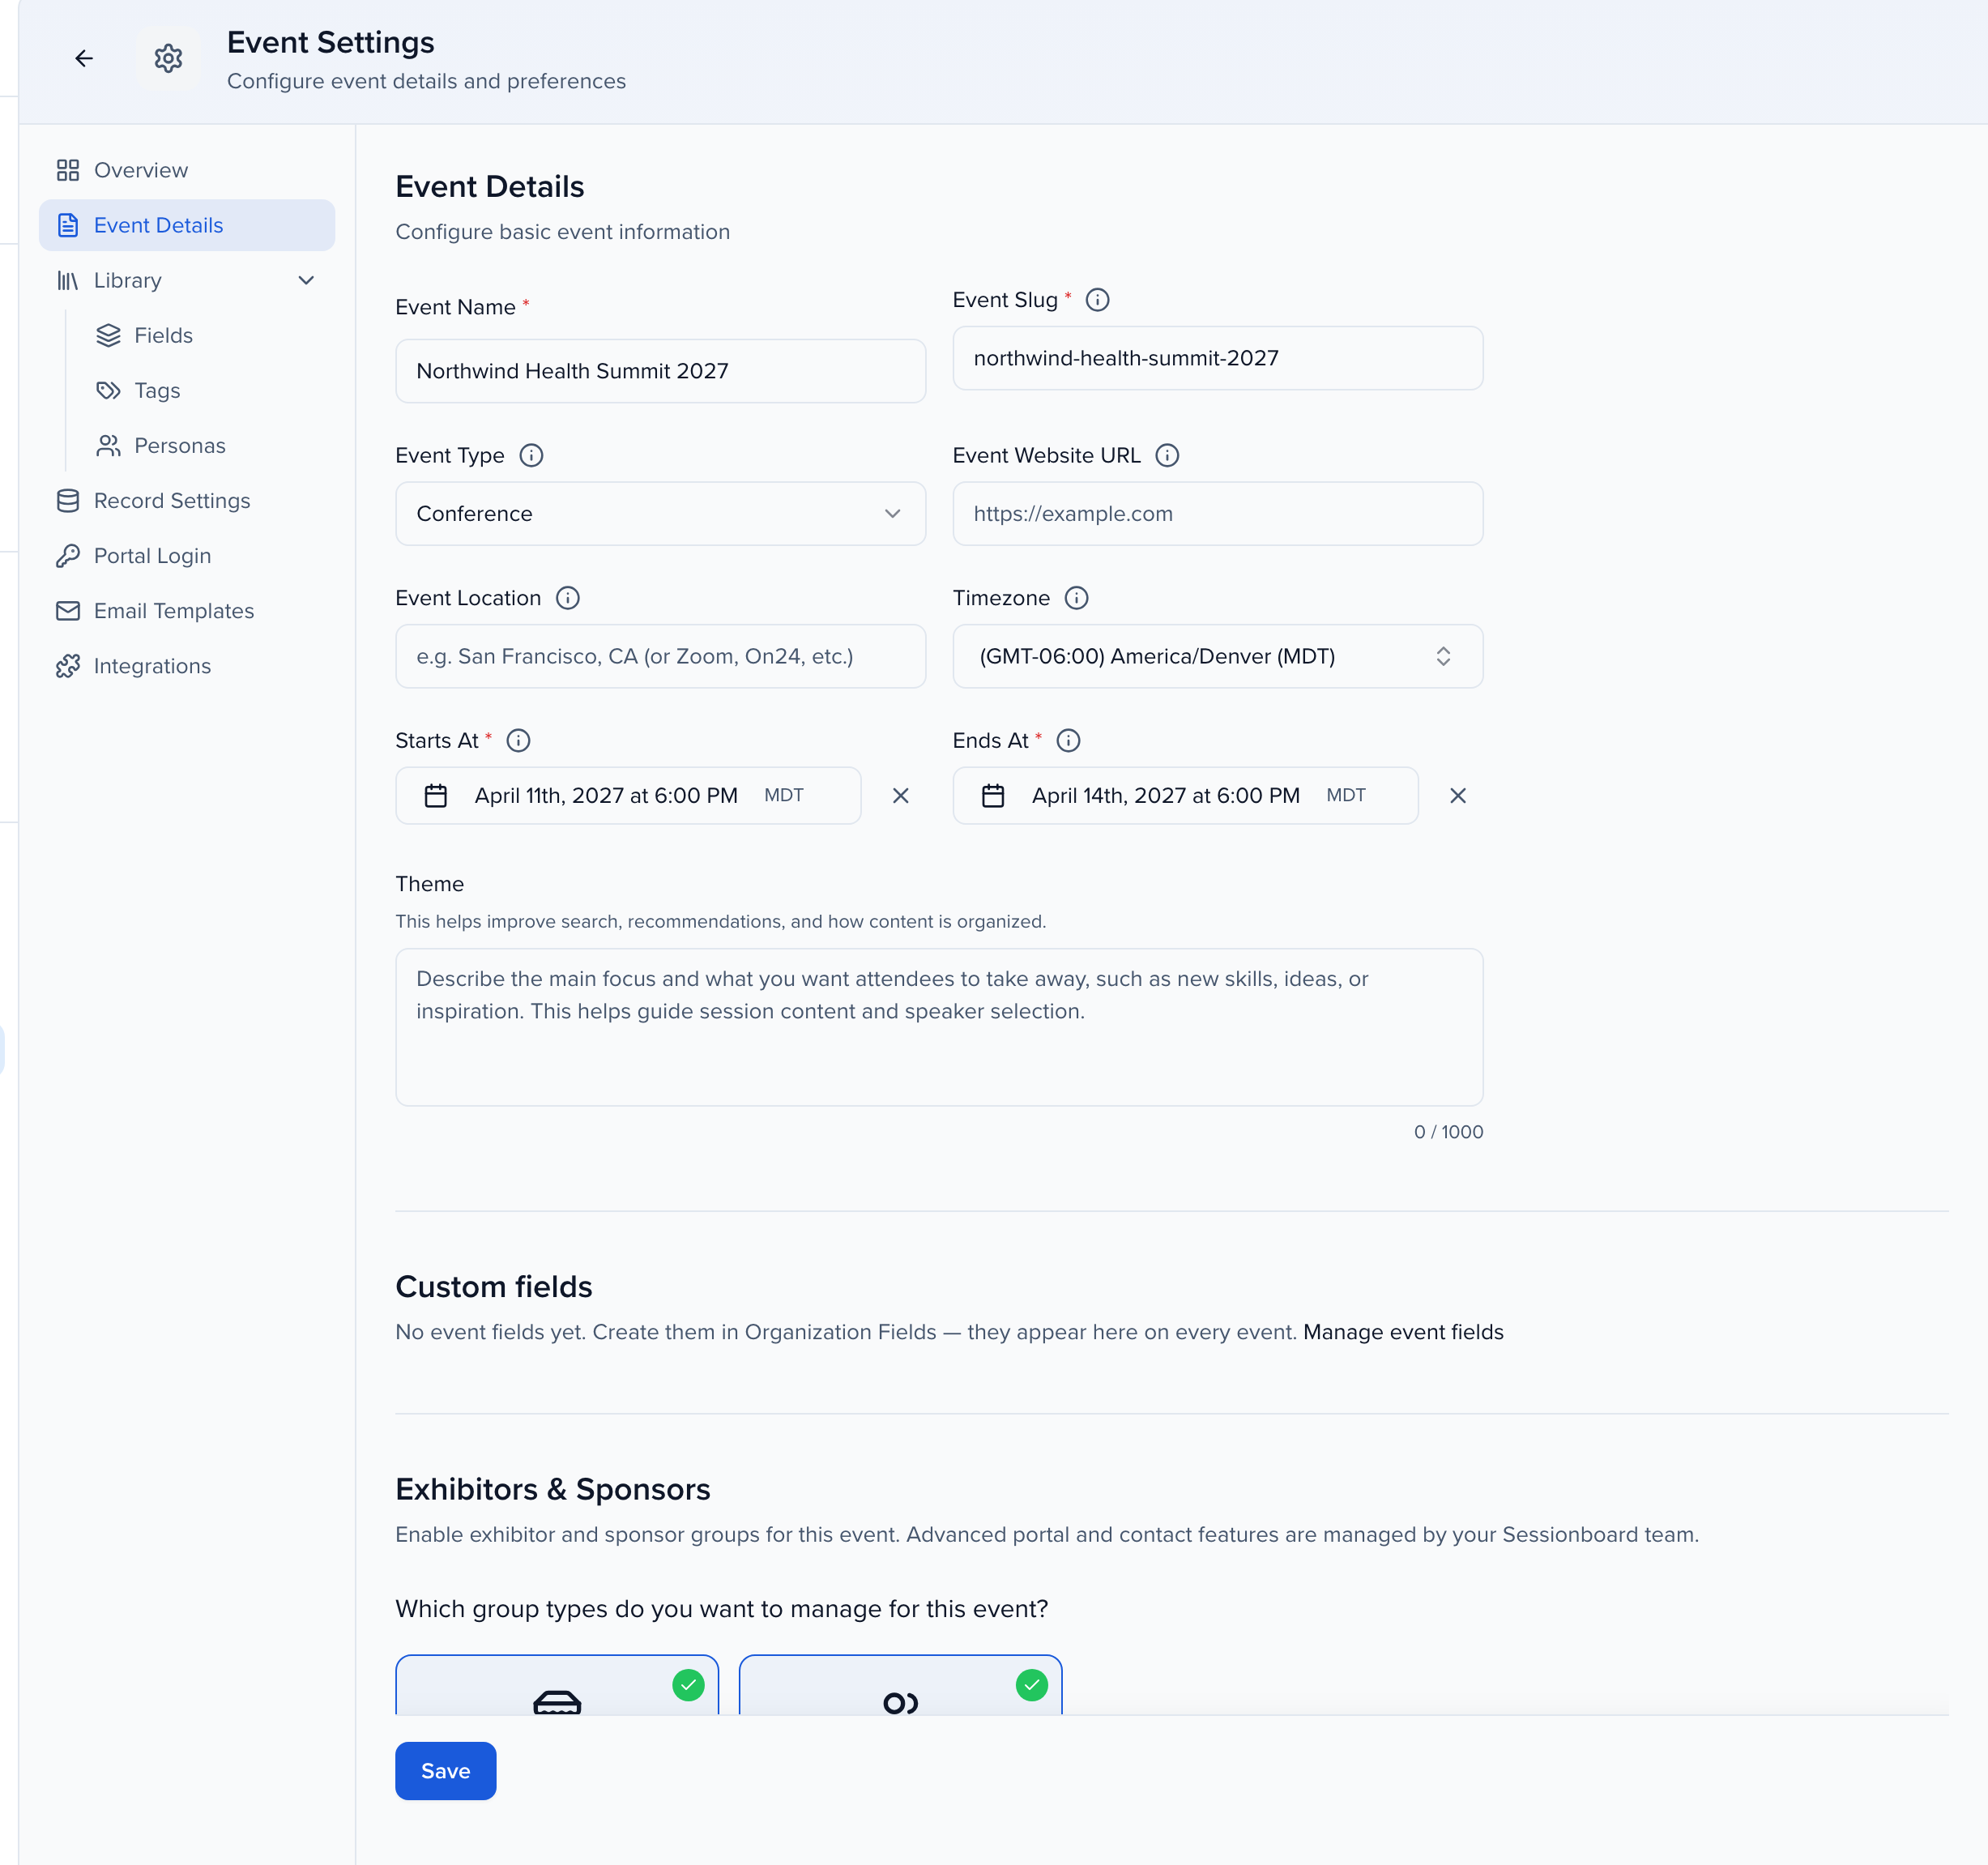
| Field | Example |
|---|---|
| Event Name | ACME Conference 2025 |
| Event Slug | app.sessionboard.com/acme-conference-2025 |
| Event Type | Conference |
| Event Website URL | https://www.sessionboard.com/ |
| Event Location | San Francisco, CA |
| Timezone | (GMT-5:00) America/New_York |
| Starts / Ends At | 12/02/2025 8:00am → 12/05/2025 5:00pm |
| Theme | A short description of your event’s focus and audience |
| Logo image | 300 × 300 |
| Background image | 1500 × 500 (use an image with no words) |
Below the details, Custom fields lists any event-level fields your organization has created (from Organization Settings > Library > Fields, on the Event tab — they appear on every event), and Exhibitors & Sponsors chooses which group types this event manages.
On an event without Sponsor Pro or Exhibitor Pro, the Exhibitors & Sponsors section lists what the event already includes — sponsor and exhibitor groups, emailing a group, linking sponsors to submissions, and sponsors who present reaching the portal through their submission — and what needs Pro: a Groups portal, collecting files and forms from a whole group, and passes and allocations by level. Ask your account team starts the conversation about adding it. Events with Pro don’t show the note.
Timezone
Section titled “Timezone”Timezone is the clock the rest of the event reads from, including everything participants see. Session times and custom Date & Time fields in a portal are rendered in this zone and labelled with its abbreviation, rather than in the reader’s own timezone — see dates and times in the portal. Leave it blank and those times fall back to UTC with nothing naming the zone.
Archive the event
Section titled “Archive the event”When an event is over and you no longer want it in your lists, the Archive event section of Settings → Event Details hides it from the organization’s Events page, the sidebar event switcher and event pickers. Nothing is deleted or switched off: the event still opens from its URL, and speaker portals, embeds, integrations and the public API keep working. Inside an archived event a banner says so, with an Unarchive button that puts it back in the lists.

Archiving and unarchiving need the Update Event Settings permission. Once your organization has an archived event, Show archived (with the number of archived events) appears on the Events page and in the event switcher. See Archive an event.
Record settings
Section titled “Record settings”Settings → Record Settings → General controls how submissions, contacts, and uploads behave across the event.
Submission and subsession limits
Section titled “Submission and subsession limits”Set submission limit caps how many sessions one user can submit, counted across every form in the event rather than per form.
Limit subsessions per session caps how many subsessions can hang off a parent session, up to 500. It’s enforced both in the admin and on Call for Papers forms. Set one default for the event, then add filtered overrides to give a different limit to sessions matching a filter — for example, a higher cap on anything with Format = Expo. Leave the default blank for no limit.
Enable math in submission rich text fields adds MathJax support to WYSIWYG fields on session submissions — LaTeX, MathML, and ASCIIMath — in the admin, portals, and Call for Papers. It applies to session submissions only, and the math tools load only when the setting is on, so leave it off unless your submitters need notation.
Portal and contact settings
Section titled “Portal and contact settings”-
Automatically provision contact portal access — contacts get portal access when added or imported.
-
Collect additional contacts — gather additional contacts (an assistant or a co-author’s coordinator, for example) for speakers via the submission form. See additional contacts.
-
Enable primary speakers — designate specific speakers or authors as “Primary” across sessions, so it’s clear who the point of contact is and who to feature for a given session or abstract. Submission forms can cap how many participants are marked primary — see primary speaker limits.
-
Enable Participant Acceptance — let participants accept or decline each role they hold on a submission, with optional withdrawal, and — with Enable Participant Acceptance for Abstracts — on accepted abstracts too. See participant acceptance.
Participant headshot limitations
Section titled “Participant headshot limitations”Controls what the photo editor will accept. When on, accepted formats, dimension limits, and the optional file-size cap apply everywhere a headshot can be uploaded — submission forms, portal forms, application forms, and Edit Profile — for both admins and portal users.
The line submitters see under the field is separate. On a submission form it comes from the question: your Help Text if you wrote any, otherwise a type-and-size hint such as “Images only (up to 5 GB)”. Set Maximum file size in Customize Question to change the advertised size, or leave it blank for 5 GB. Session Files and these headshot size limits do not change that hint. See Session submission forms.
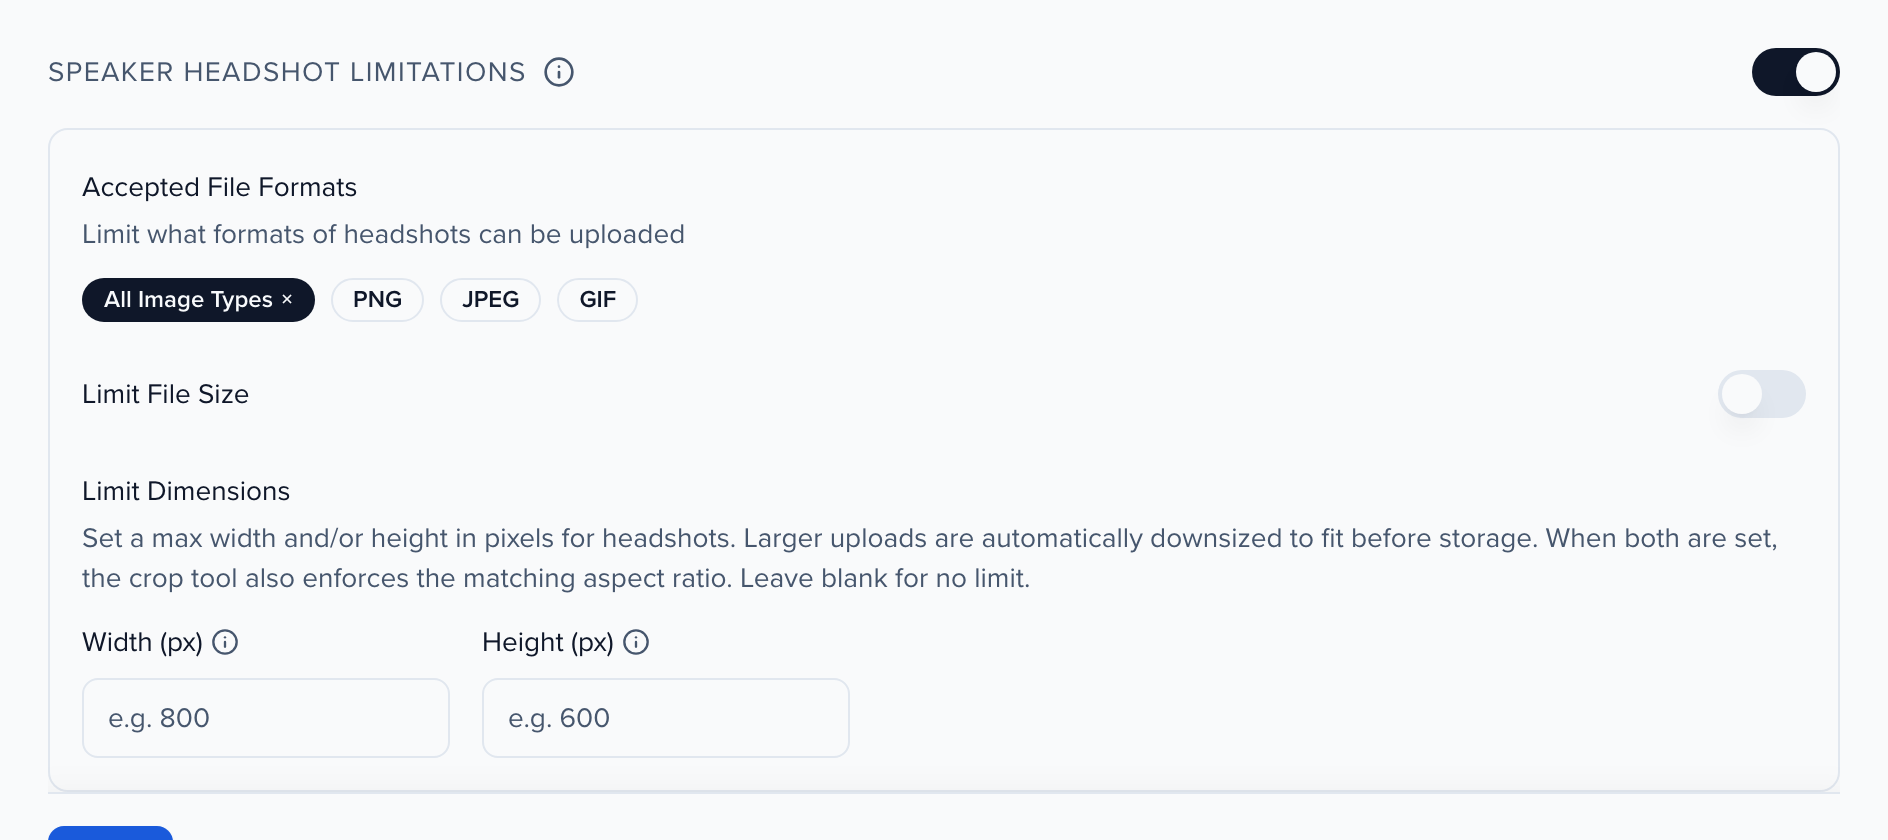
- Accepted file formats — All Image Types, PNG, JPEG, or GIF. At least one must stay selected.
- Limit file size — an optional cap between 10 KB and 5 GB. Files over the cap are rejected in the photo editor, and the uploader is told why.
- Limit dimensions — a max width and/or height in pixels. Larger uploads are automatically downsized to fit before storage rather than rejected. Setting both also makes the crop tool enforce that aspect ratio. Leave blank for no limit.
Sponsor & exhibitor logo limitations
Section titled “Sponsor & exhibitor logo limitations”The same controls for sponsor and exhibitor logos: accepted formats, an optional file size cap, and max width and height. Larger logos are automatically downsized to fit, and setting both dimensions makes the crop tool enforce the matching aspect ratio.
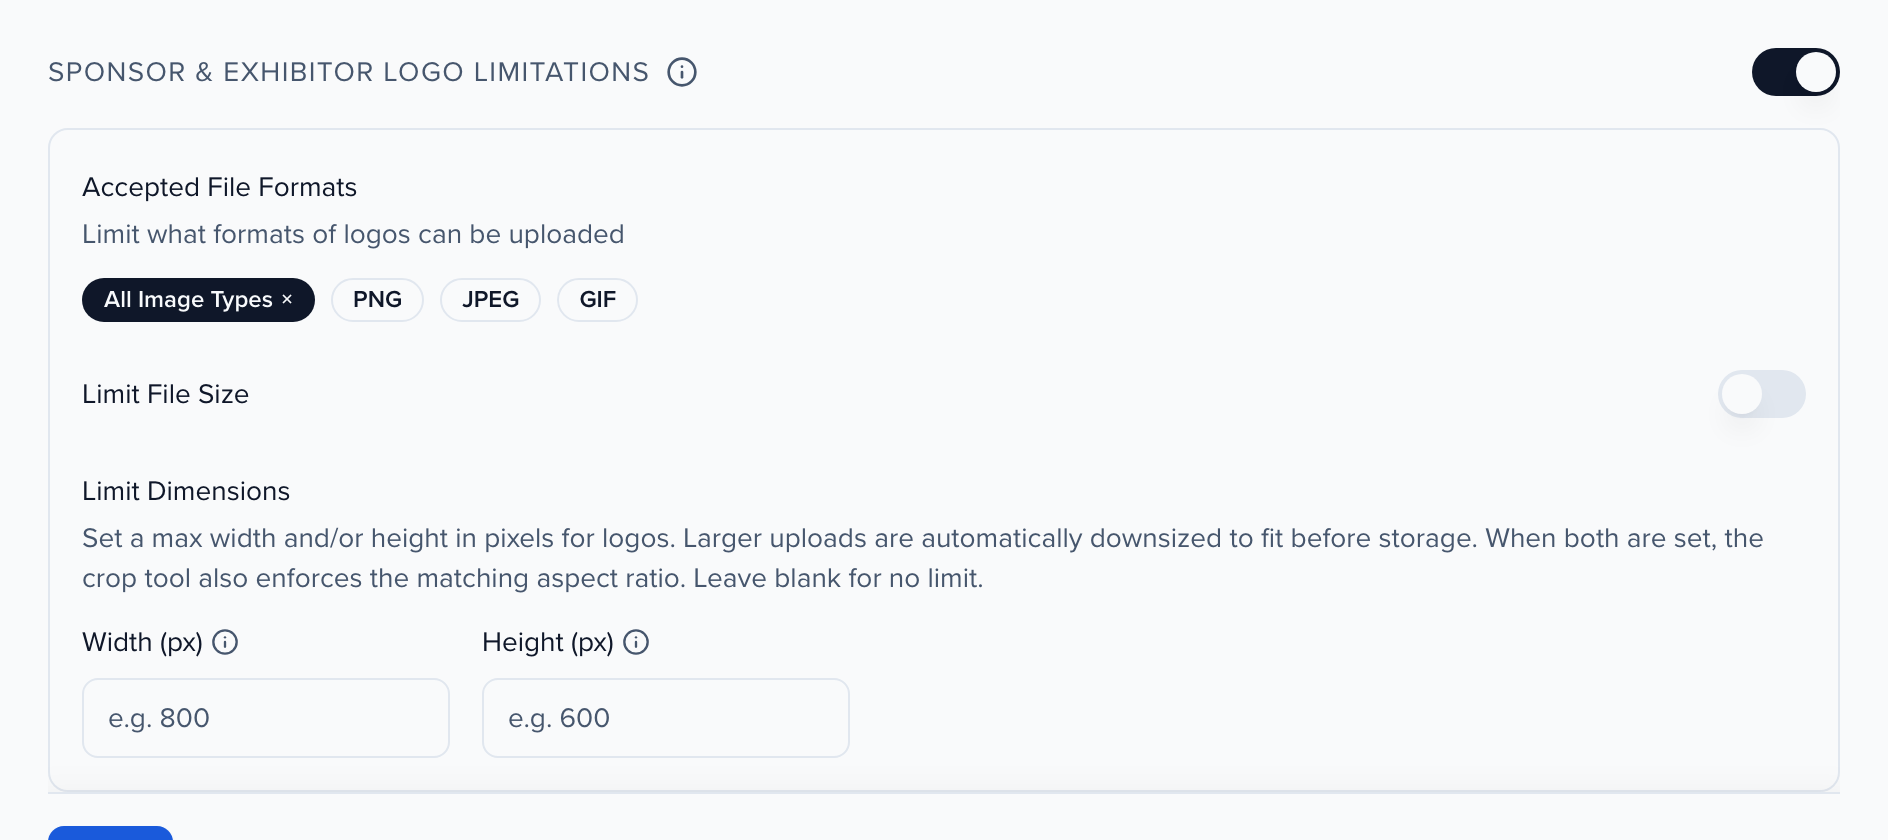
Like headshots, this is enforced in the logo editor everywhere a sponsor or exhibitor logo can be uploaded. On a submission form, the line under the field still follows that question’s Help Text and Maximum file size, not this cap.
Date & time
Section titled “Date & time”Time Format sets whether times use a 12-hour clock (with AM/PM) or a 24-hour clock everywhere times are shown for this event:
- Portals — on the speaker, contact and account portals: task due dates, messages, file deadlines and upload times, the session start and end editors, and time fields on the profile. See Dates and times in the portal.
- Submission forms — the open and close deadlines on the CFP page, and the times on a signed-in submitter’s in-progress submissions.
- Follow-up forms — date and time fields, and the close date.
- Admin — the event’s admin screens: date and time columns in the grids, session pages and the session side panel (including Activity and Files), the agenda calendar, cards and list, review screens and their print views, invoices and receipts, approvals, email campaign schedules, Automations history, the event’s History lists (including integration runs), content export and download jobs, and Last login on the Event Team page.
Ready Room still shows 12-hour times whatever this is set to. Organization-level pages, such as Awards, organization contact profiles and organization reports, are not tied to one event and keep their own format.
The participant’s language still sets the words for months and days — a German-language portal says Oktober, an English one October — but it no longer decides 12-hour or 24-hour; this setting does. Two things it doesn’t change: downloaded files use Export date format (below), and the pop-up time picker some browsers open on a time field follows the participant’s device settings, which a website can’t override.
Advocacy card date & time is separate: it chooses how session dates appear on Advocacy share cards, US style (Monday, Oct. 26, 4:00 – 6:00 PM) or EU style (Monday, 26 Oct, 16:00 – 18:00).
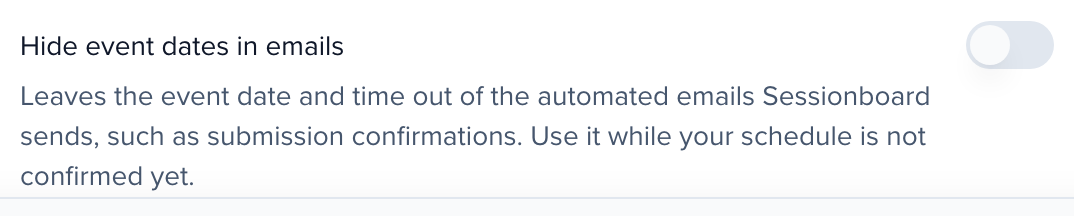
Turn on Hide event dates in emails to leave the event date and time out of the automated emails Sessionboard sends, such as submission confirmations and reminders, including anywhere a template uses the event date merge tag. Use it while your schedule isn’t confirmed yet. Emails you write yourself are unaffected.
Exports
Section titled “Exports”Export date format sets the date and time format used in CSV and spreadsheet downloads for this event. Its date part also sets how the Email Send Date merge tags are written in emails, so a format of Sunday, June 15, 2025 2:00 PM sends Sunday, June 15, 2025 (see the merge tags reference). Leave it on Organization default to follow the format set for your organization under Org Settings > Details, where System default (YYYY-MM-DD HH:mm) applies unless you choose another. Both pickers can be set back to their default after you have saved a specific format. Turn on Include Day/Date/Time split columns to add separate Day, Date, and Time columns alongside each datetime column, which saves reformatting when the export feeds a schedule or a print agenda.
Profile layouts
Section titled “Profile layouts”The Profile layouts tab sets the order of custom fields, and groups them into named sections, on the profiles your team opens in this event. Each profile type has its own layout: Contact profile, Session profile, and Abstract profile (on events with Sessions 2.0).
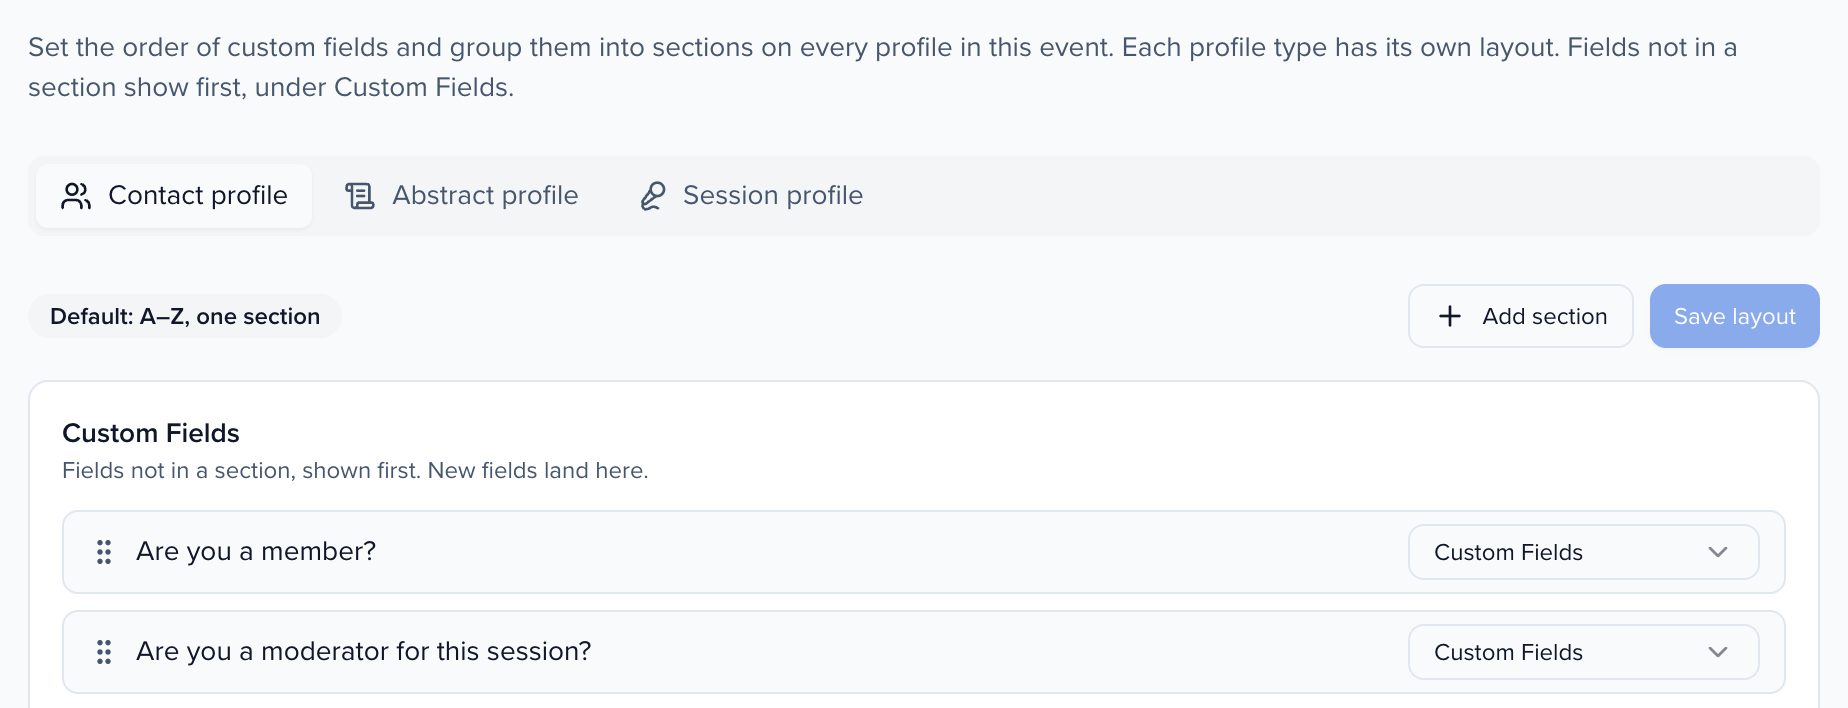
- Pick the profile type.
- Click Add section and name it — for example Travel Information.
- Move fields into it with each field’s section menu, and drag fields by their handle to reorder them within a section. Use the arrows to move a section up or down.
- Click Save layout.
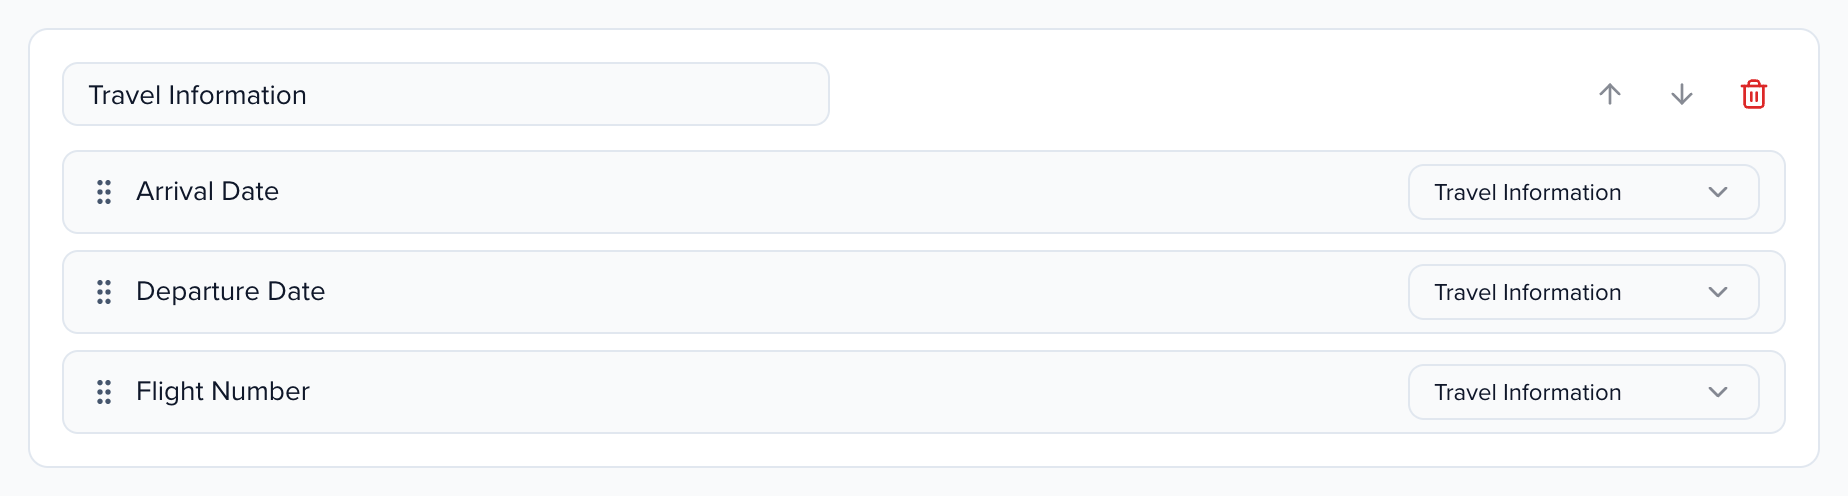
On the session or abstract page, the session side panel and the contact page in this event, the Custom Fields card comes first — it holds every field you have not put in a section — followed by one card per section, in order. Empty sections are not shown, and field search still works across every card. A field you add later lands at the end of Custom Fields; a deleted field drops out. Deleting a section moves its fields back to Custom Fields, and a section must have a name before you can save. Fields shared across your organization carry an Organization badge.
Without a layout, profiles keep today’s view: one Custom Fields card, A–Z. Reset to A–Z goes back to that. Layouts change only order and grouping — labels, values, required fields and who can see a field are untouched — and they are copied when you clone the event. Saving a layout needs permission to edit event settings.
Record IDs
Section titled “Record IDs”Prefixes must be 3–6 uppercase characters, and they’re used when generating IDs for submissions, contacts, and groups such as sponsors and exhibitors.
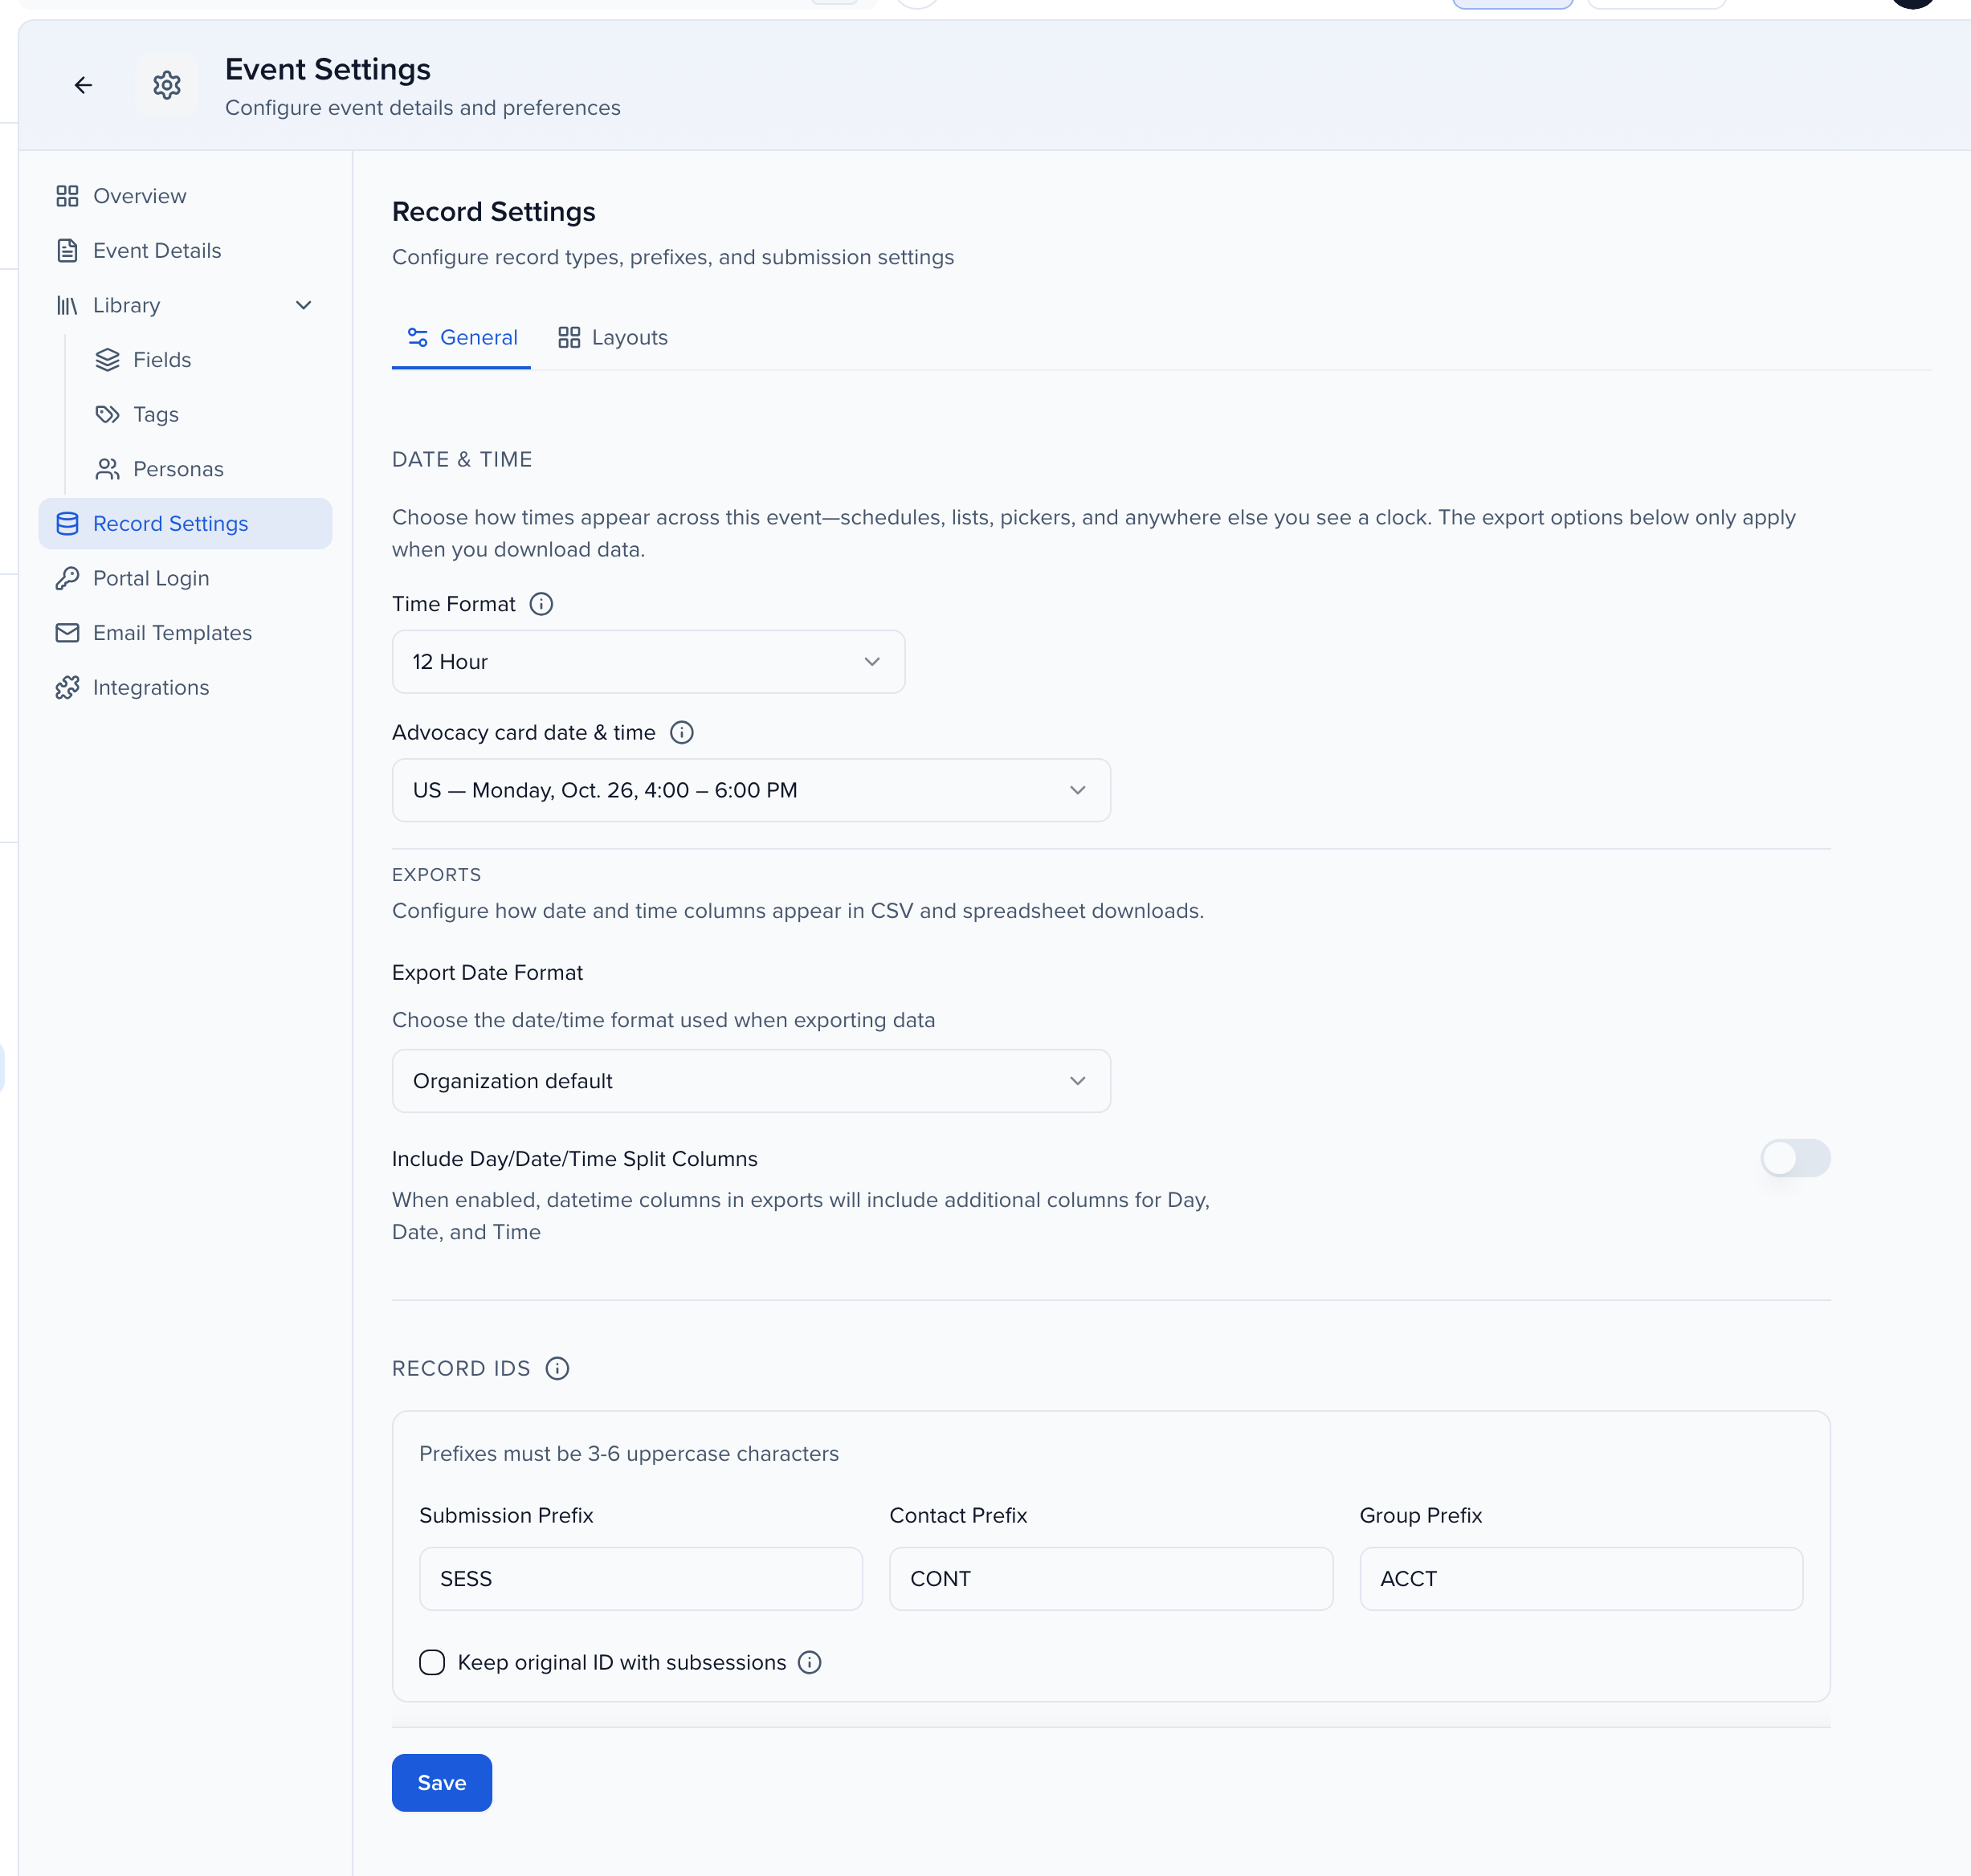
Keep original ID with subsessions makes a subsession keep its own ID instead of nesting under the parent — SESS-23 rather than SESS-601-1.