

Create & assign tasks
A task is a plain action item — register for the event, book your hotel, confirm your travel dates. You create it once in the Tasks library, put it on one or more portals, and every person in those portals sees it on their to-do list with its due date. Who has finished shows up as a column in your contacts table, so tracking is a view, not a report.
Why use it
Section titled “Why use it”Tasks turn “please send us your headshot and confirm your AV needs” into a checklist each speaker sees in their portal, with a deadline, reminders and a column per task so you can see who has finished. A due date relative to assignment gives people added late a fair window, and an extended due date gives everyone a quiet grace period without moving the deadline they see.
Create a task
Section titled “Create a task”Open the Tasks library
Go to Program → Portals → Tasks and click Add → Add Task. The tabs — All Tasks, Contact Tasks, Group Tasks, Submission Tasks — filter the library by who the task is for.
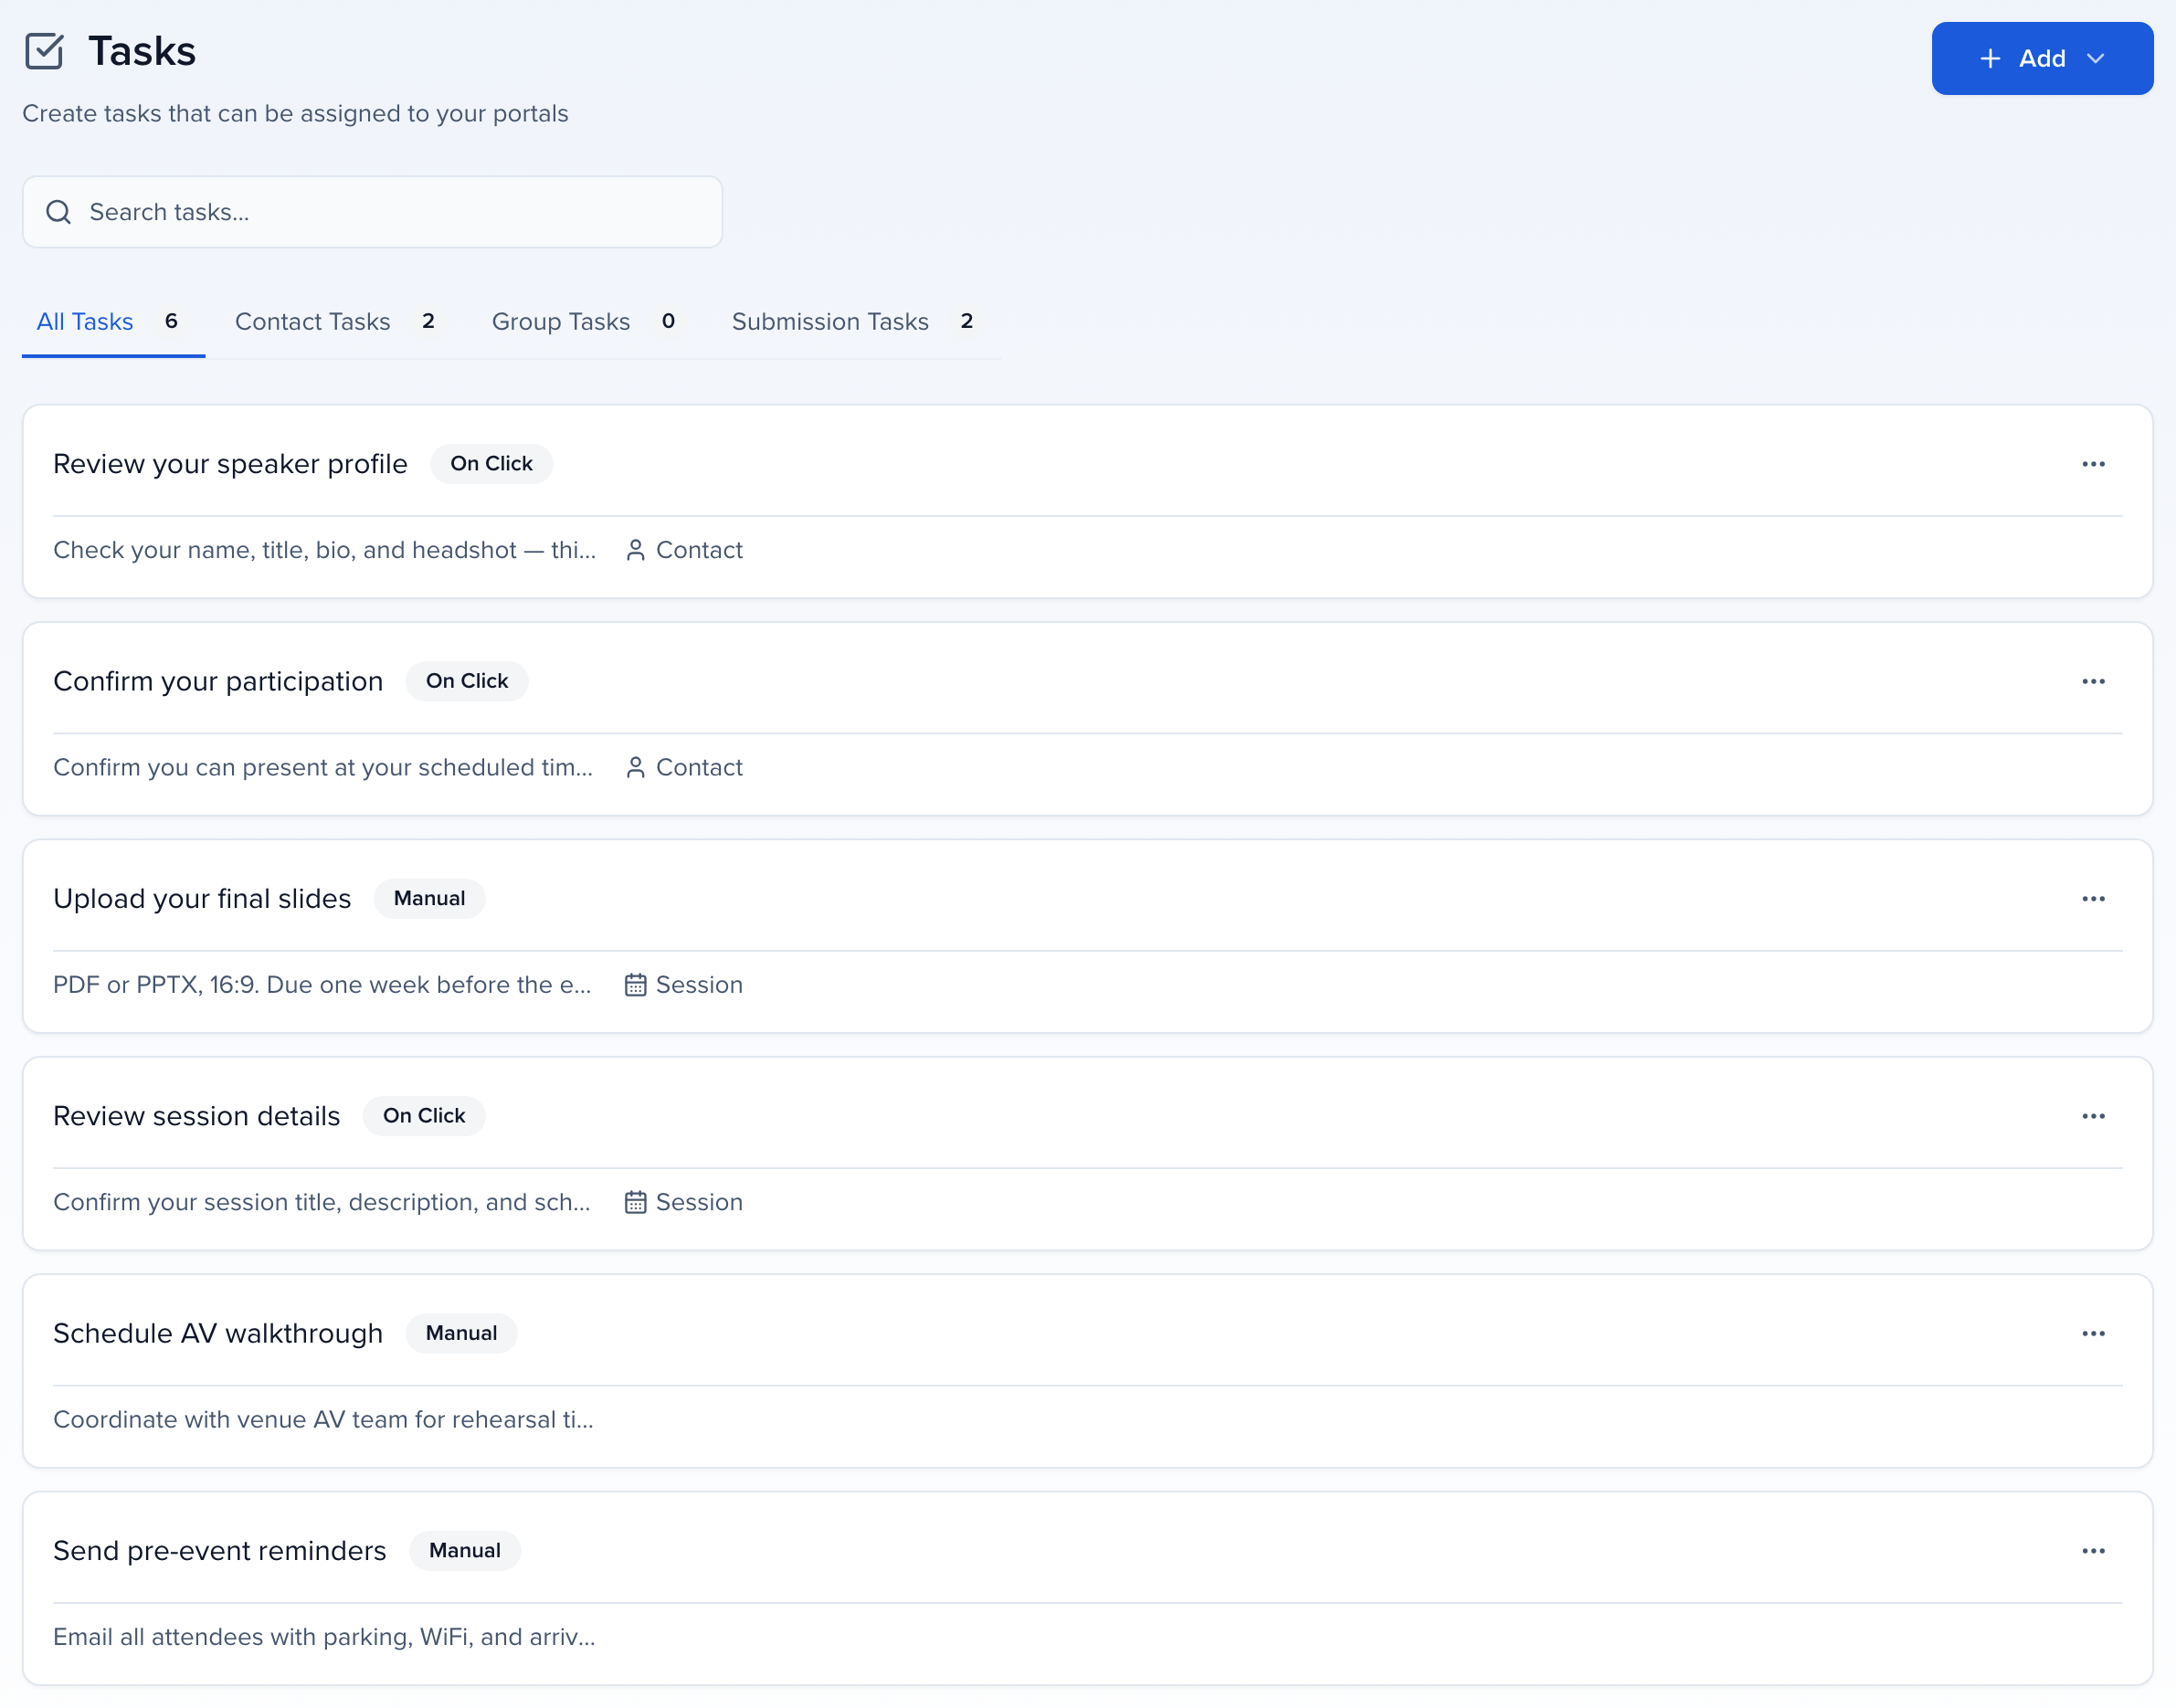
Name it in the speaker's words
Task Name is what the portal shows. “Confirm your travel dates” reads better than “Travel confirmation”. It is required: leave it empty and the panel says Task name is required. under the field.
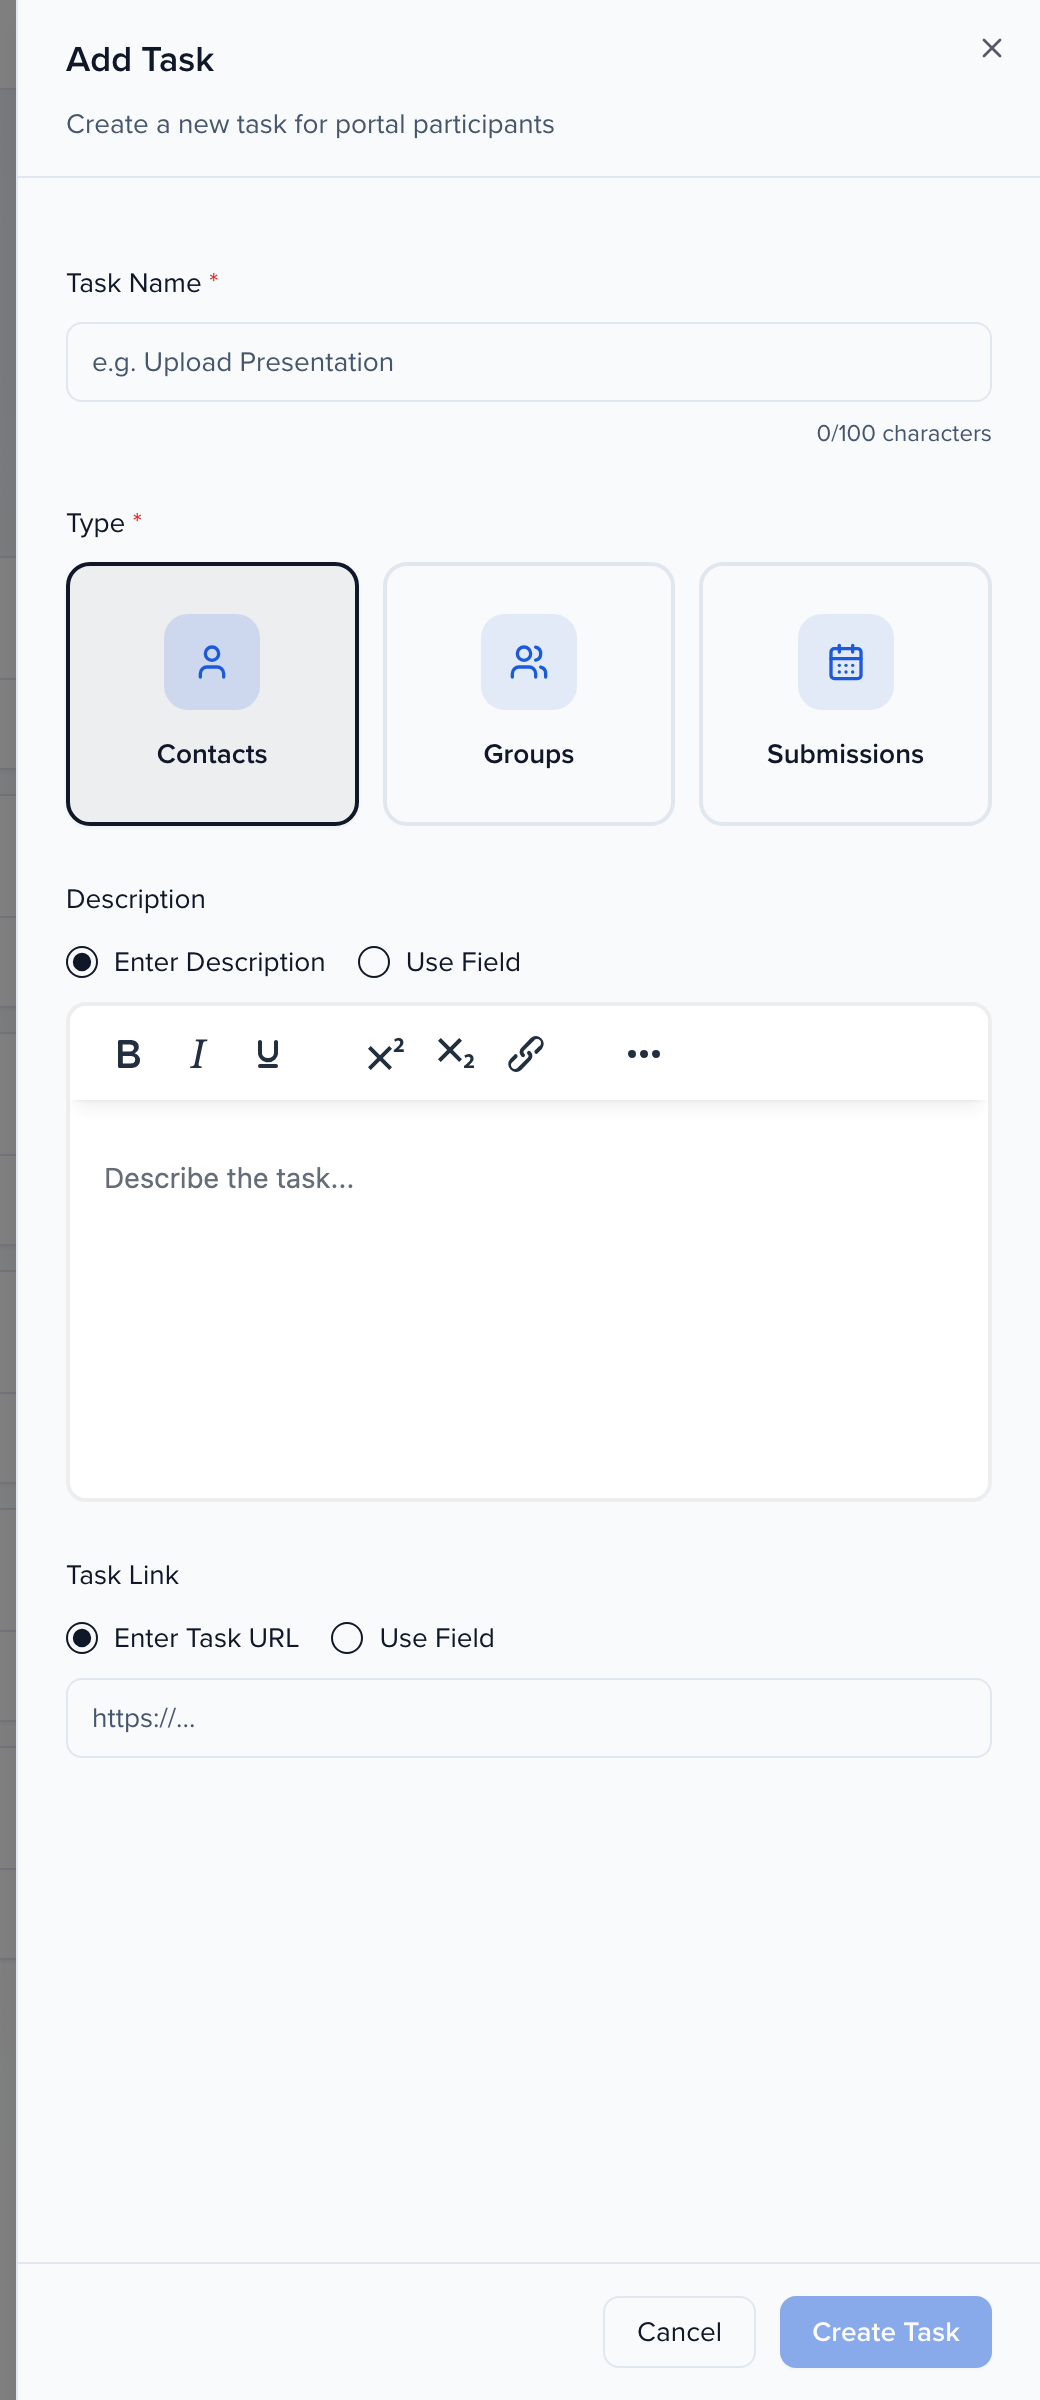
Pick the type
Type decides what the task attaches to:
| Type | Who completes it |
|---|---|
| Contacts | One person — speakers, moderators, chairs, submitters, and individual sponsor or exhibitor contacts. |
| Groups | A sponsor or exhibitor company. The task lands on the company and anyone on their team can complete it. |
| Submissions | Each session rather than each person — right for “upload your slides”. |
Describe it, and link it
Description tells them what done looks like. Enter Description shows the same text to everyone; Use Field pulls a contact or session field instead, so each person sees their own value.
Task Link works the same way: Enter Task URL for one link for all, or Use Field to send each person to their own — a personal registration link, say. Links need the https:// prefix.
Click Create Task. The task is in the library, but nobody sees it until it is on a portal.
Assign the task to a portal
Section titled “Assign the task to a portal”A task can sit on as many portals as you like, and each portal can give it its own alias, due date and required flag.
Open the portal's Assign Items step
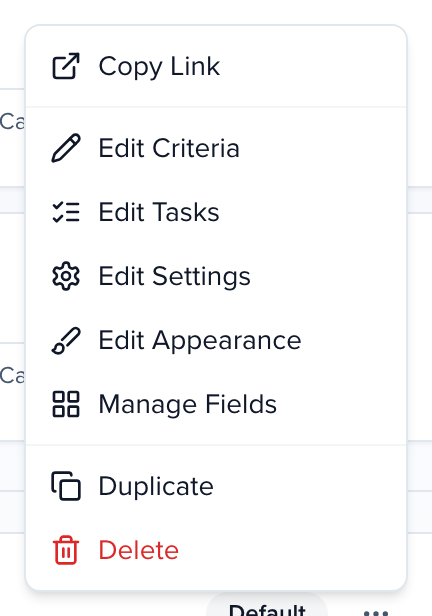
On Program → Portals, open the ⋯ menu on the portal card and choose Edit Tasks. That opens the portal editor on its Assign Items step.
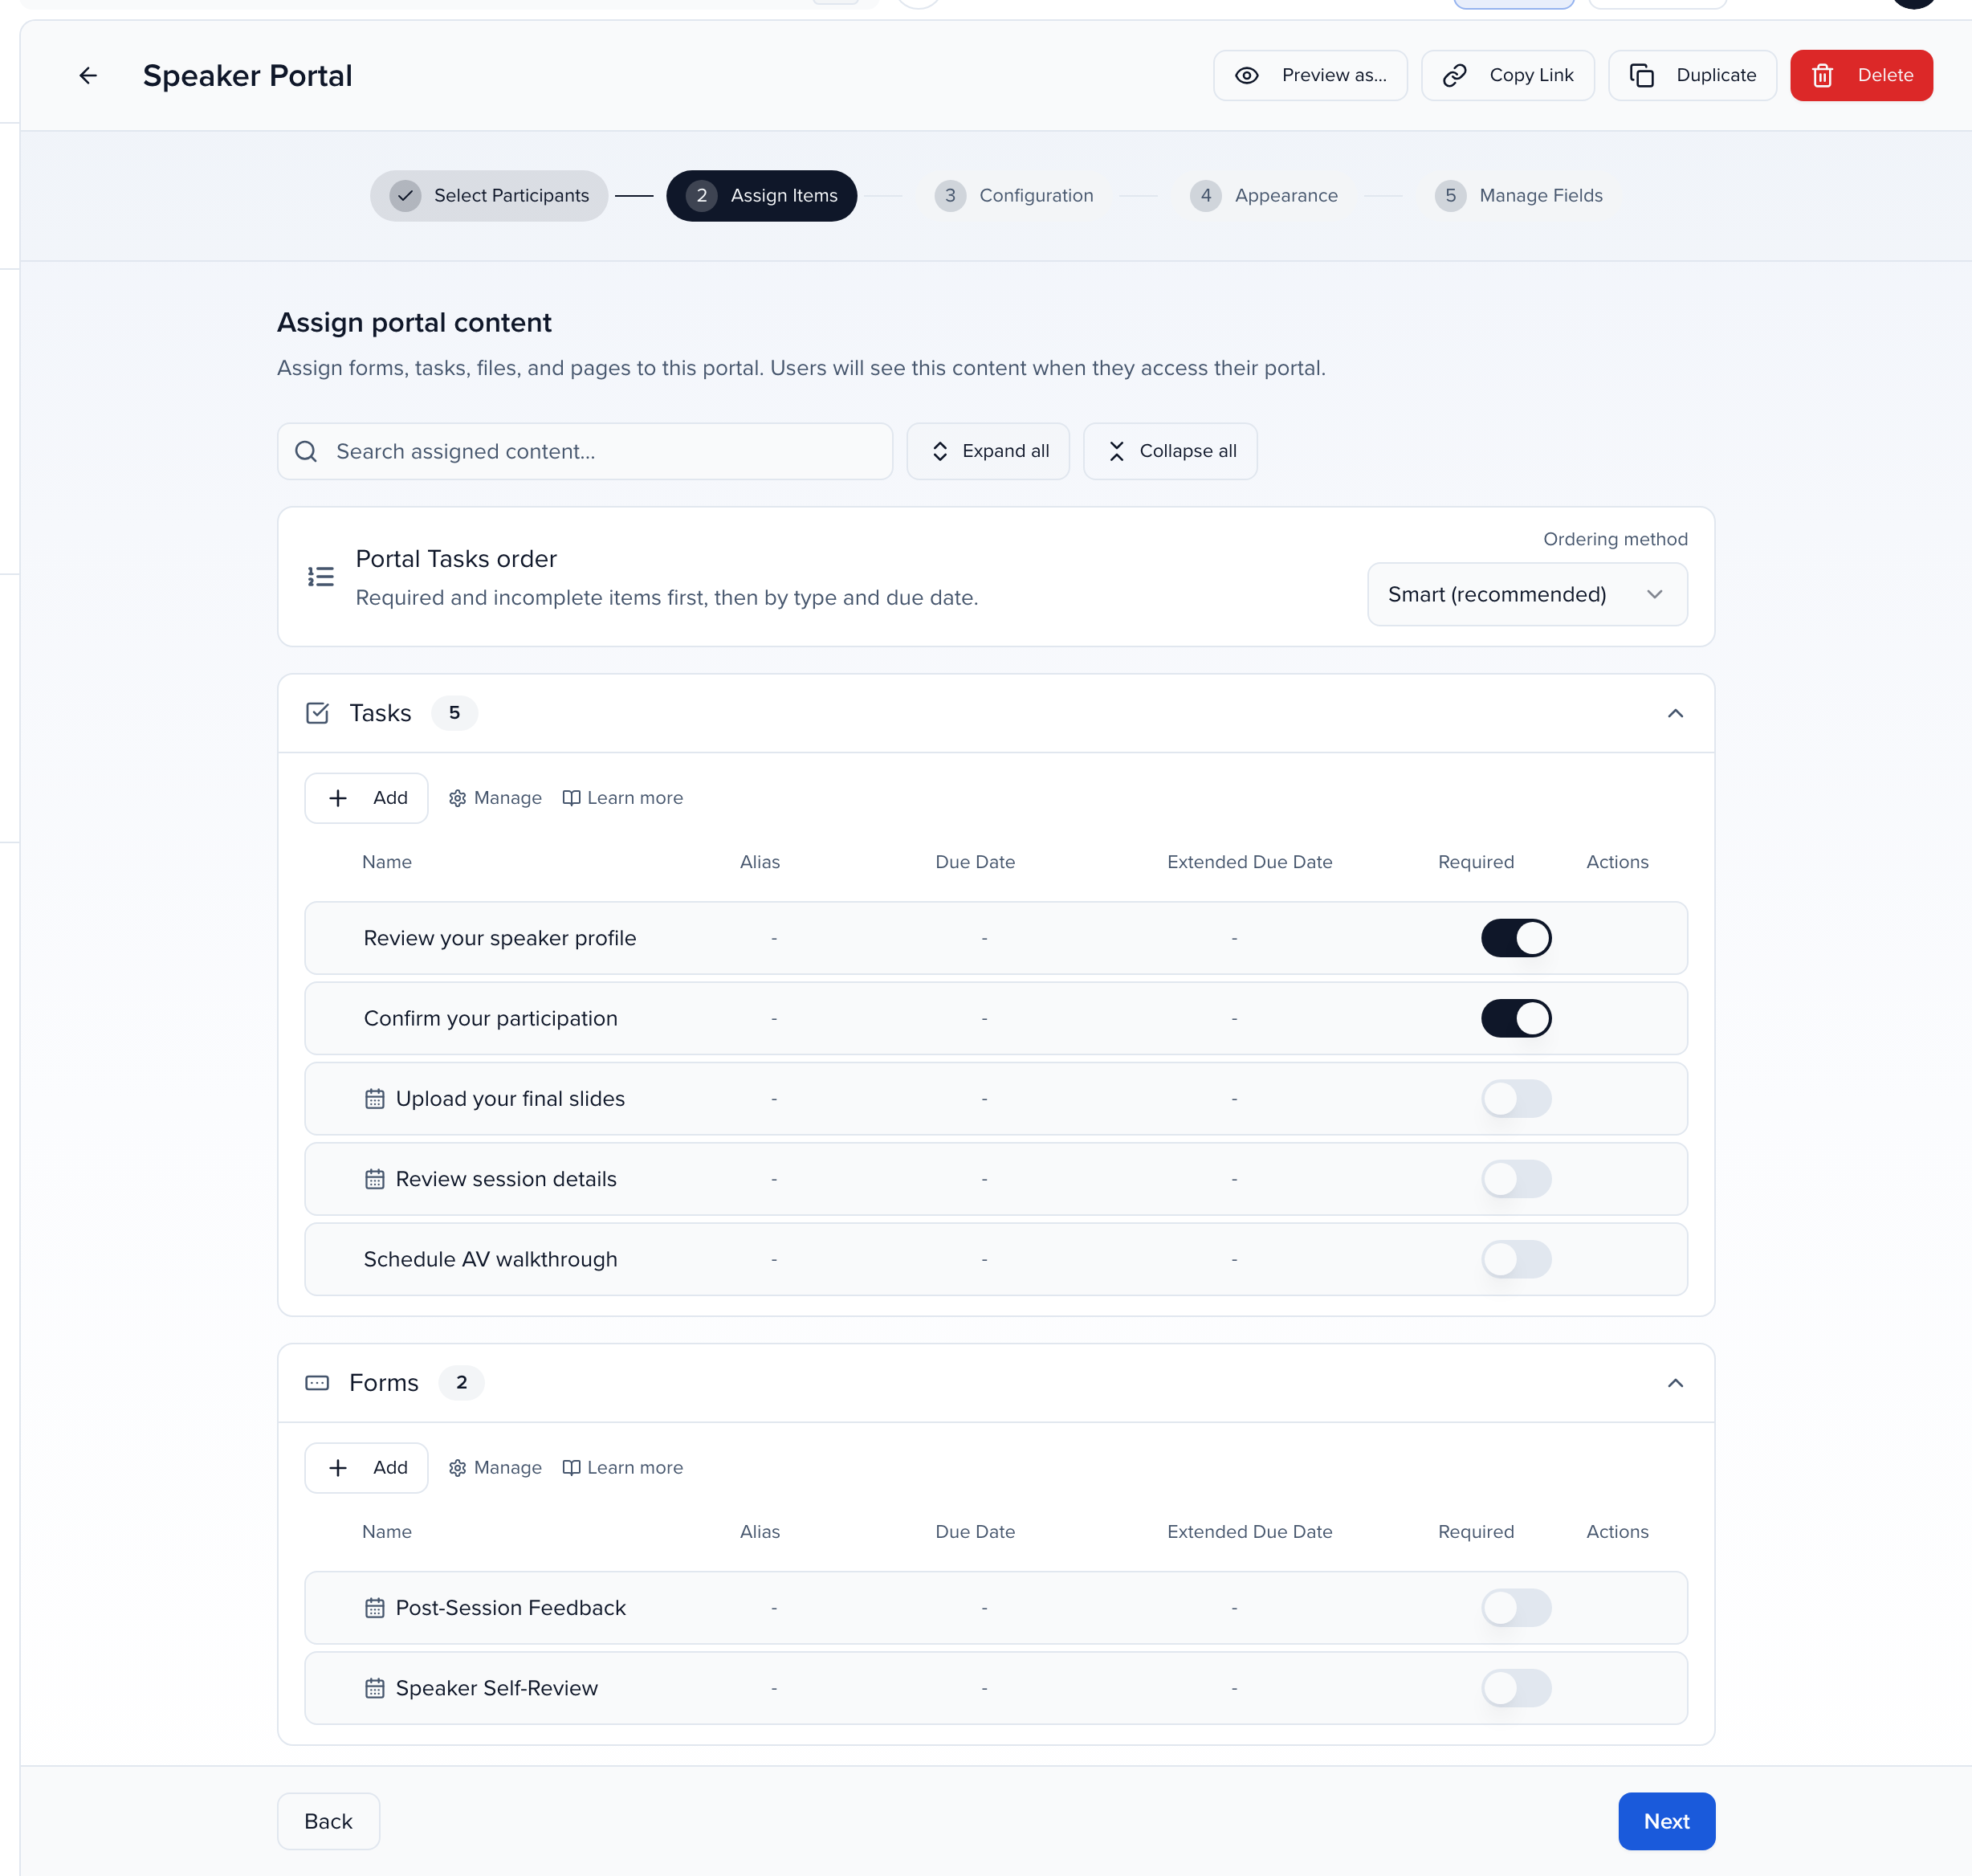
Add the task
In the Tasks section click Add, tick the task, and click Add Selected. It appears in the table with its Name, Alias, Due Date, Extended Due Date and Required columns.
Set its settings for this portal
Click the pencil under Actions to open Edit Settings:
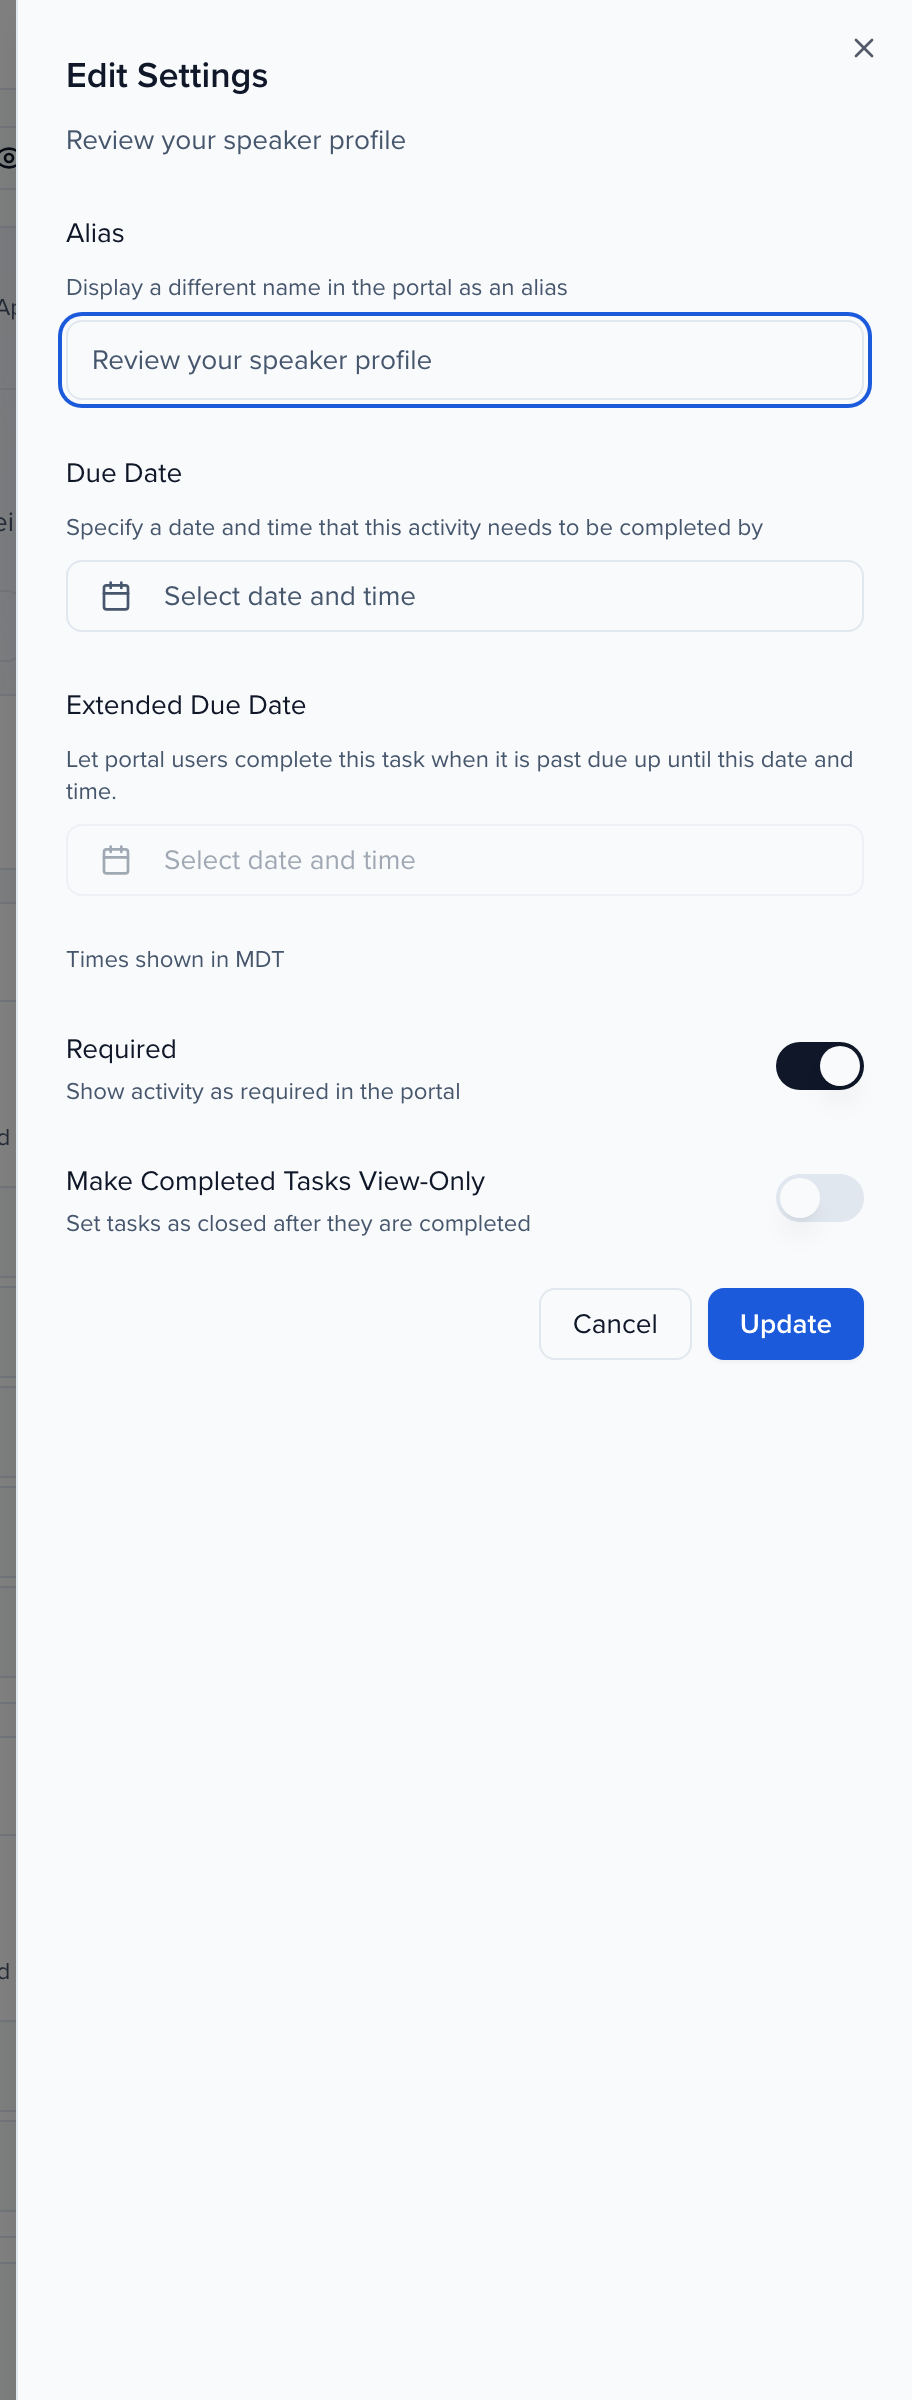
| Setting | What it does |
|---|---|
| Alias | A different name for the task on this portal only. |
| Due Date | A real deadline shared by everyone on this portal. Once it passes, portal users can no longer mark the task complete — they see a message naming the date instead. |
| Due date relative to assignment | Instead of one shared date, stamp a personal due date on each person. Choose When the person is assigned or When the assignment email is sent, then how many days after that. The date is the end of that day (11:59 PM) in the event’s timezone. Dates already set on a person are left alone, so changing N later, or assigning the task again, does not rewrite existing deadlines. Preview and send-test emails do not stamp dates. The relative date applies when you assign a task to people directly, including Assign → Tasks from a table; a task that reaches someone through the portal’s filters uses the fixed Due Date. Portal forms and file requests have the same setting. |
| Extended Due Date | A grace period after the due date during which the task can still be completed. It needs a Due Date and can’t be earlier than it. You can set it before or after the due date has passed. Portal users never see it: they see only the Due Date, and can still complete the task until the extended date. |
| Required | Marks the task as required on the portal. The same toggle sits in the table’s Required column. |
| Make Completed Tasks View-Only | Locks a task once it is complete, so nobody can flip it back to incomplete. |
| Assign By Filter (Submissions tasks only) | Show the task only on submissions that match Submission Filters — for example Format is Breakout, so keynote speakers never see “upload your slides”. Participant Roles limits it to particular roles on those submissions. Filters can use Track, Format, Level, Language, Tags, Status and your custom dropdown or checkbox session fields. To hand-pick sessions, add a checkbox session field in Settings > Library > Fields, tick it on those sessions, and filter on it with Is checked. |
Click Update.
See who has done it
Section titled “See who has done it”Tracking is a column. In Contacts (or Speakers, Sponsors, Exhibitors), open Columns and add the task; it joins the table, and each row shows where that person is. Save the view so it is there tomorrow — see Dashboard views.
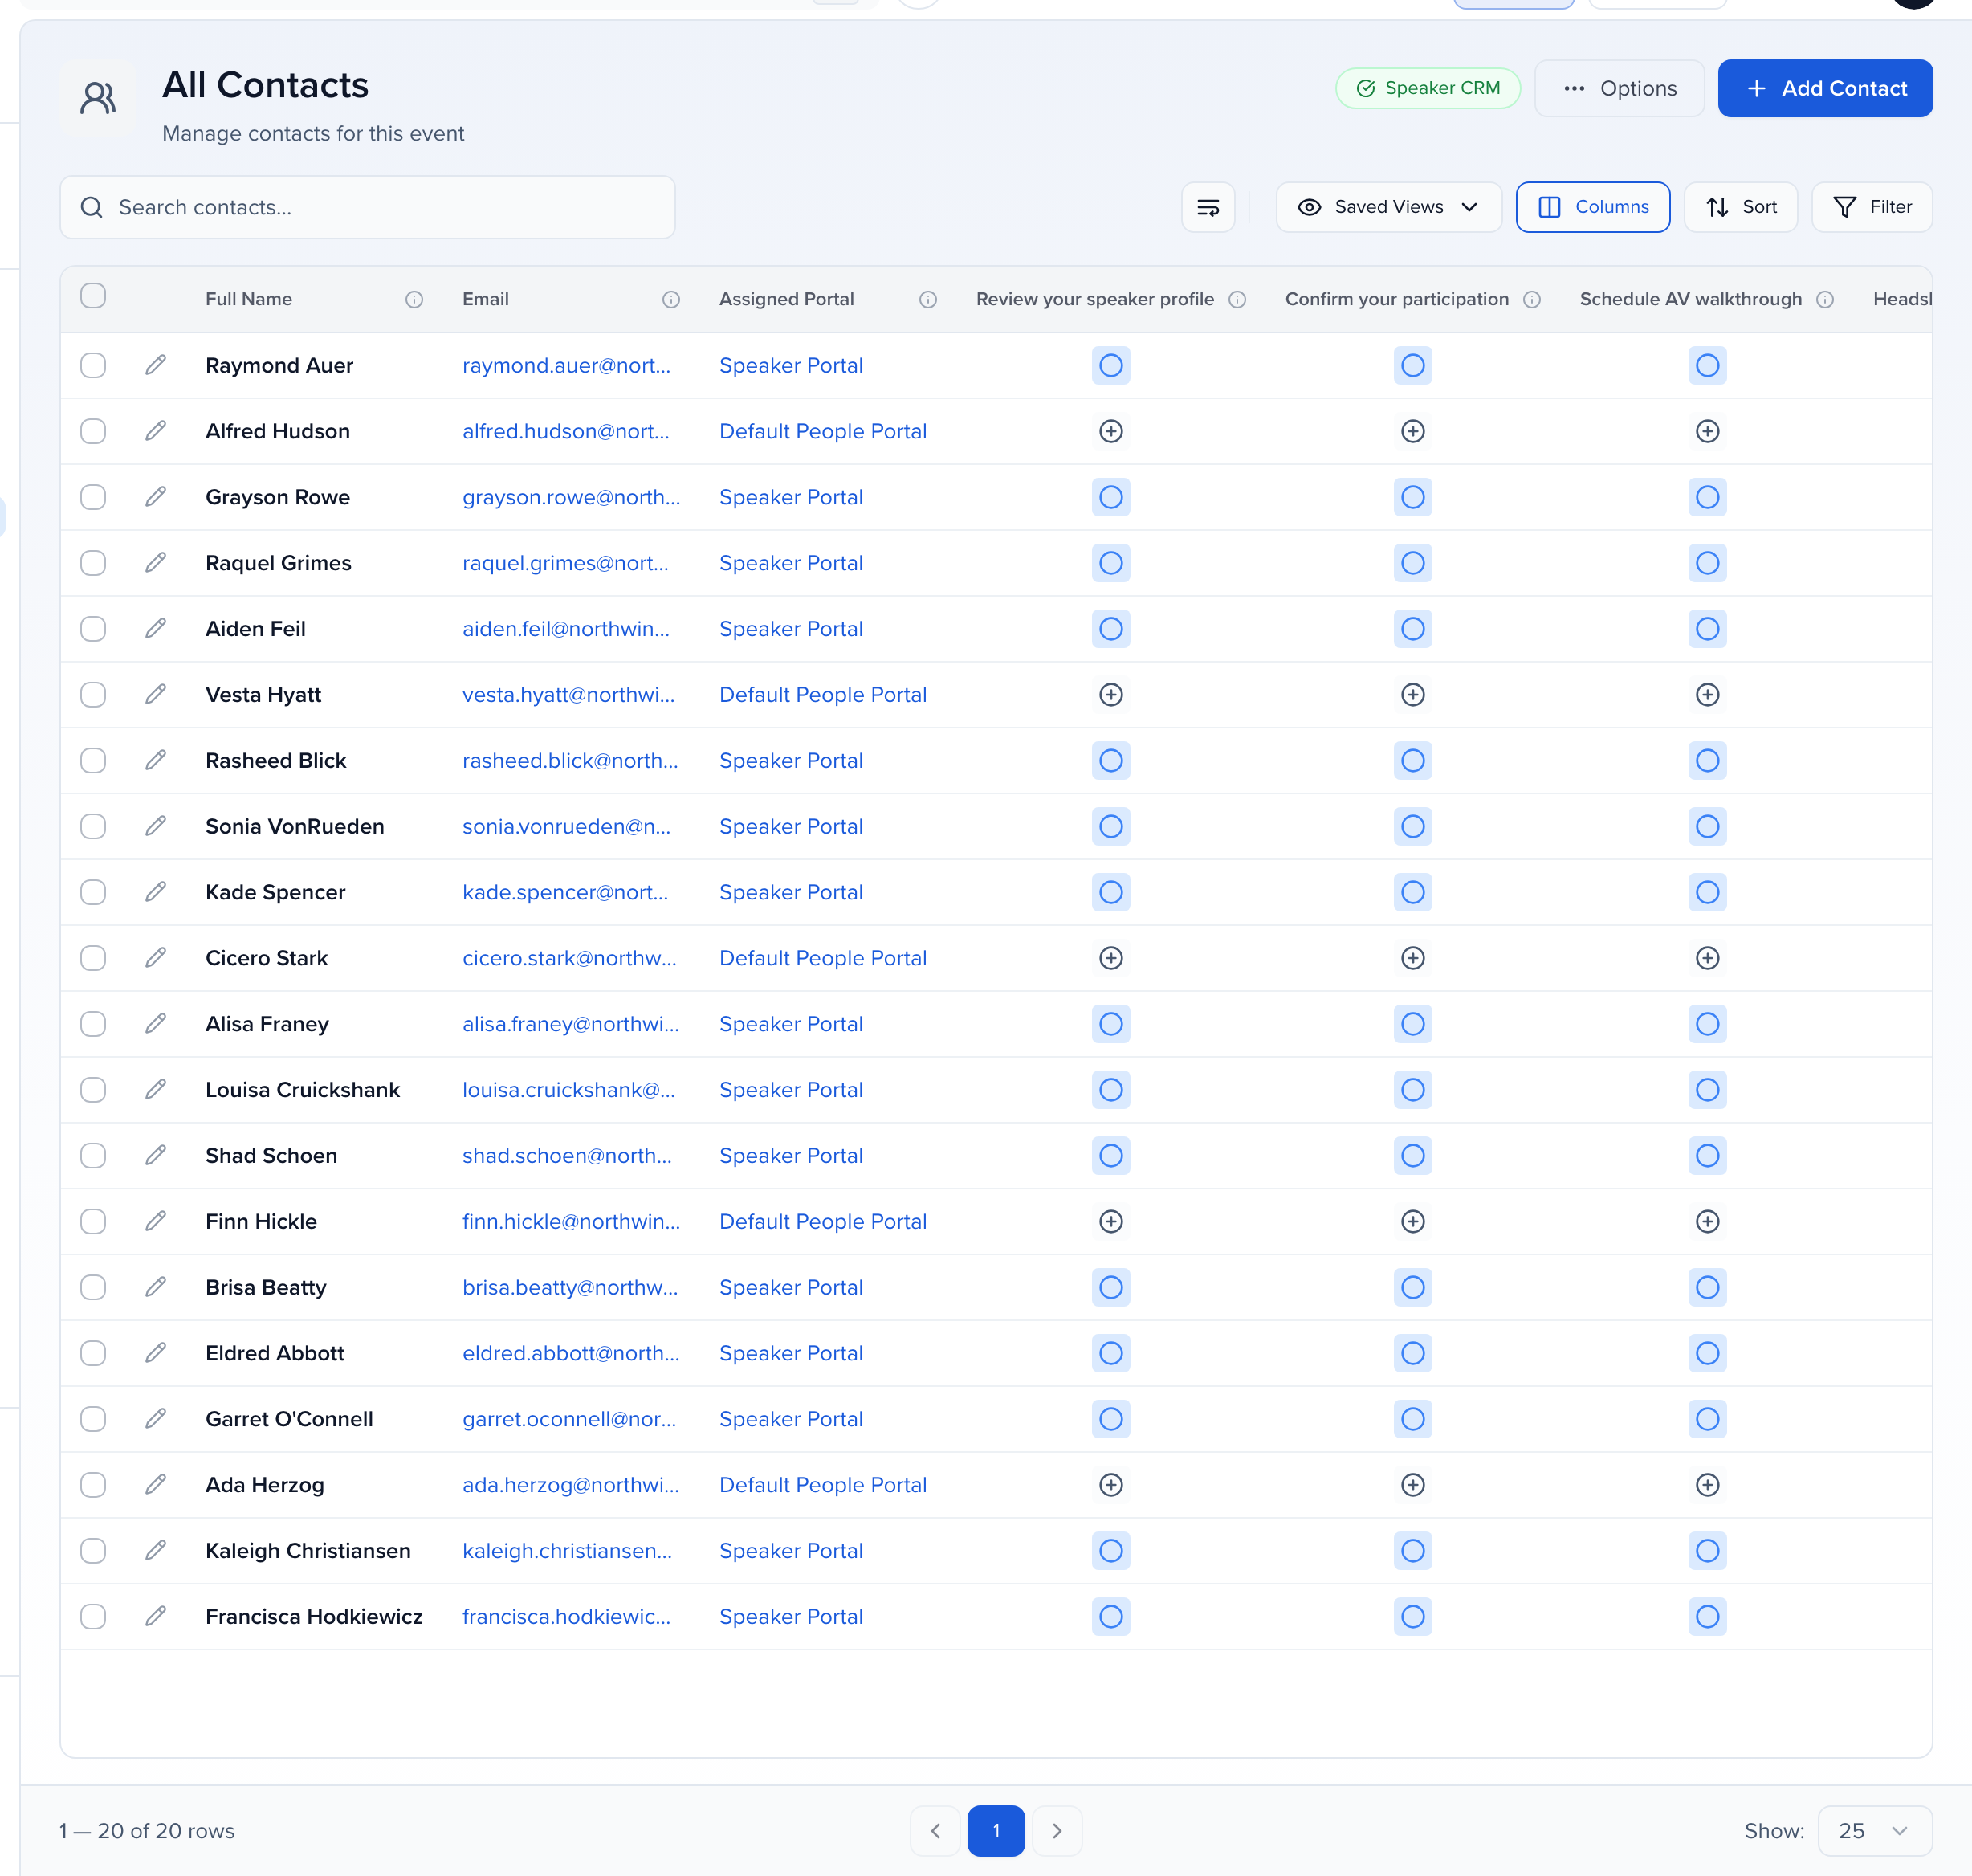
| Icon | Status | Meaning |
|---|---|---|
| Green check | Complete | Done. |
| Blue circle | Assigned Via Portal | Reached them through a portal; still open. Cannot be unassigned from the record — remove it from the portal instead. |
| Amber clipboard | Manually Assigned | Assigned to this record directly; still open. Click it to open Options or Unassign Task. |
| Grey plus | Not Assigned | Click to assign it to this one record. |
File requests use the same column with two more states: a yellow clock for Pending Approval and red for Rejected. To assign to a handful of people without another portal, see Assign tasks to contacts and groups.
Frequently asked questions
Section titled “Frequently asked questions”How do I reopen a task after its deadline?
A task closes, and portal users can no longer complete it, once the later of its Due Date and Extended Due Date has passed (plus the portal’s Final Deadline days when Extend Task Deadlines is on). Push either date into the future and it opens again the next time they load the portal. You don’t have to unassign or reassign anything.
Where you change the date depends on how the person got the task:
- Through the portal (blue circle, Assigned Via Portal): open the portal’s Assign Items step, click the pencil on the task, and either move Due Date later or set an Extended Due Date after the old one. Click Update. It reopens for everyone on that portal who doesn’t have a date of their own.
- Assigned to them directly (amber clipboard, Manually Assigned): a date set on the person wins over the portal’s date for that same field, so moving the portal’s Due Date later doesn’t reopen it for them. Click the icon in their task column, choose Options, and change Due Date or Extended Due Date in Assigned Task Options. If the person has no Extended Due Date of their own, the portal’s Extended Due Date applies to them too.
Use Extended Due Date when you want a quiet grace period: portal users keep seeing the original Due Date — on their task cards, the Tasks list, the weekly digest and the message shown when a task has closed — while the task stays open until the extended date. To show people a new deadline, move the Due Date instead.