

Zapier
If you want to automate workflows between Sessionboard and other apps like HubSpot, Google Sheets, or Slack, Zapier is the way to go.
This article walks you through setting up the Zapier integration with Sessionboard, including how to authenticate your account and build a working Zap.
Step-by-Step: Connecting Sessionboard to Zapier
Section titled “Step-by-Step: Connecting Sessionboard to Zapier”1. Start a New Zap
Section titled “1. Start a New Zap”-
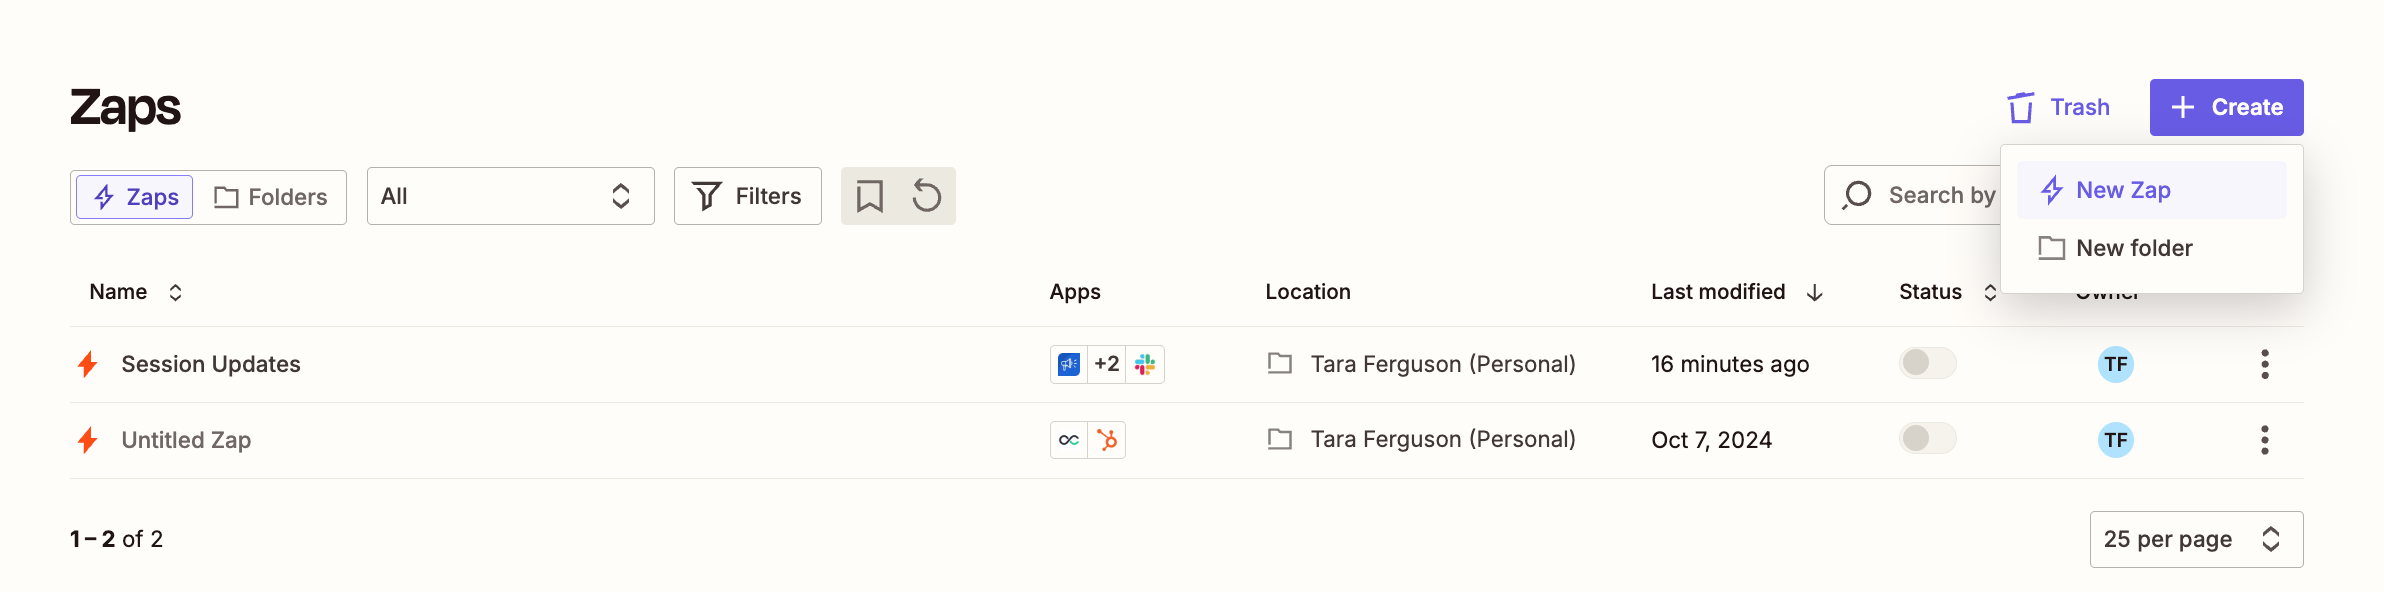
Go to your Zapier dashboard.
-
Click Create - New Zap.
-
In the Trigger step, search for Sessionboard and select it.

2. Authenticate Your Sessionboard Account
Section titled “2. Authenticate Your Sessionboard Account”-
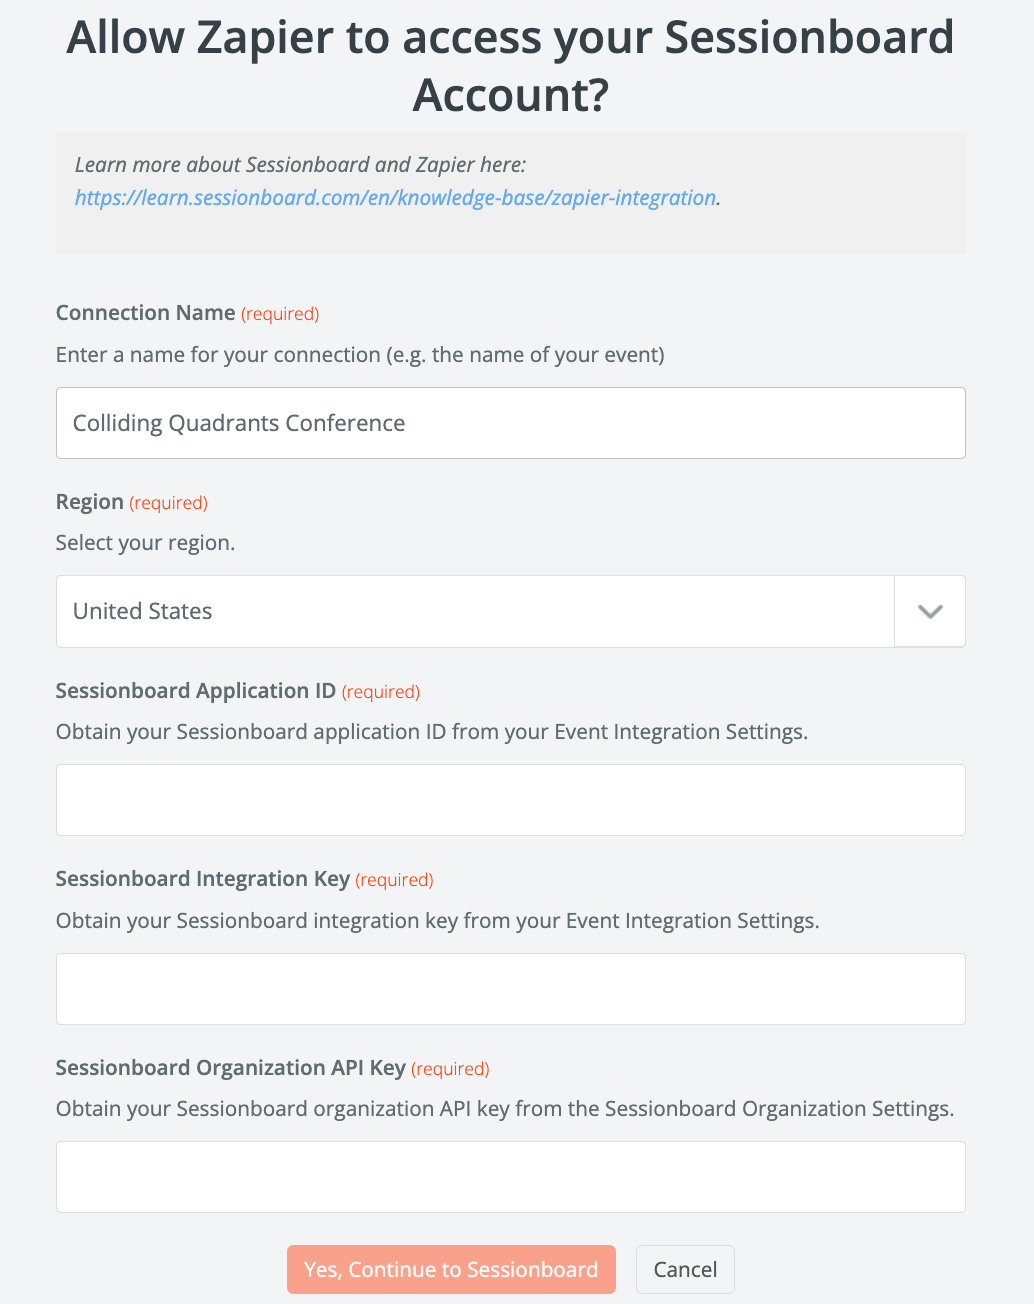
Zapier will prompt you to connect your Sessionboard account. To simplify your workflows, each event in your organization can be mapped as a separate connection.
-
You’ll see a screen asking for:
-
Connection Name - enter a name for your connection (e.g. the name of your event)
-
Region - select the region of your Sessionboard account. This corresponds with the Data Host Region of your organization.
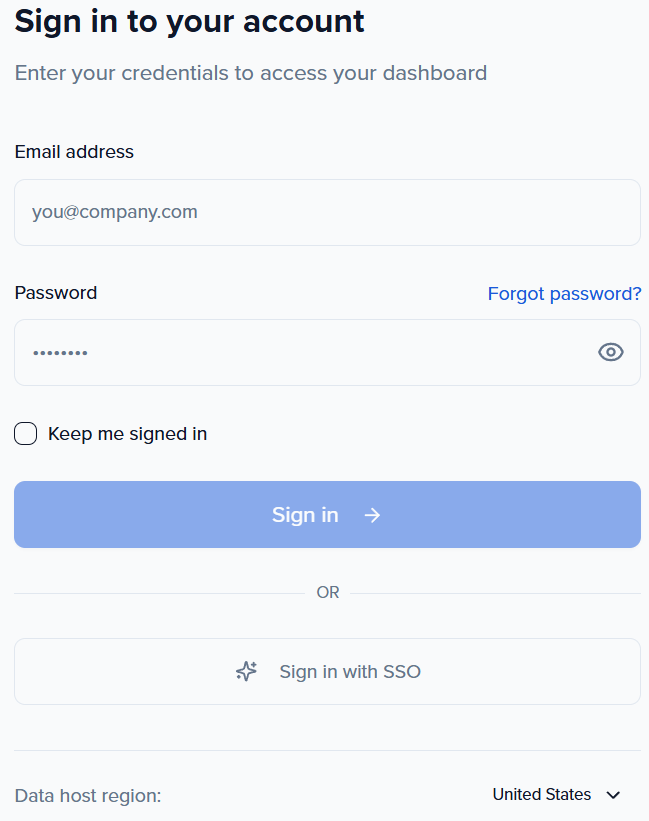
- If you log in with appv2-eu.sessionboard.com, choose Europe.
- If you log in with appv2.sessionboard.com, choose United States.
-
Sessionboard Application ID
-
Sessionboard Integration Key
-
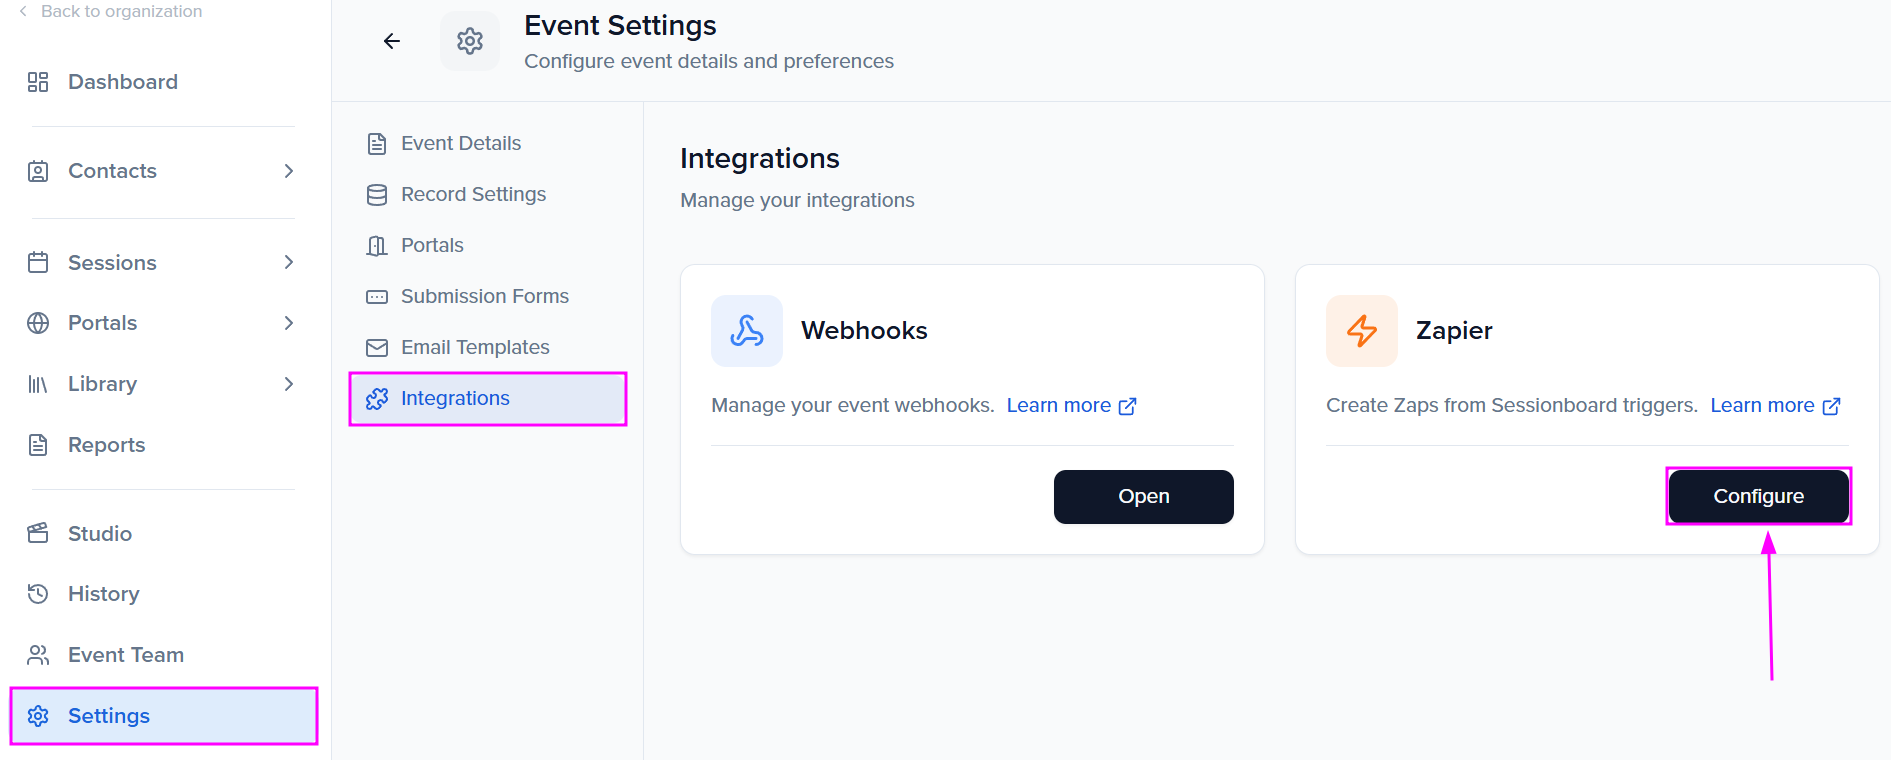
These keys are generated in each event from Settings > Integrations > Zapier.
-
Click “Get Access” to generate the Application ID and Integration Key. In the event’s Apps → Zapier page, click Create credentials instead when the event has none yet.
-
Click each copy icon and paste each value into the corresponding field on the Zapier authentication menu.
-
-
-
Sessionboard Organization API Key
- This is accessible in your Organization Dashboard under Settings > API Tokens > Create Token.
- You must have organization-level privileges to create and access tokens.
- If you do not, please speak with an account admin or contact support for assistance.
- We recommend creating a unique API key for Zapier.
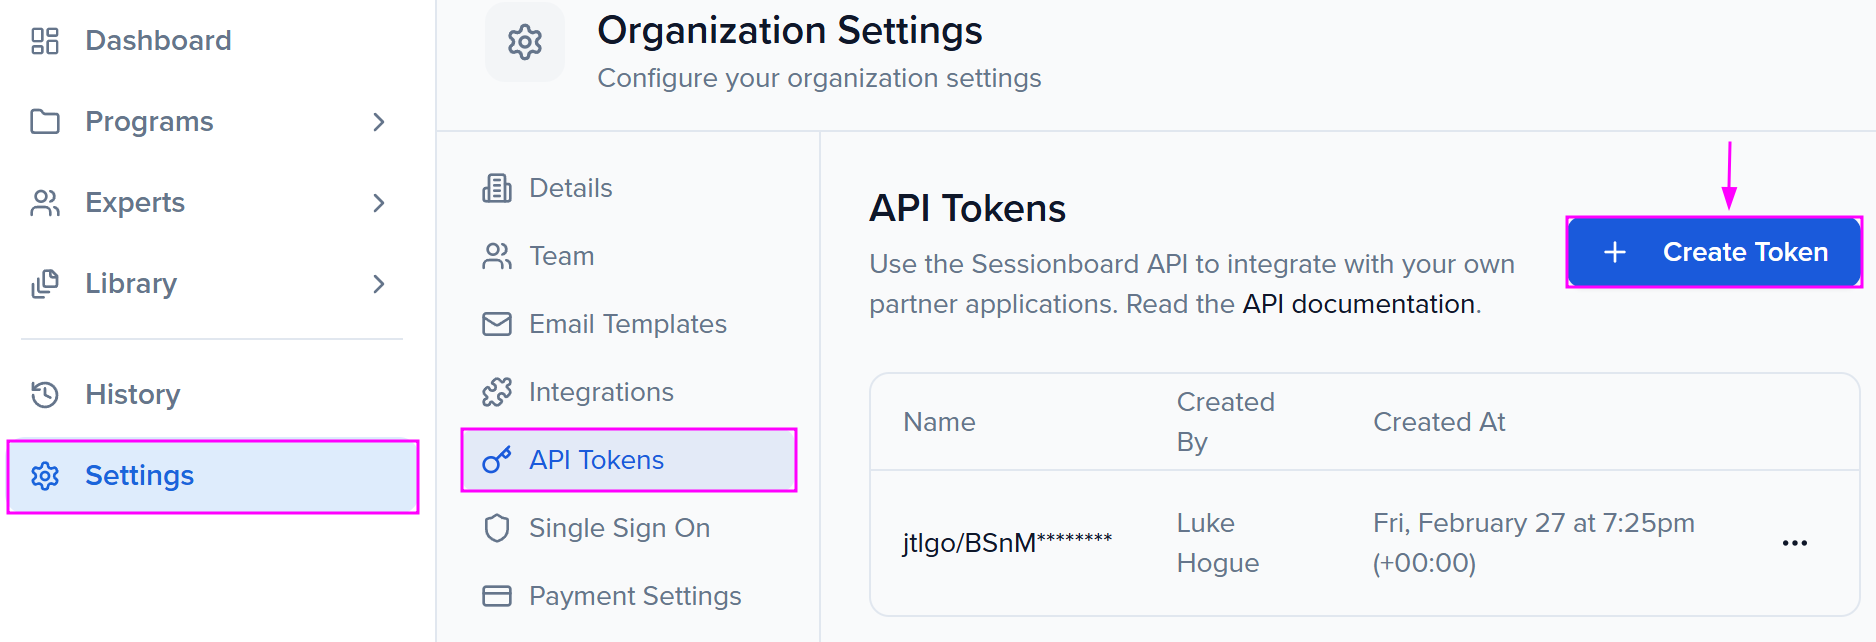
-
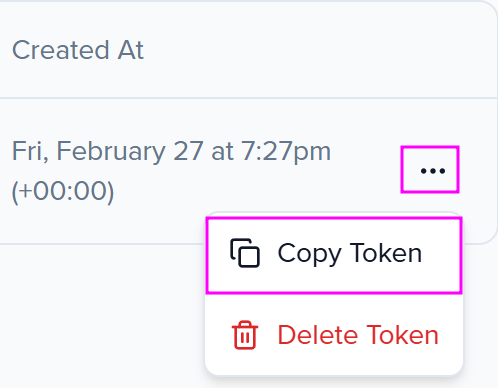
Click the copy icon and paste the value into the Sessionboard Organization API Key field on the Zapier authentication menu.
🧪 Troubleshooting Authentication
Section titled “🧪 Troubleshooting Authentication”If you see an error like:
- Authentication failed: The app returned “An internal server error occurred.”
Try the following:
-
Make sure all API fields are filled correctly.
-
Confirm you clicked Allow or Accept on the permission prompt.
-
Check if your account has the required permissions.
-
If needed, revisit the credentials keys in Sessionboard and regenerate them.
🔄 Testing the Connection
Section titled “🔄 Testing the Connection”Once authenticated:
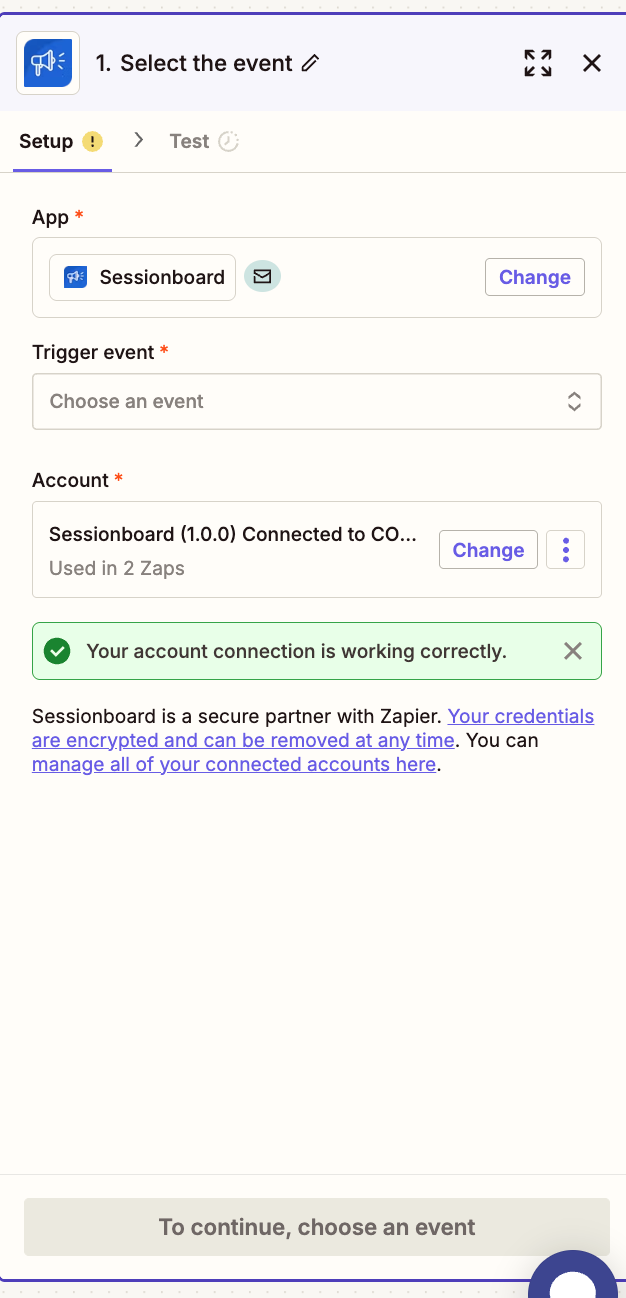
- Zapier will confirm the connection is working:
⚡ Set Up the Zap Action
Section titled “⚡ Set Up the Zap Action”- Trigger - Sessionboard Event
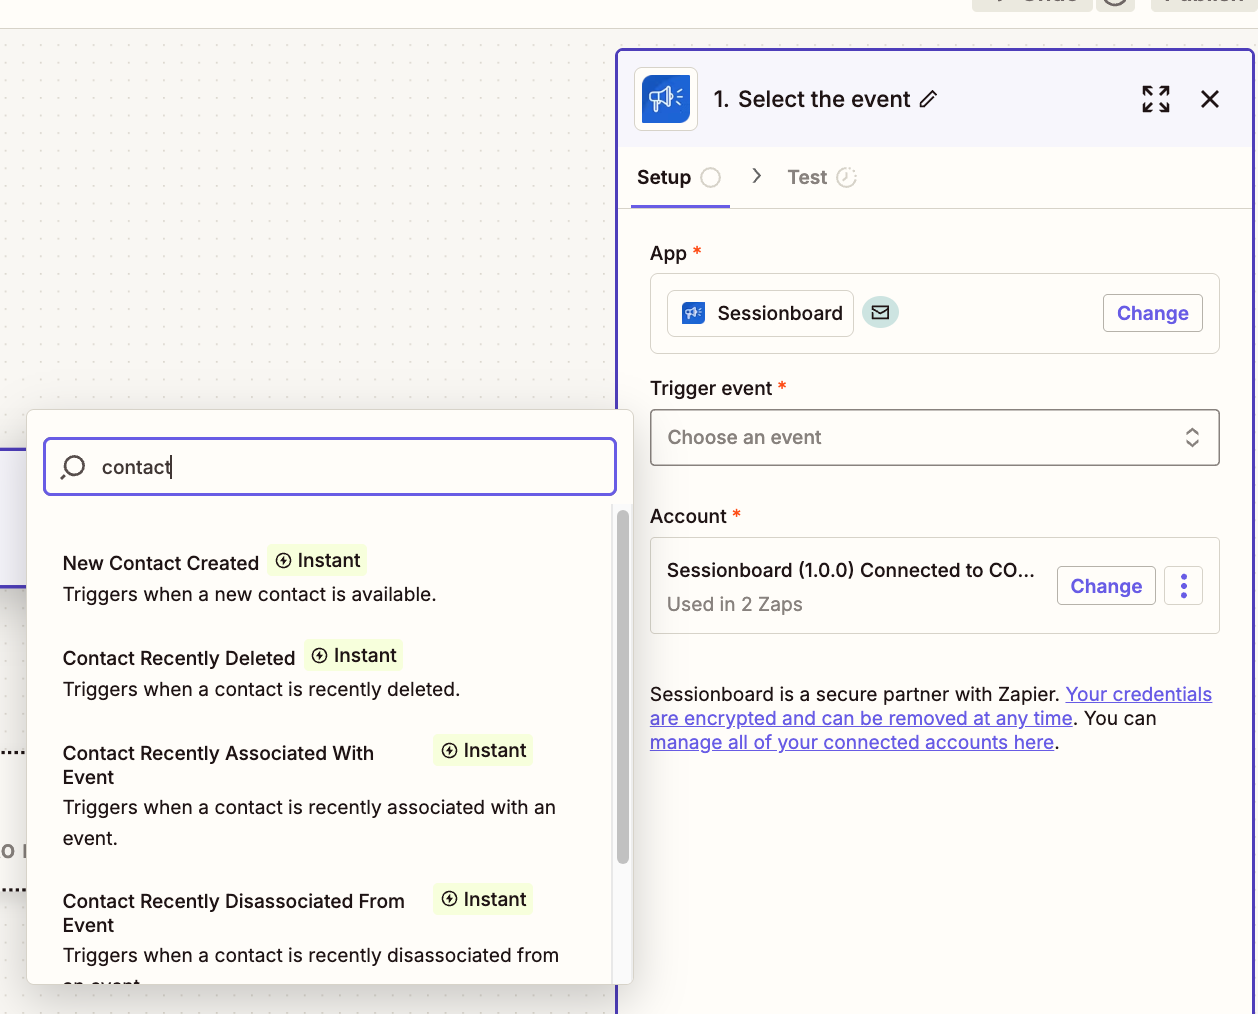
- Choose a trigger event such as New Contact Created.
- Contact triggers include:
- New Contact Created
- Contact Recently Deleted
- Contact Recently Updated
- Contact Recently Associated With Event
- Use this to track existing contacts that were added to events from your CRM.
- Contact Recently Disassociated With Event
- Use this to track contacts that were removed from an event but still exist in your CRM.
- Session triggers include:
- New Session Created
- Session Recently Deleted
- Session Recently Updated
- Sponsor/Exhibitor triggers include:
- New Sponsor Created
- Sponsor Recently Deleted
- Sponsor Recently Updated
- Sponsor Recently Associated With Event
- Sponsor Recently Disassociated With Event
- New Exhibitor Created
- Exhibitor Recently Deleted
- Exhibitor Recently Updated
- Exhibitor Recently Associated With Event
- Exhibitor Recently Disassociated With Event
- Contact triggers include:
2. Sessionboard Action - Find Record
Add your Action Step and select Sessionboard again:
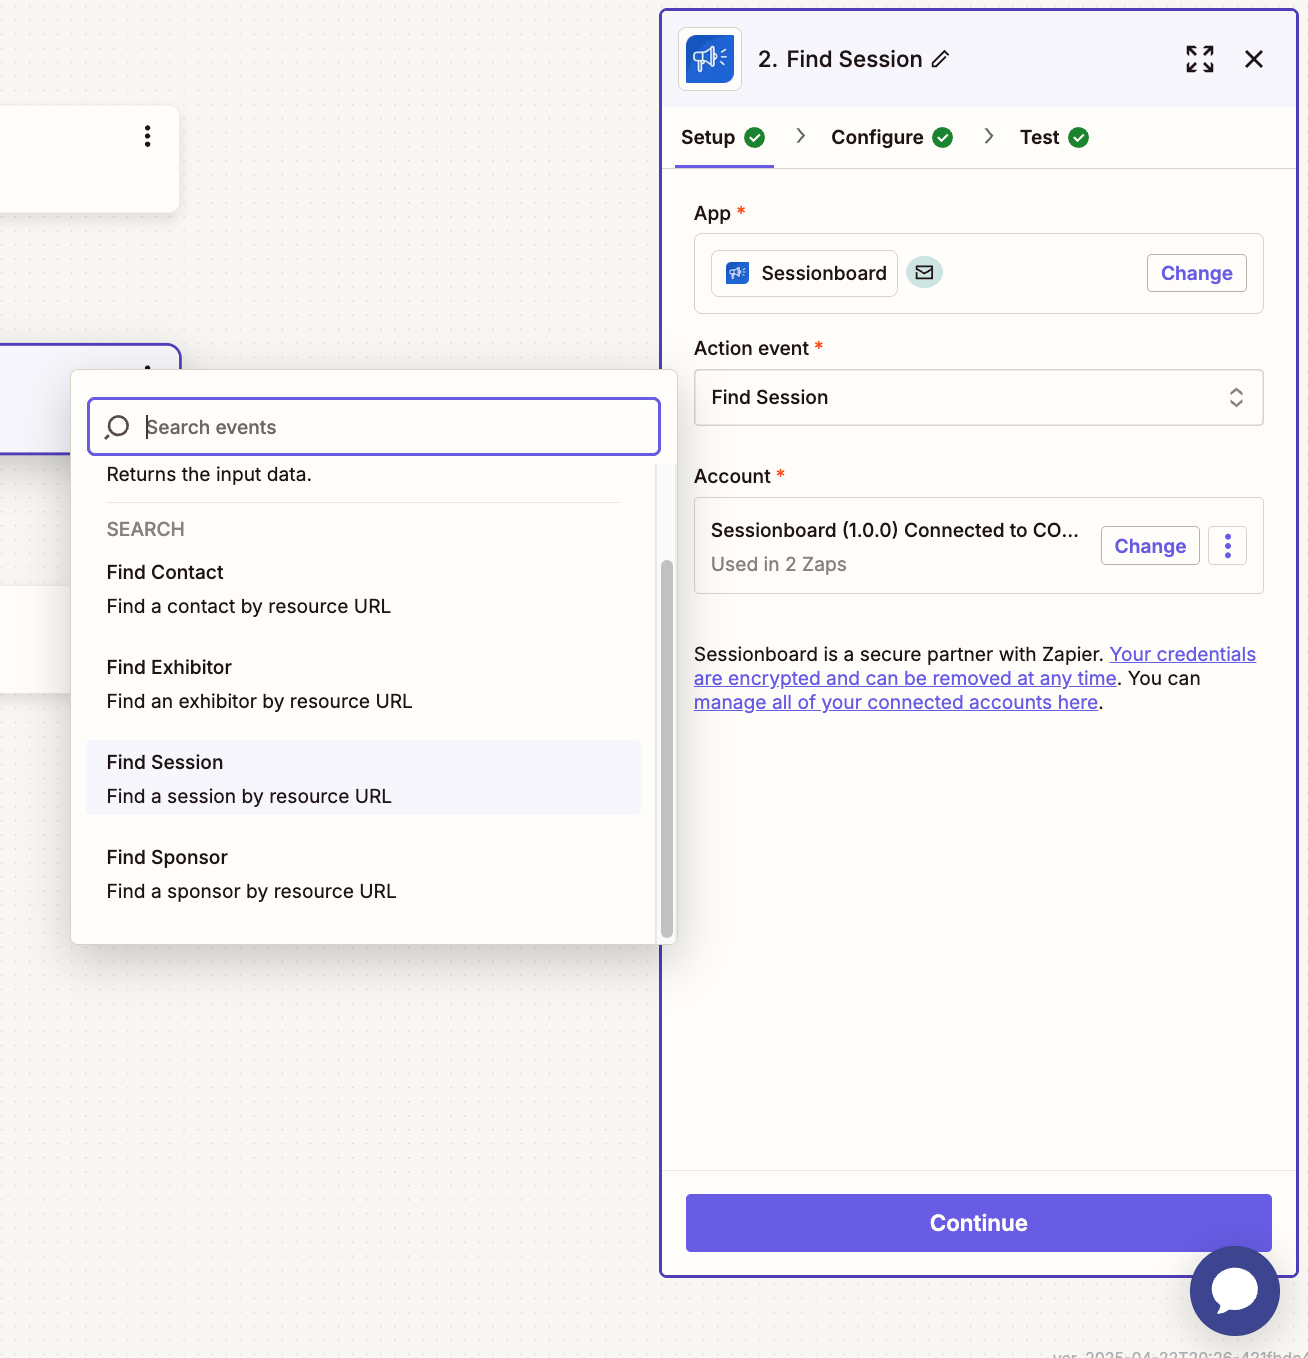
- Select the corresponding action from your trigger step
- e.g., if you selected a Contact trigger, your action is Find Contact.
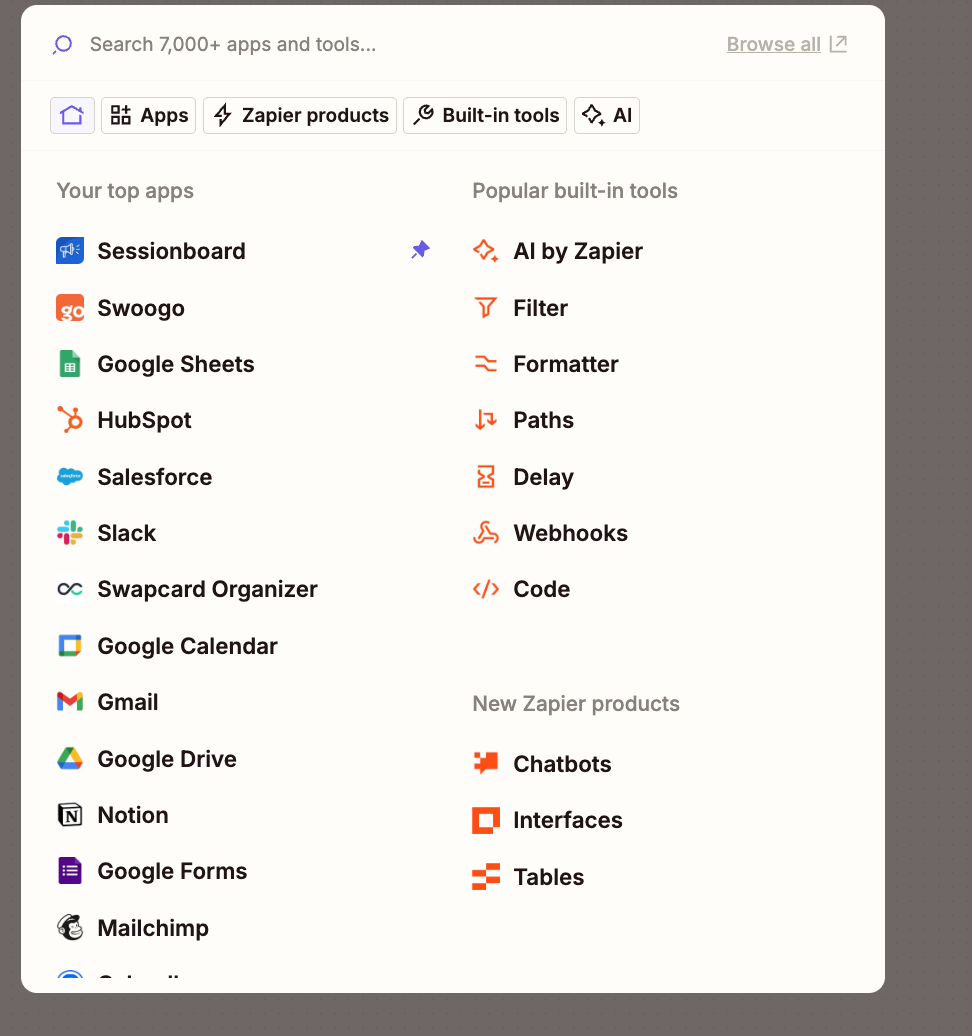
3. Connect Action - External App
-
Choose any app that you would like to connect to your trigger (e.g. Slack).
-
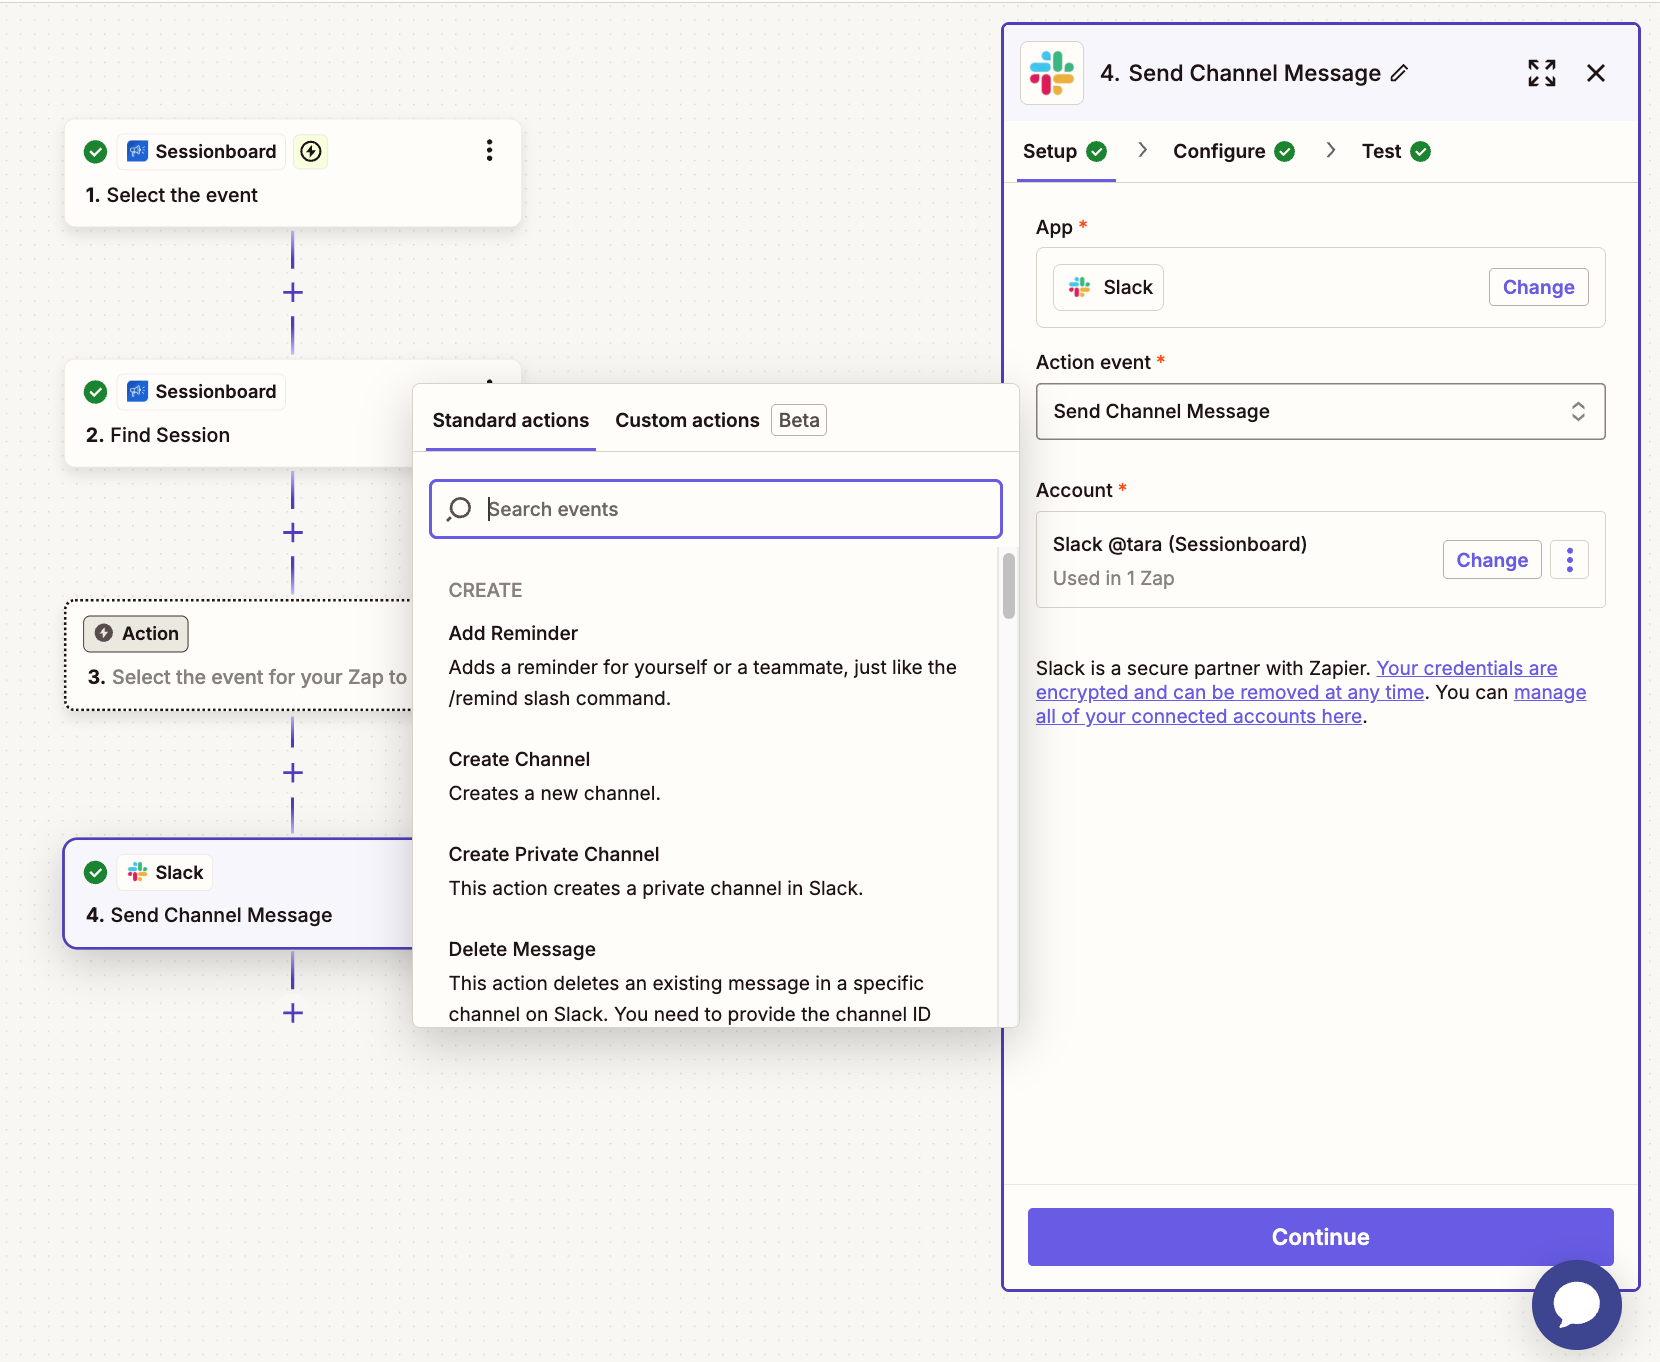
Choose an action event (e.g., Send Channel Message).
-
(If necessary, authenticate that app to connect your account with Zapier)
-
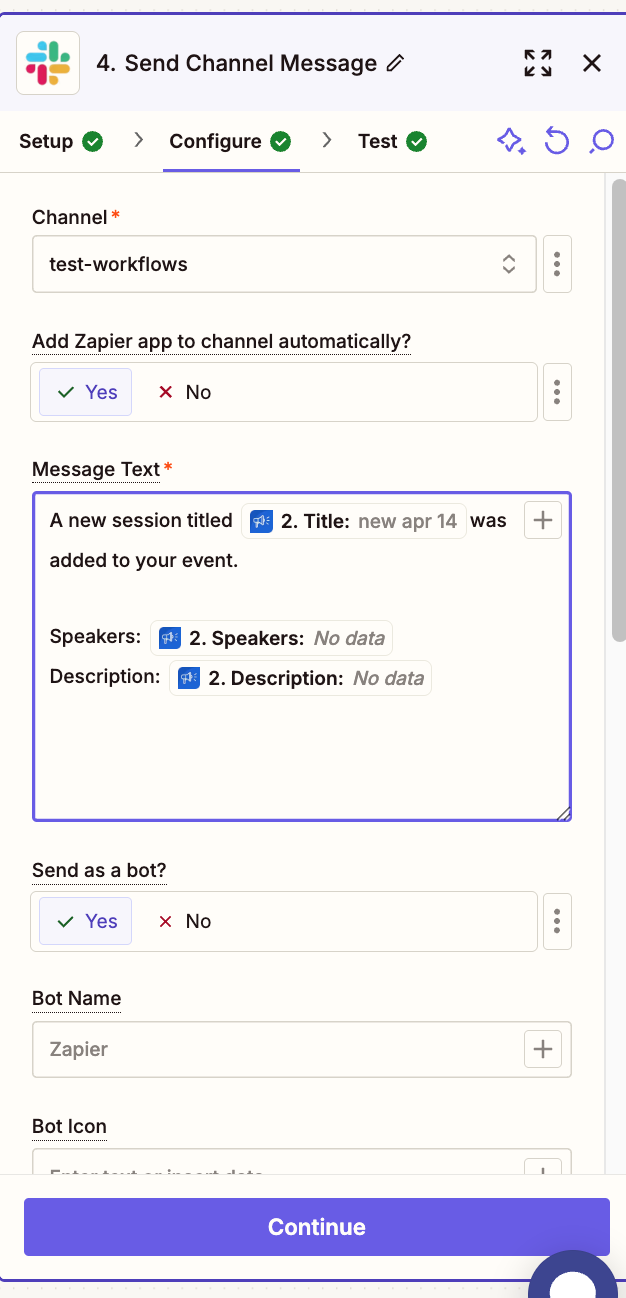
Configure what information and data fields from your Sessionboard (e.g., session description ID) are included in the action. (e.g., in my Slack message, I want to see new sessions that are added with their title, description, and speakers)
-
Click Test to verify the connection works.
✅ Finalize and Publish Your Zap
Section titled “✅ Finalize and Publish Your Zap”- If the test passes, name your Zap and click Publish.
- Your integration is now live and running automatically!
-
Where do I find my Zapier keys in Sessionboard?
- Inside your event: Go to Settings > Integrations.
-
Can I reconnect or remove my Sessionboard account?
- Yes. Zapier allows you to manage connections under your profile settings.