

Download headshots
Headshots collected in the standard Headshot field can be downloaded three ways. Pick by how many you need and what you plan to do with them.
| You need | Use |
|---|---|
| Every speaker’s headshot for the website or programme | Option A — a zip, converted to PNG, JPG, or SVG |
| One person’s photo | Option B — open it from the table |
| A list of image links for a designer or another system | Option C — export the table |
Full-resolution originals
Section titled “Full-resolution originals”To keep pages and apps fast, an image larger than 2 MB (a headshot, logo or other uploaded image) is delivered resized wherever it is opened from its link: in a browser tab (Option B), from the links in an export (Option C), on embeds and Sites, and through the API. It is scaled to fit within 2400 × 2400 pixels; browsers that support WebP may receive a PNG as WebP. The file you uploaded is stored unchanged.
To get the full-resolution originals, use the bulk download tools in Sessionboard. Option A always downloads the original files, converted to the format you pick.
Option A: Download headshots as a zip
Section titled “Option A: Download headshots as a zip”-
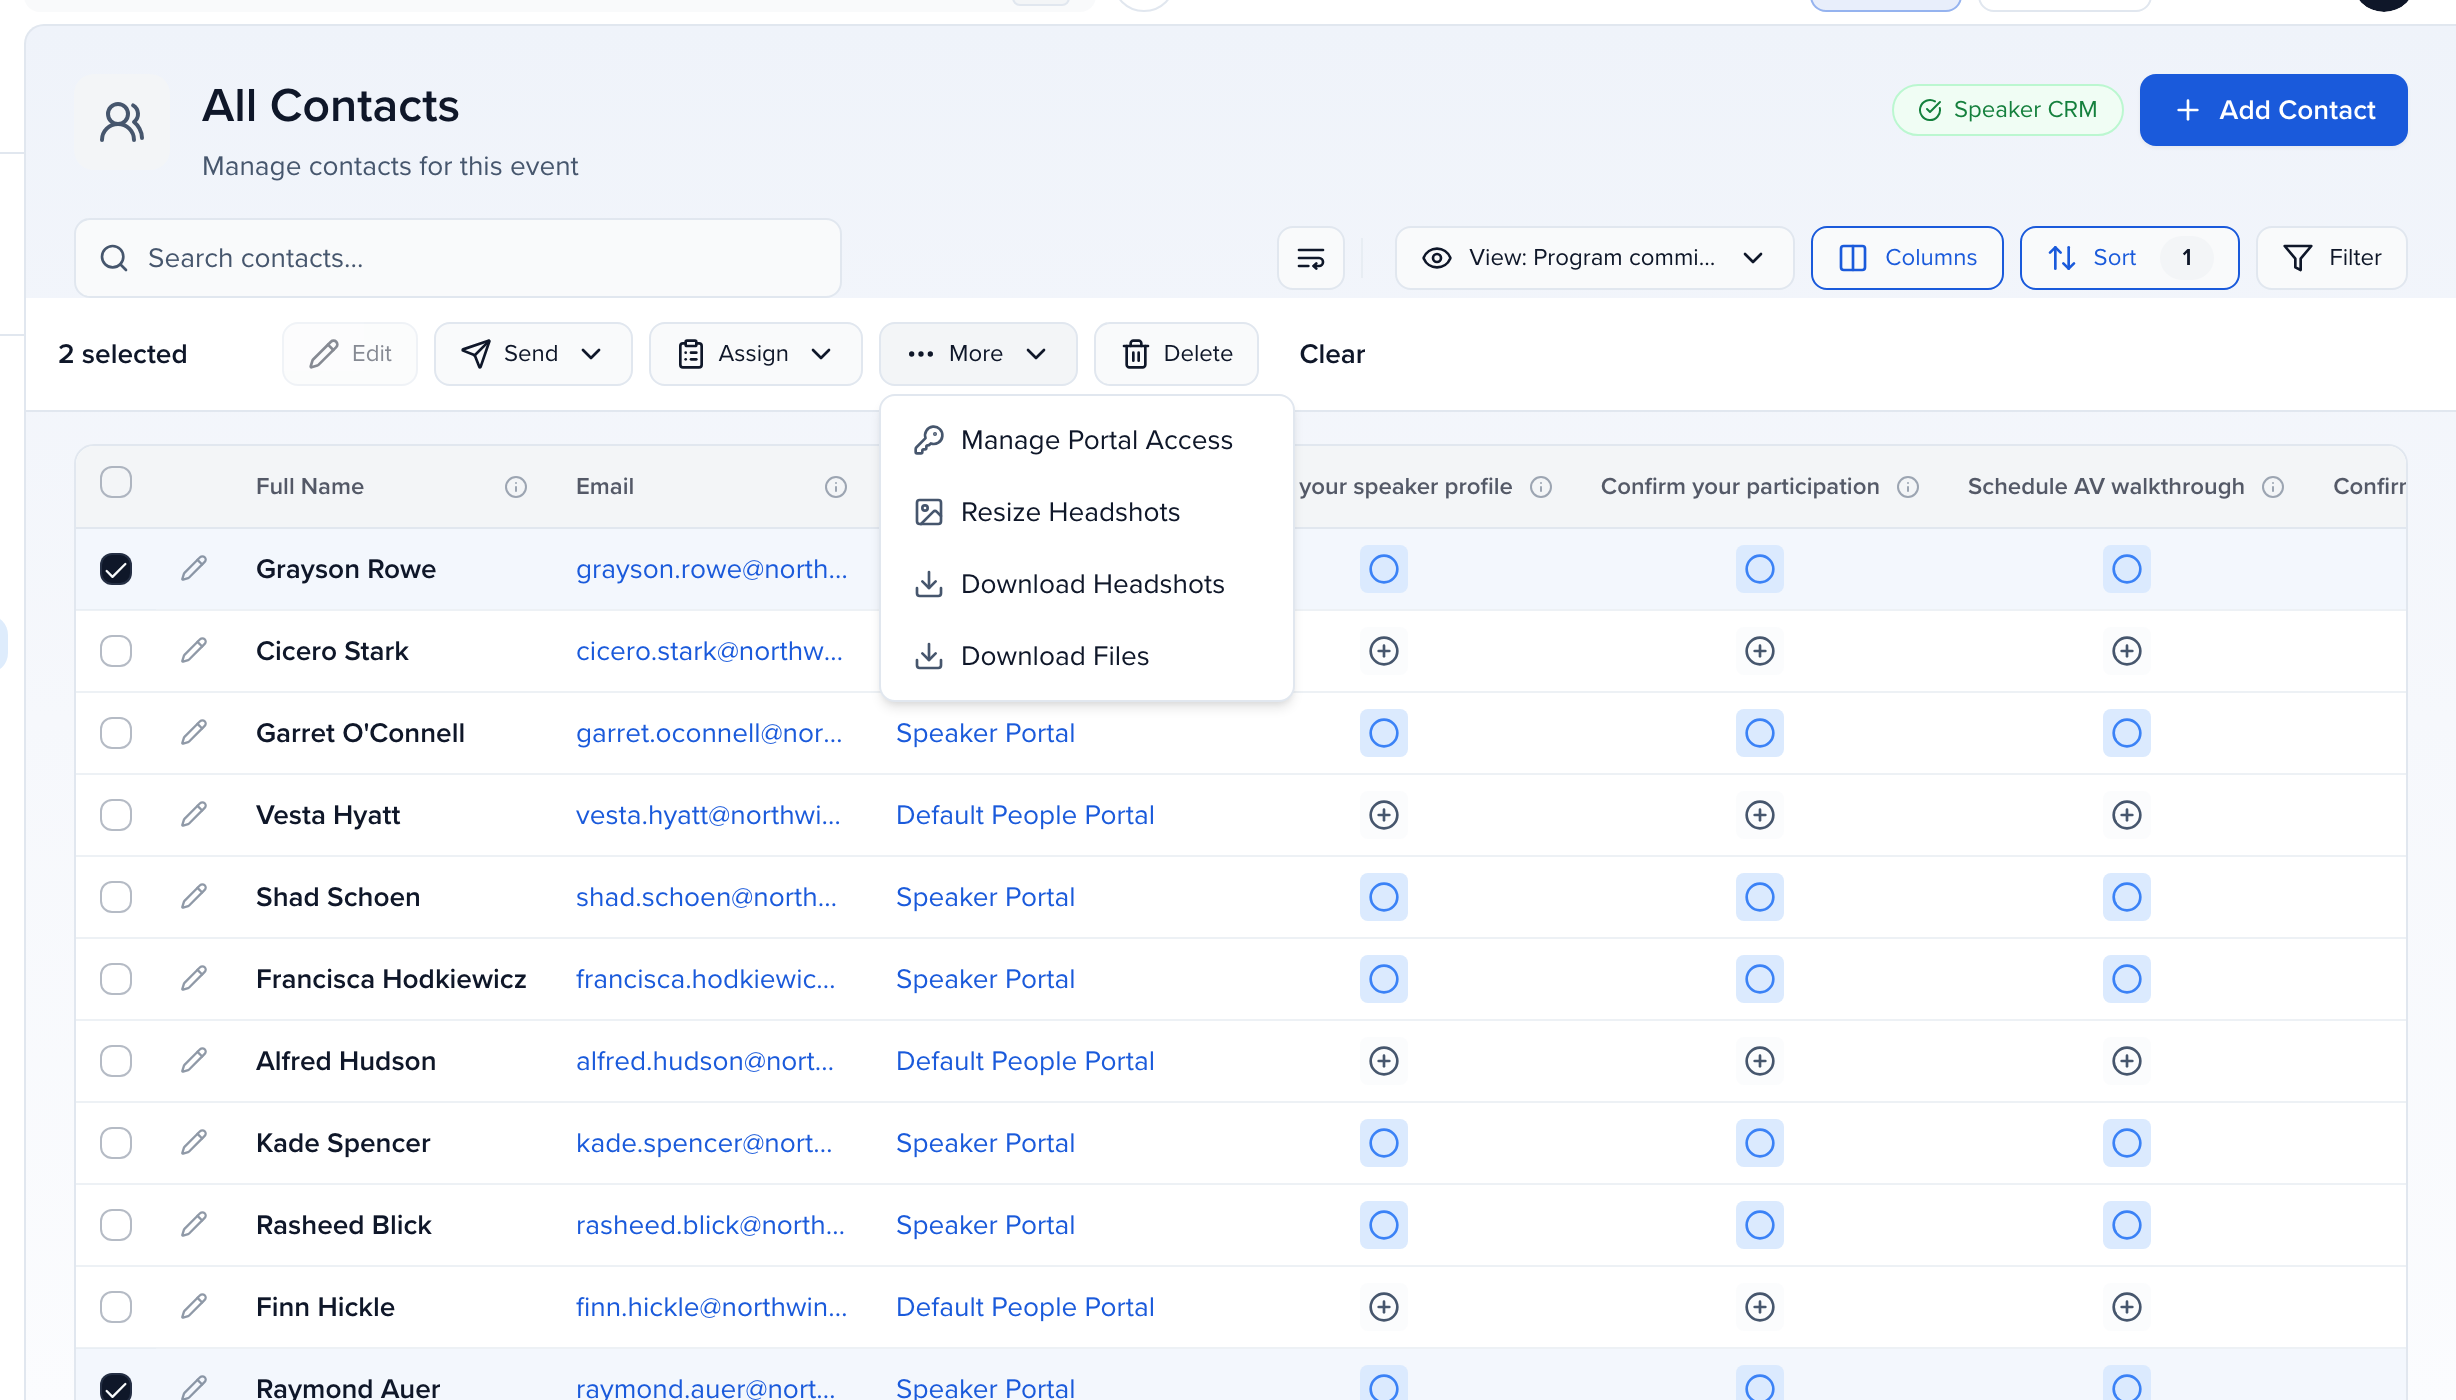
Open CRM → Contacts (or a speaker list) and tick the contacts you want. Filter first if it helps — with a filter applied, tick the header checkbox and use Select all … matching this filter to include everyone on every page.
-
In the bar above the table, choose More → Download Headshots.
-
Choose an Export format — PNG, JPG, or SVG — and click Download Headshots. Every image in the zip is converted to that format.
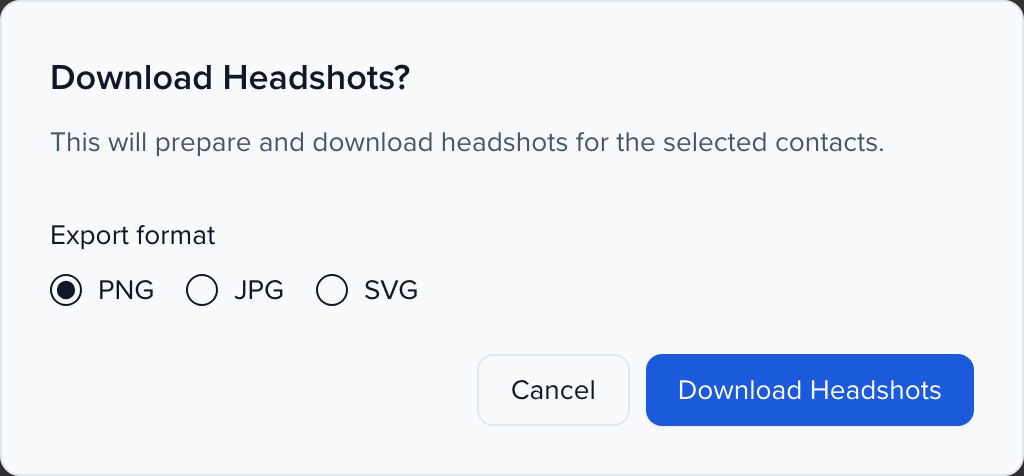
The zip is built in the background and opens as a download when it is ready — it is named Sessionboard_Headshots_<date>.zip, and each file inside is named FirstName_LastName. Contacts without a headshot are skipped and named in the ready notification; if none of the selected contacts has a photo, the download is refused with No headshot uploaded.
Downloading headshots needs the Contacts module’s Export permission on your role — see Event team members and roles.
Option B: Open a single headshot
Section titled “Option B: Open a single headshot”- Make sure the Headshot column is visible — click Columns above the table and turn it on. See Module table views.
- Click the file in the contact’s Headshot cell. The image opens in a new browser tab, where you can save it.
Option C: Export a spreadsheet of image links
Section titled “Option C: Export a spreadsheet of image links”- Add the Headshot column to your view as above.
- Click Options in the top-right corner and choose Export .CSV or Export .XLSX. See Exporting data.
The export contains a publicly hosted link for each headshot rather than the image itself. Headshots over 2 MB open from those links resized (see Full-resolution originals). Use Option A when you need the original files.