

Create legacy reports
Below the Report Builder cards on the Reports page, reports are listed by module: Session Reports, Contact Reports, Group Reports and Review Plan Reports. Each section ships with pre-built reports you can run in one click, and the Session, Contact and Group sections let you add your own with a five-step wizard.
Why use it
Section titled “Why use it”The pre-built module reports are the quickest way to get a standard export, such as speakers with their sessions or every reviewer’s scores on a review plan, into a spreadsheet without building anything. They are the same in every event, so anyone on the team gets the same columns each time.
The module reports
Section titled “The module reports”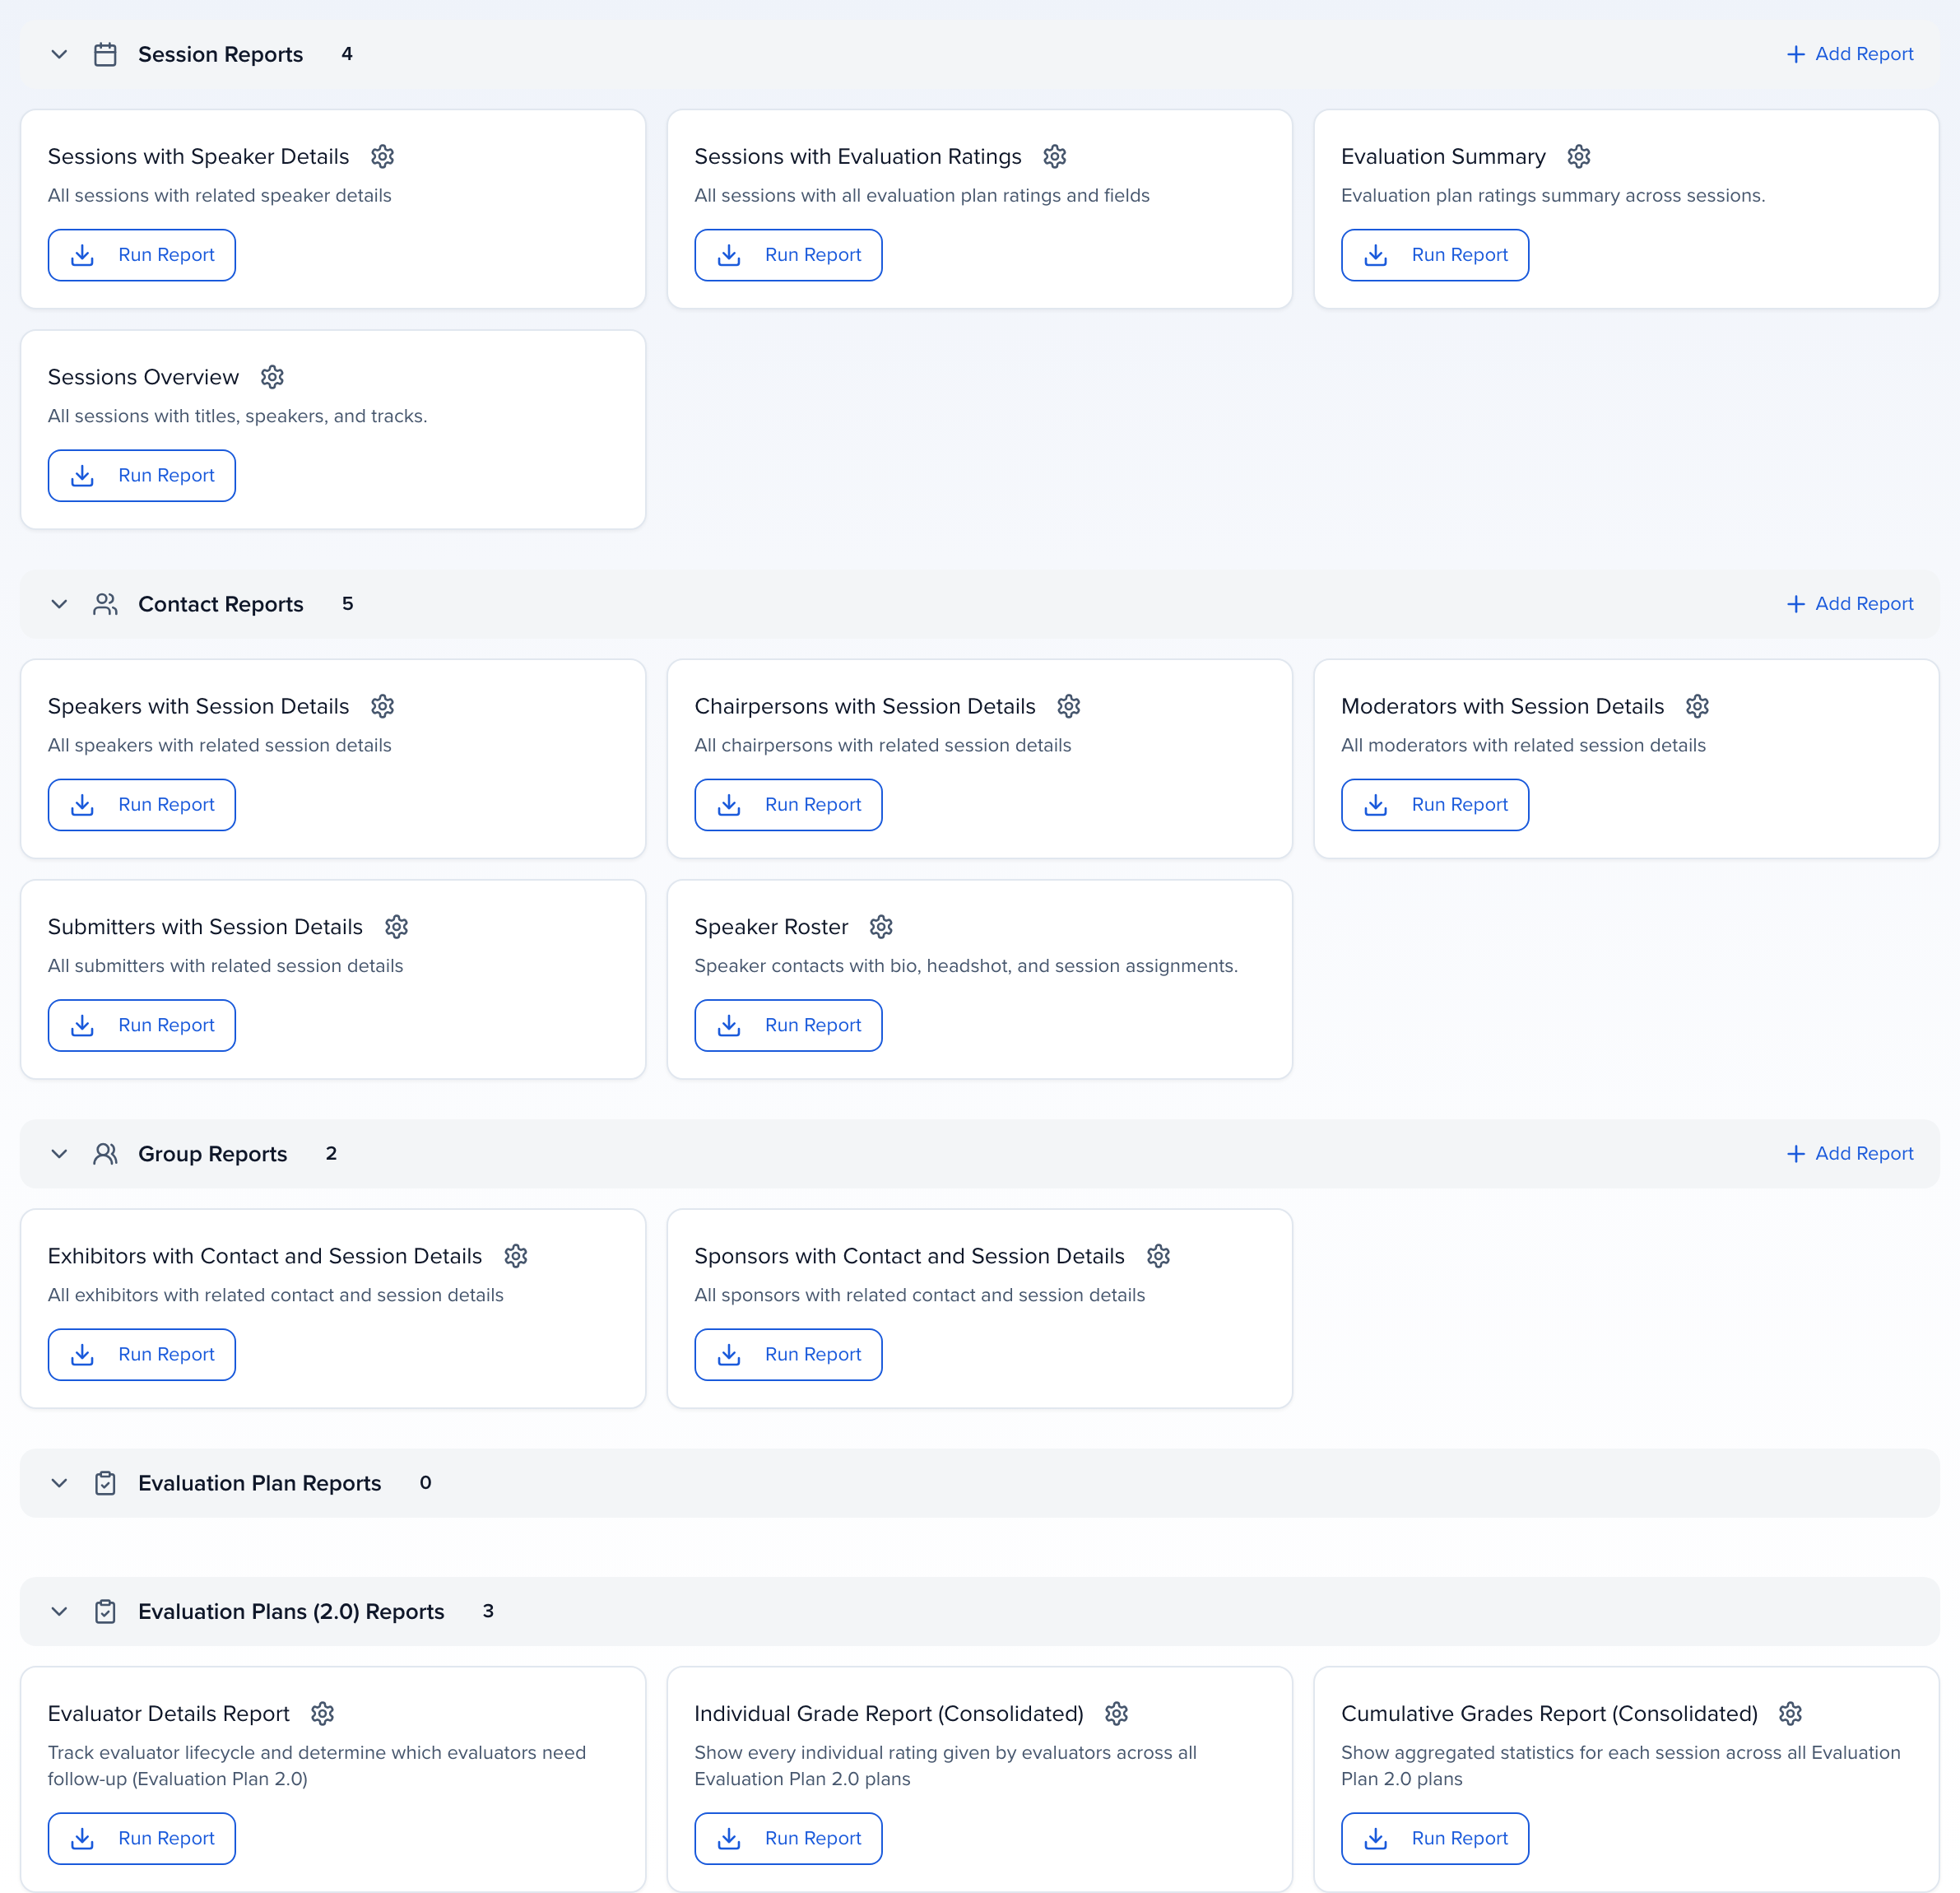
| Section | One row per | Pre-built reports |
|---|---|---|
| Session Reports | Session | Sessions with Speaker Details · Sessions with Evaluation Ratings |
| Contact Reports | Contact | Speakers with Session Details · Chairpersons with Session Details · Moderators with Session Details · Submitters with Session Details |
| Group Reports | Sponsor or exhibitor | Exhibitors with Contact and Session Details · Sponsors with Contact and Session Details |
| Review Plan Reports | Review plan | Evaluator Details Report · Individual Grade Report (Consolidated) · Cumulative Grades Report (Consolidated) |
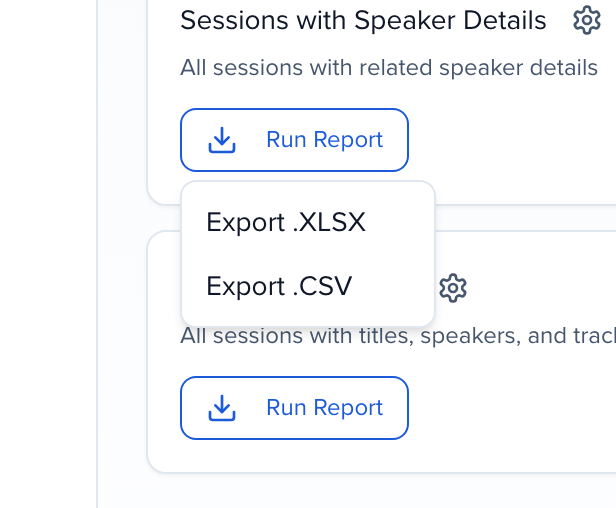
The pre-built reports are the same in every event and can’t be edited. To run one, click Run Report on its card and choose Export .XLSX or Export .CSV; the file downloads when it is ready.
Add a module report
Section titled “Add a module report”Click Add Report in the header of the Session Reports, Contact Reports or Group Reports section. The section you start from decides what each row of the report is.
Configuration
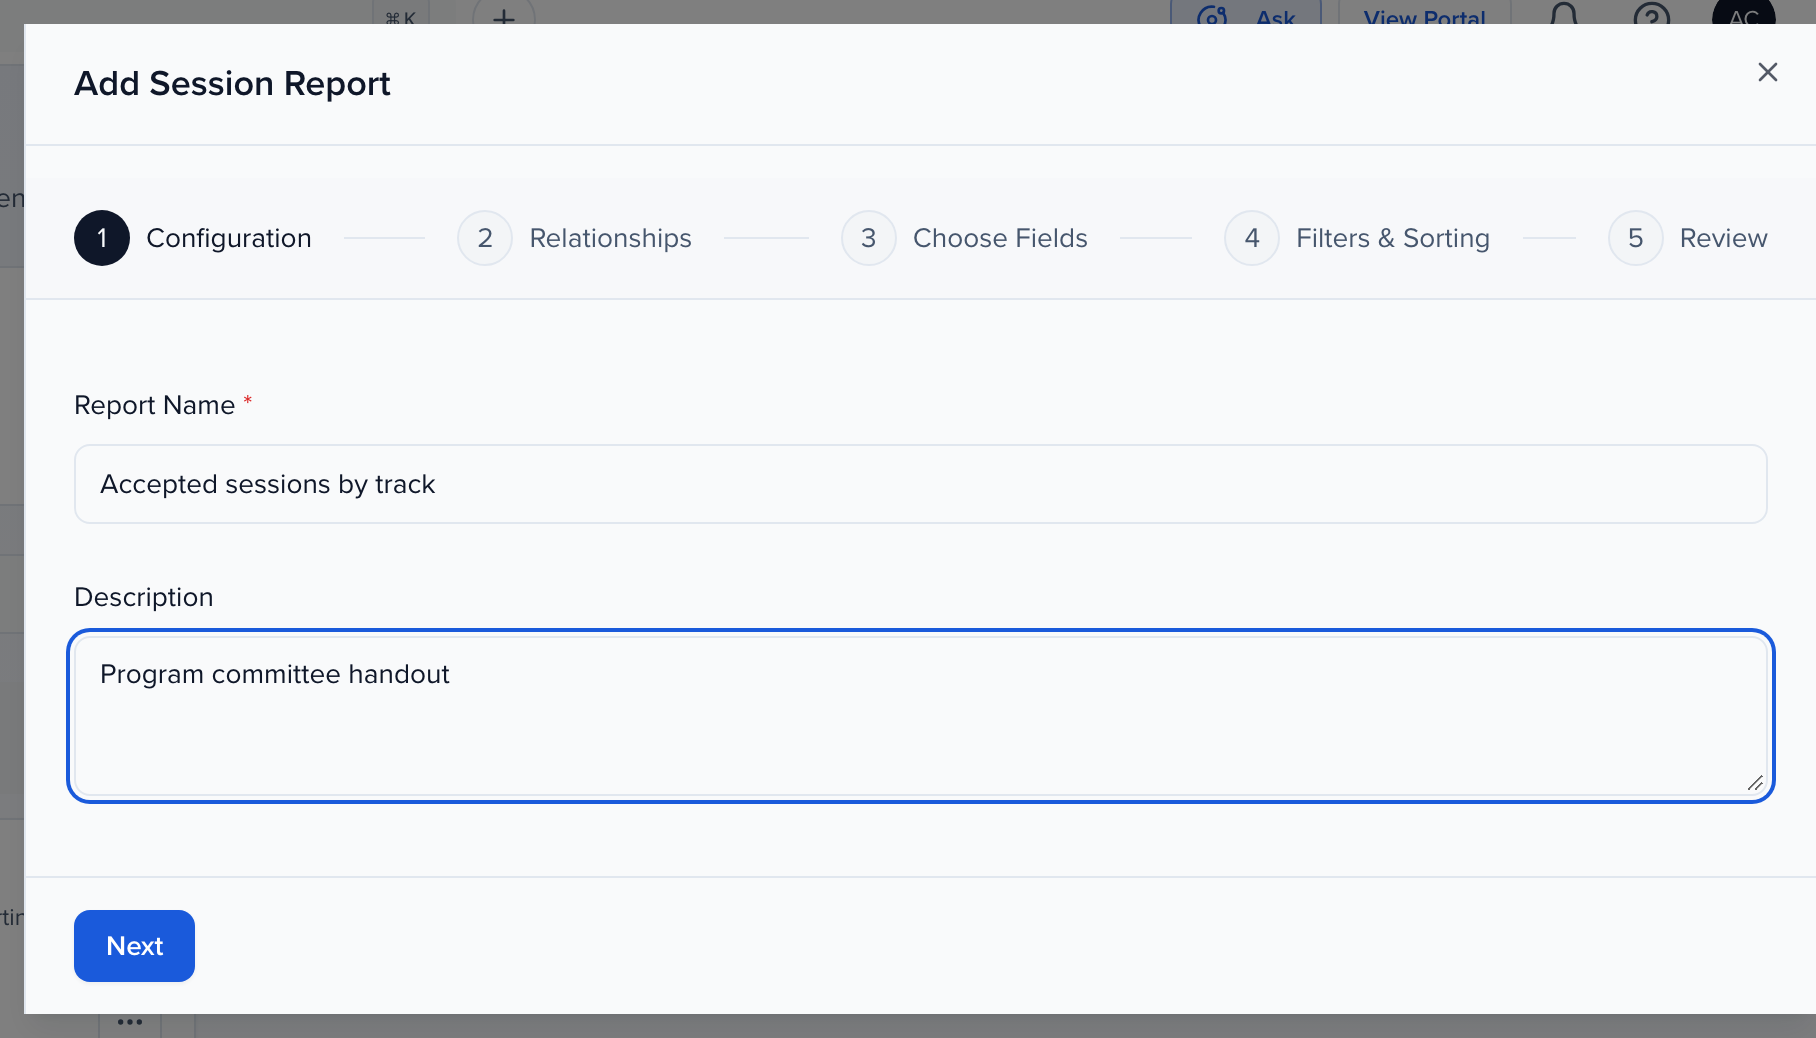
Give the report a Report Name (required) and, optionally, a Description that shows on its card.
Relationships
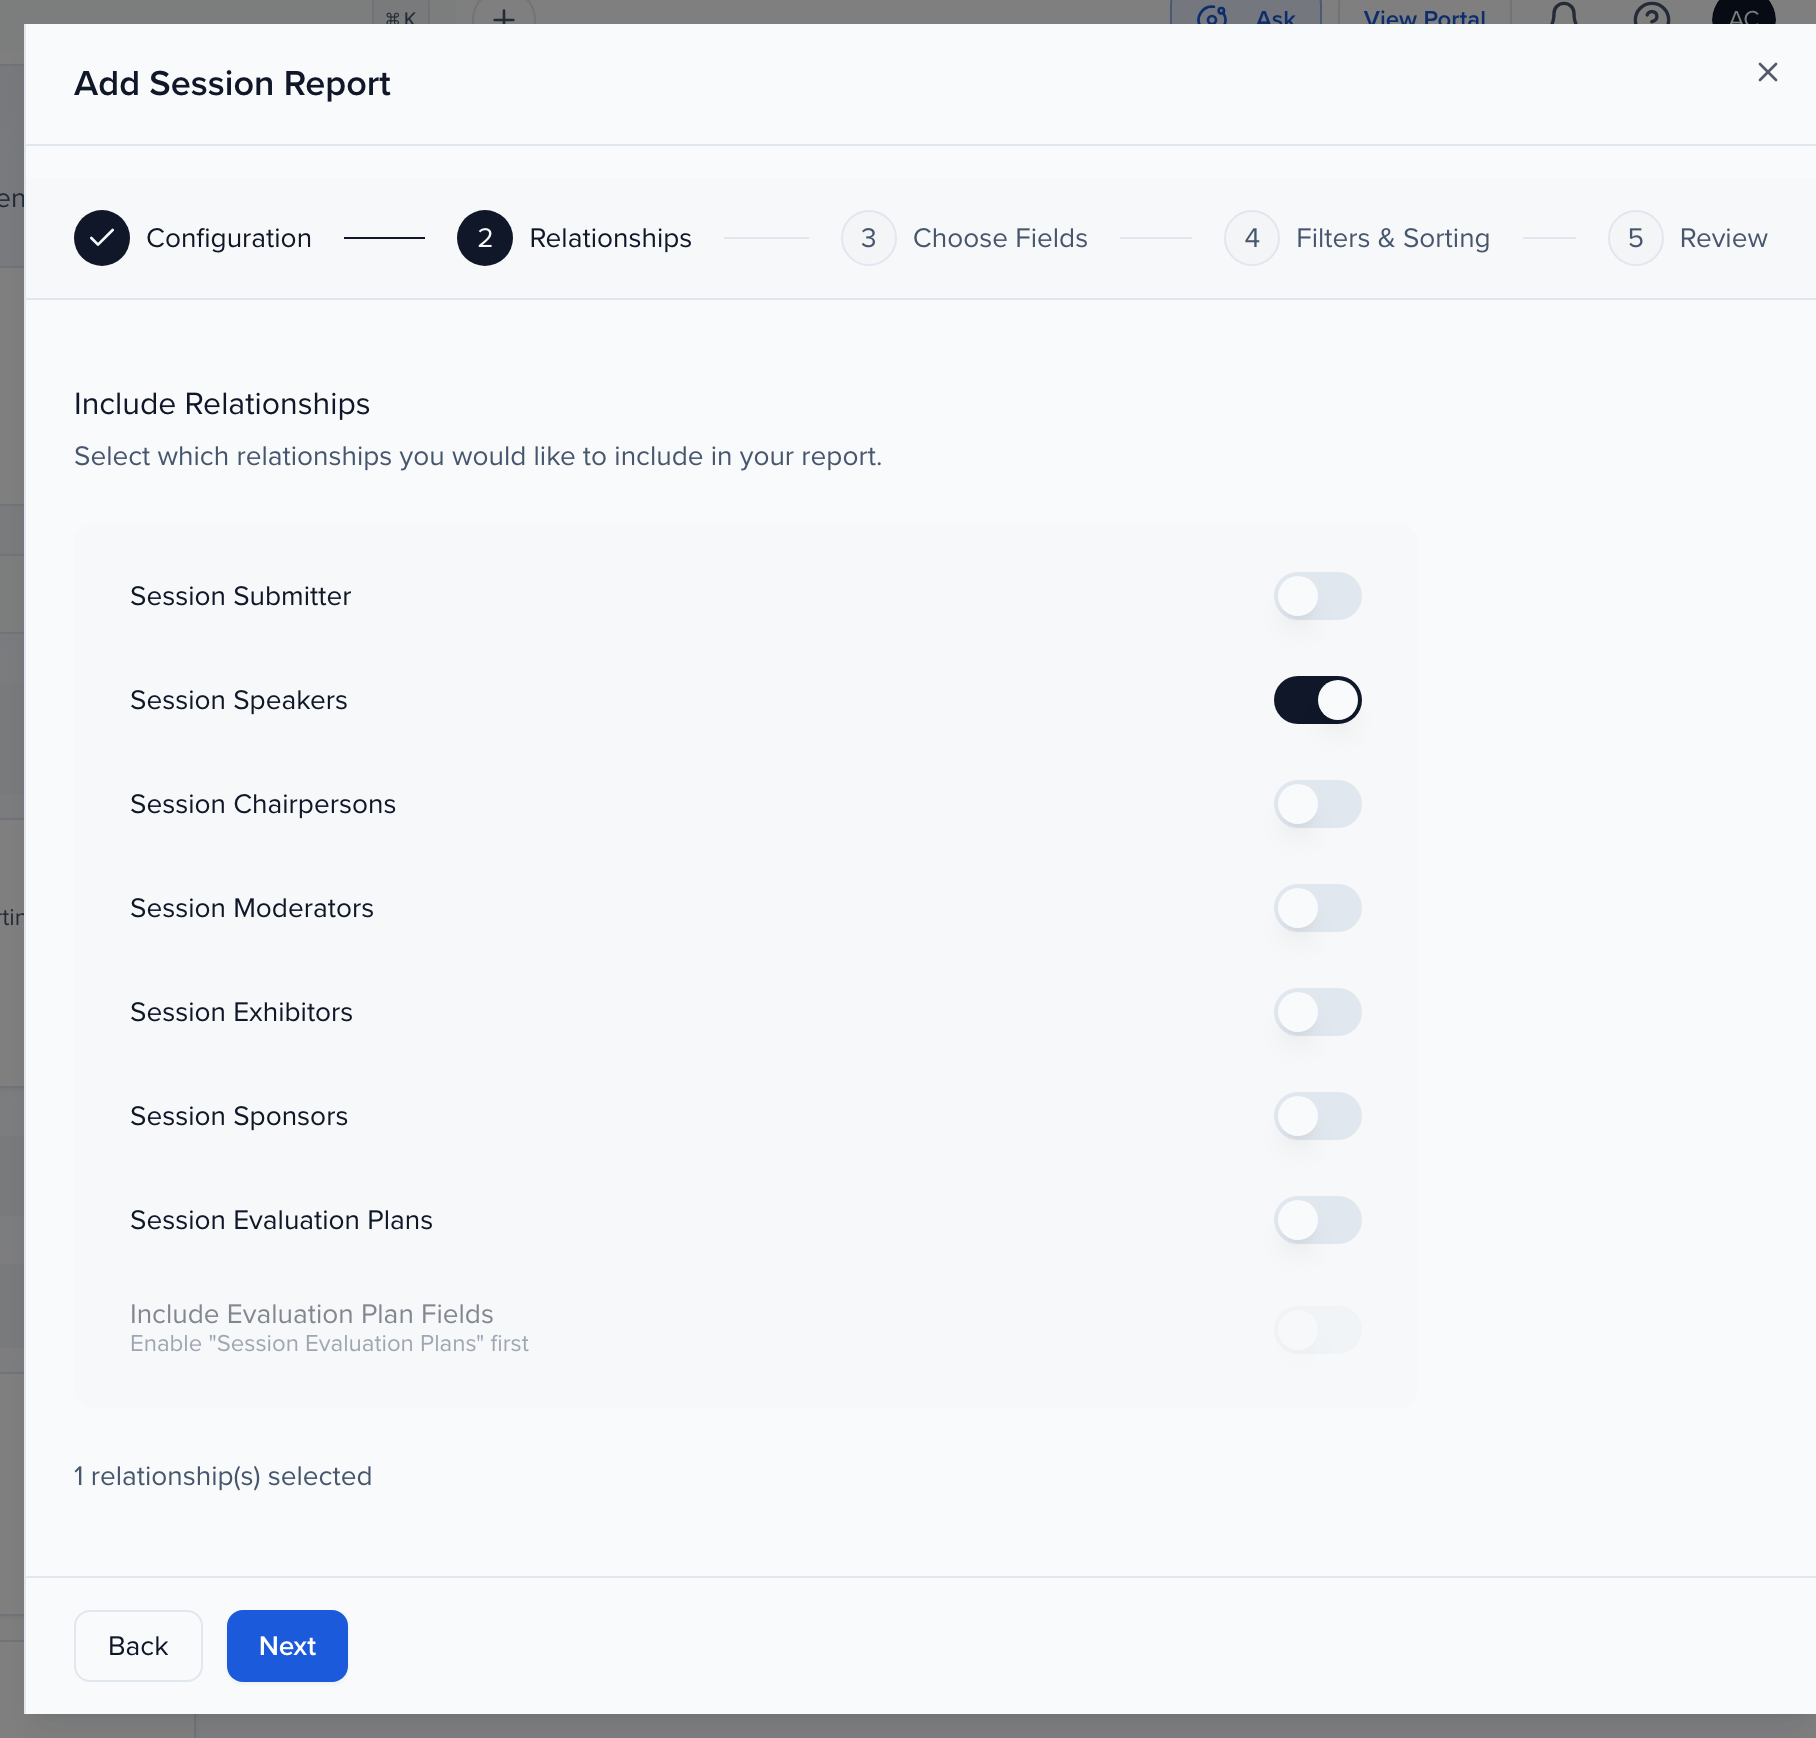
Switch on the related records you want alongside each row — for a session report: Session Submitter, Session Speakers, Session Chairpersons, Session Moderators, Session Exhibitors, Session Sponsors and Session Evaluation Plans. Each relationship you enable adds its fields to the next step. Turn on Session Evaluation Plans first if you want Include Evaluation Plan Fields.
Choose Fields
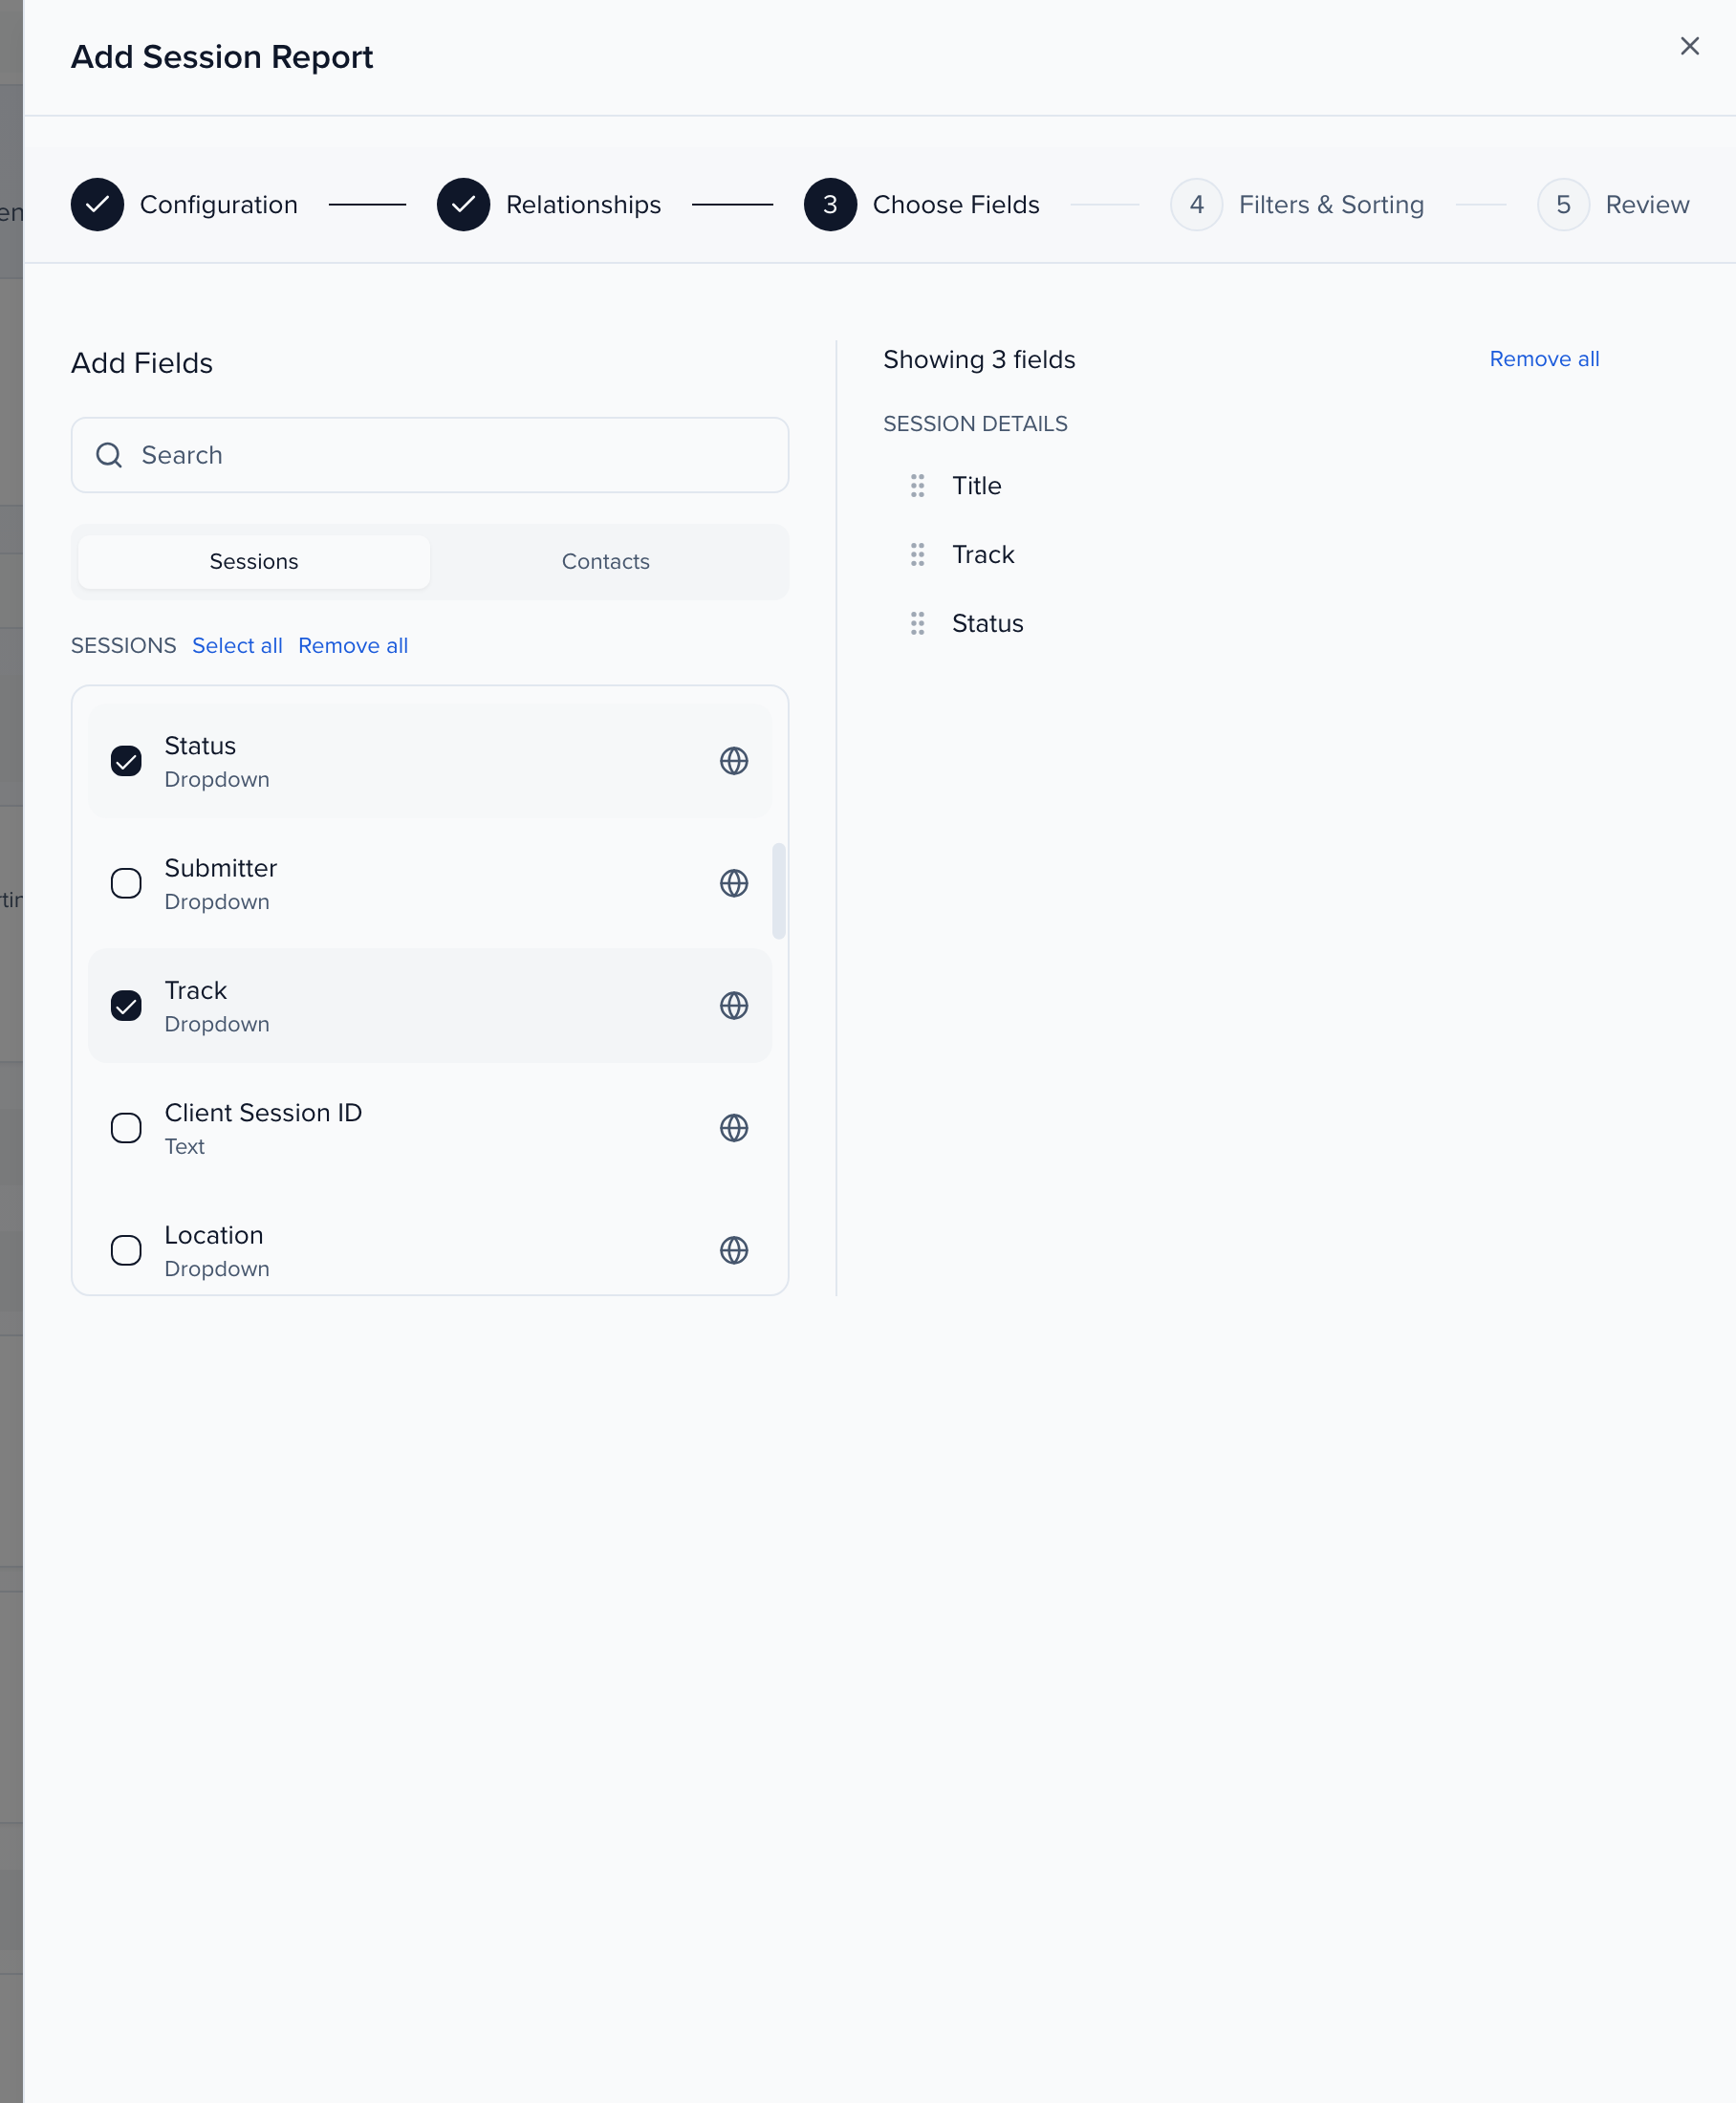
Tick the fields to include. They are grouped in tabs by what they belong to — Sessions, Contacts, Groups, Eval Plans — and you can search, Select all or Remove all within a tab. The selected fields are listed on the right; drag them into the order you want the columns.
Filters & Sorting
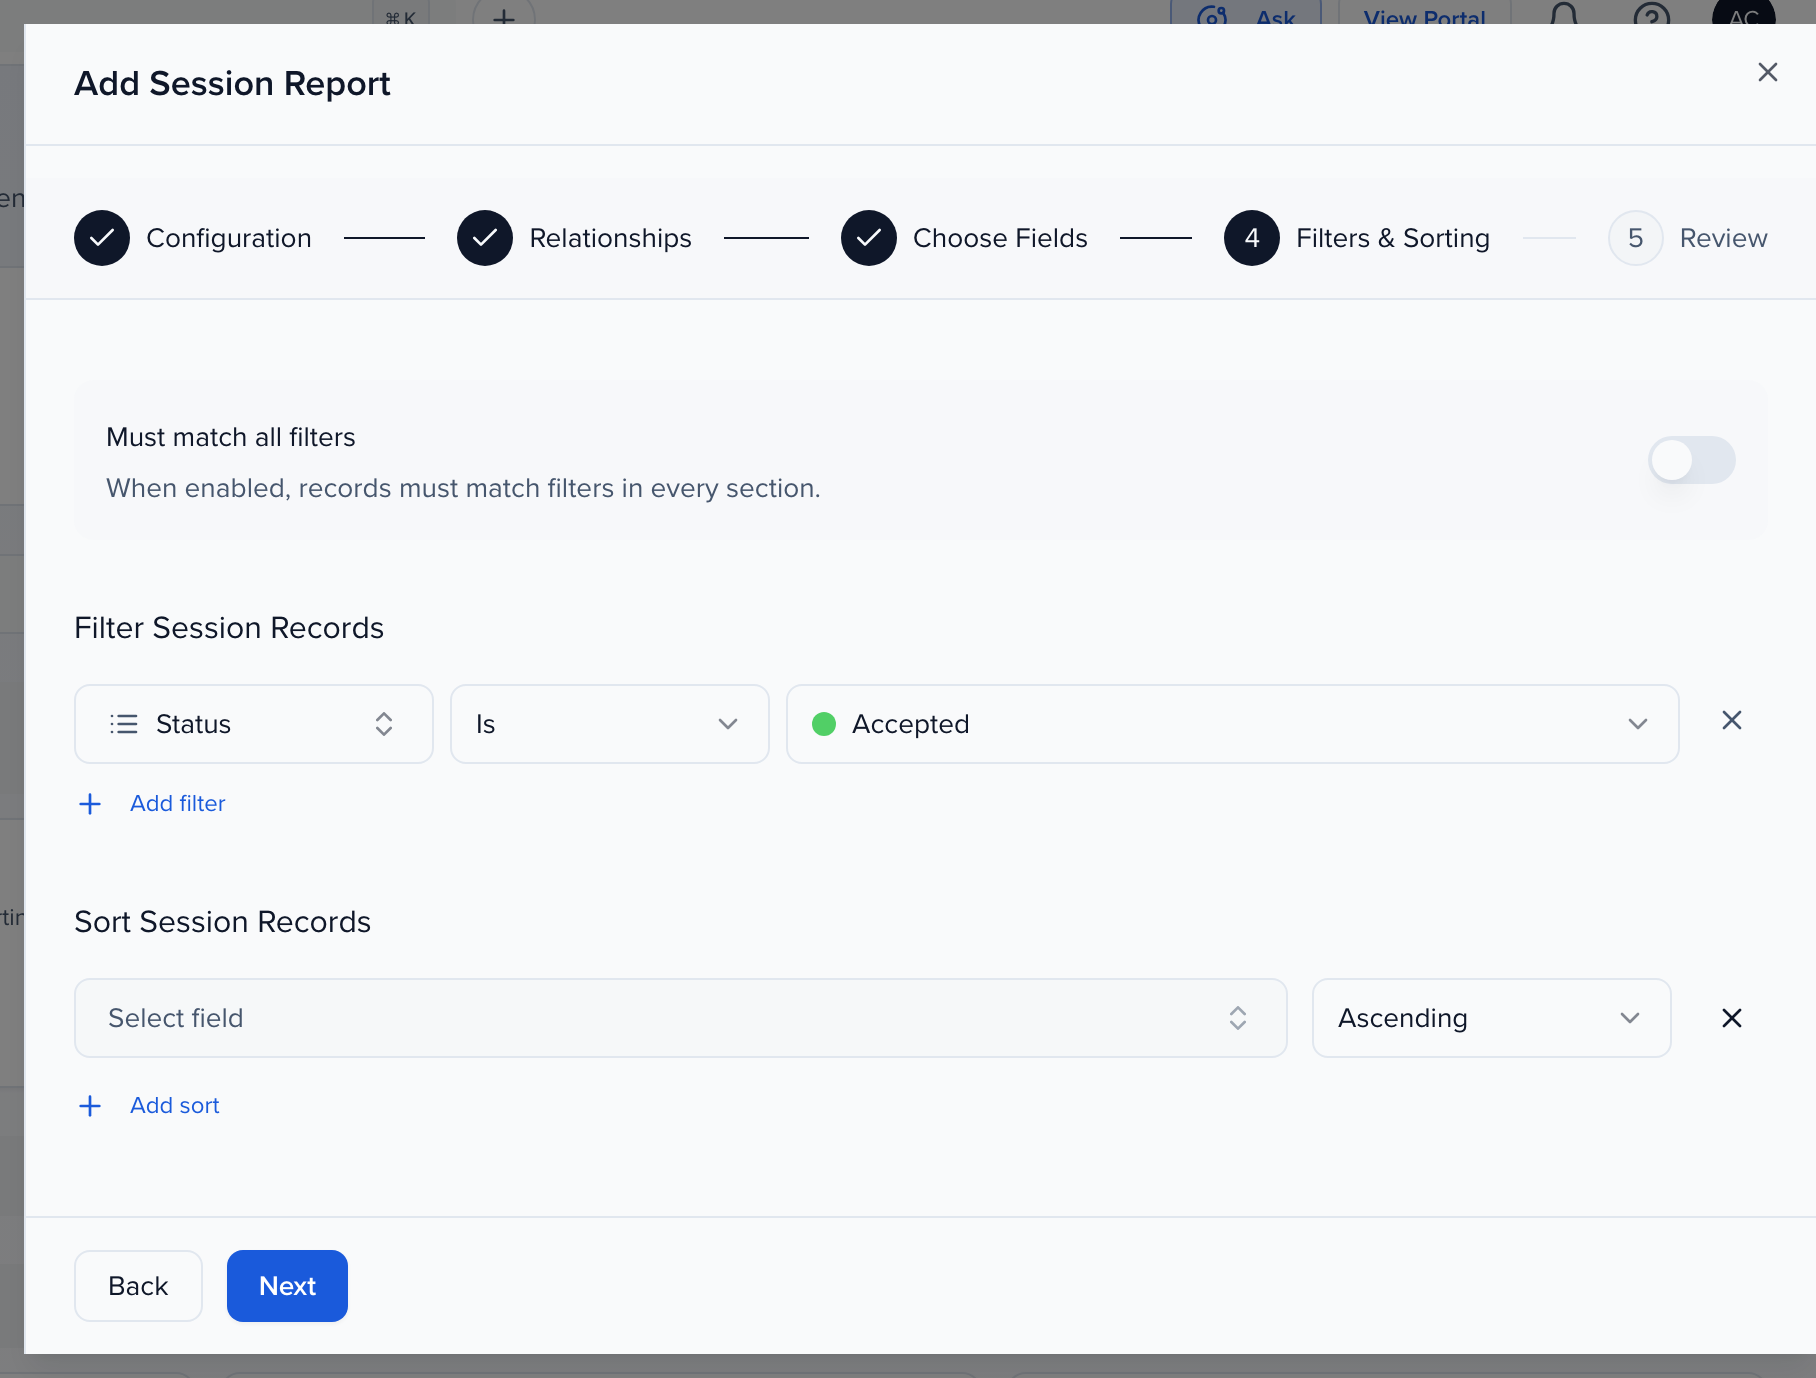
Click Add filter under the module you want to restrict, pick a field, an operator and a value — Status is Accepted, for example. Add as many filters as you need. When the report has filters in more than one section — session filters and contact filters, say — Must match all filters requires a record to match the filters in every section. Add sort orders the rows by a field, ascending or descending.
Review
Check the configuration, fields and filters — each block has an Edit button that jumps back to its step — then click Save Report.
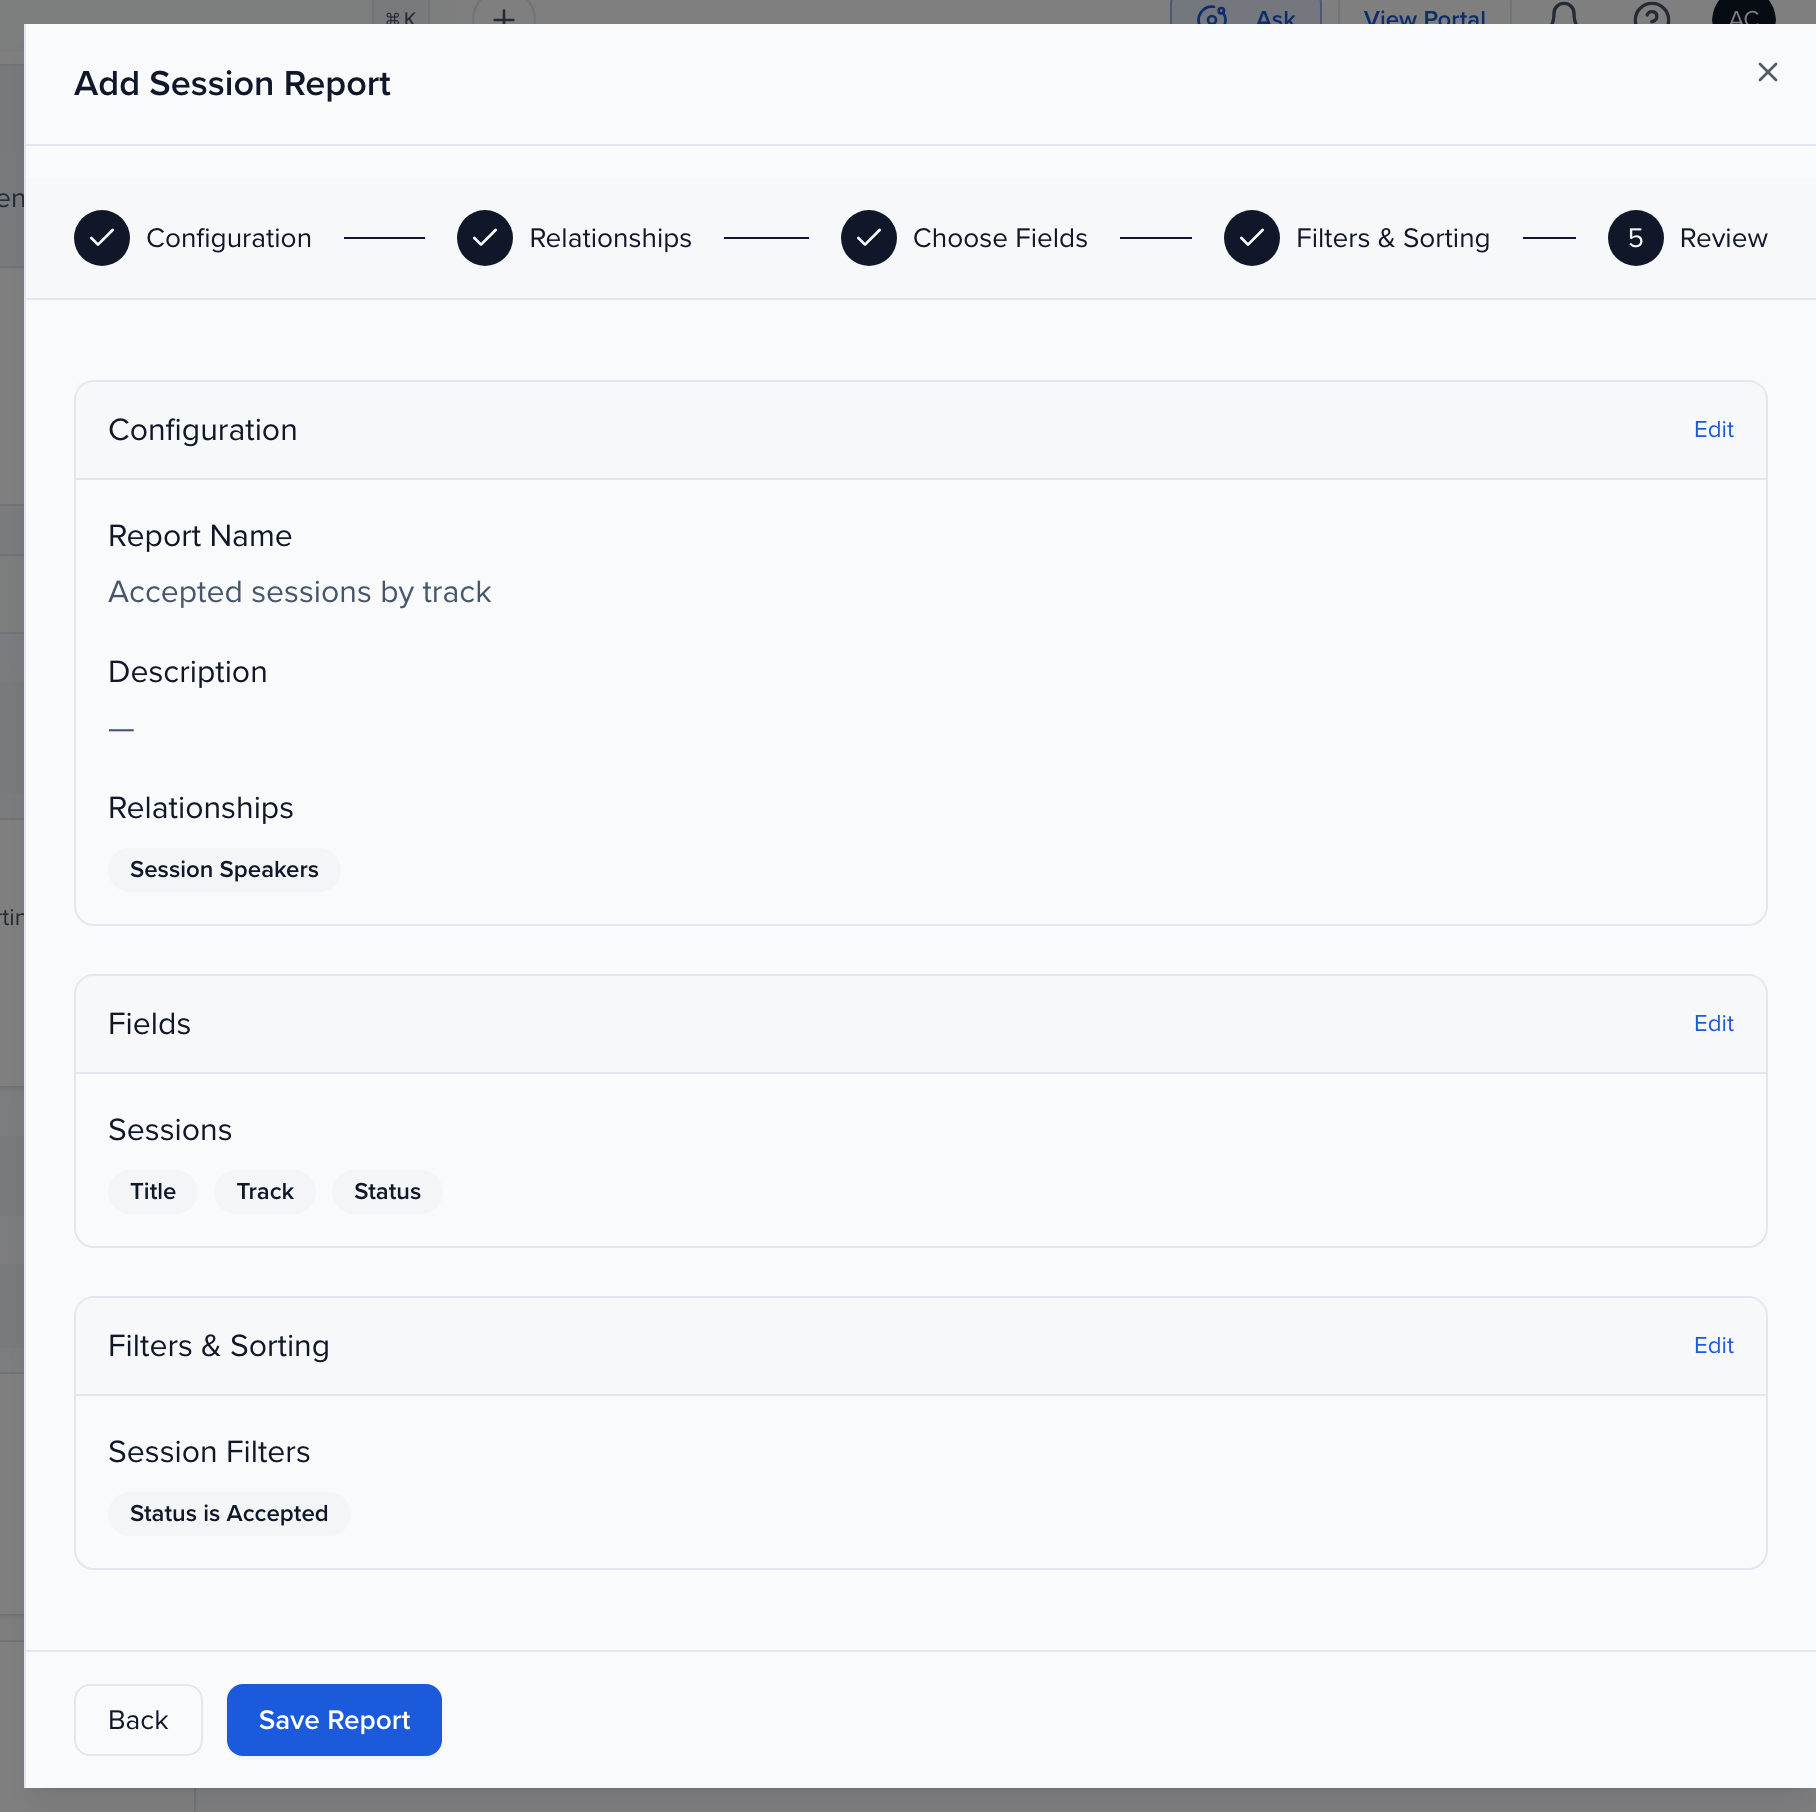
The new report appears as a card in the section you started from. Run it like any other with Run Report. In the Excel file, the sheet takes the report’s name, shortened to the 31 characters Excel allows and without the characters Excel doesn’t accept in a sheet name.
Operators depend on the field type:
| Field type | Operators |
|---|---|
| Dropdown, tree | Contains, Does not contain, Is, Is not, Is empty, Is not empty |
| Text, number | Contains, Does not contain, Is empty, Is not empty |
| Date | Is before, Is after, Is empty, Is not empty |
| Checkbox | Is checked, Is not checked |
| File | Is empty, Is not empty |
Edit, duplicate, convert and delete
Section titled “Edit, duplicate, convert and delete”Every report card has a gear menu next to its name.
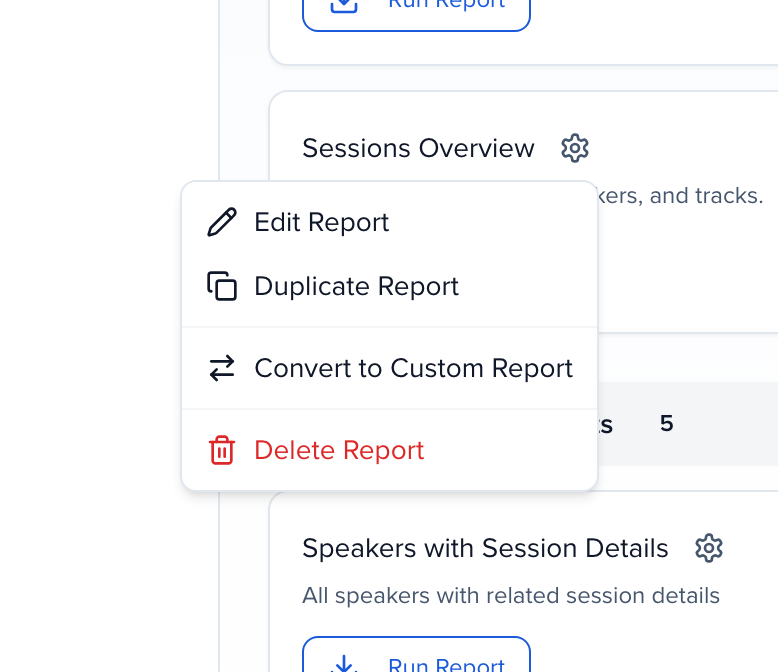
- Edit Report reopens the wizard on a report you created.
- Duplicate Report copies it — handy when several reports share most of their fields.
- Convert to Custom Report rebuilds the report in the Report Builder and opens it there, where you can add grouping, schedule it or share it by link. Pre-built reports offer only this item. If a legacy field has no equivalent in the builder it is left out, and a message tells you which ones.
- Delete Report removes a report you created.
Adding, editing, duplicating and deleting need the Can add reports permission under Data & Insights in the role; see Report Builder → Permissions.
Generate a report from an evaluation plan
Section titled “Generate a report from an evaluation plan”You do not have to build an evaluator report from scratch. Open an evaluation plan, go to its Evaluators tab, and choose Options → Generate report. Enter a Report name and click Generate report.
The new report appears under Custom Reports with the Evaluators tab’s columns, plus each evaluator’s progress and Average score per round, one column per evaluator question, and the average score across rounds. If a search was active on the tab, the report keeps that filter. From there it behaves like any other custom report: share it, schedule it, download it, or edit its fields.