Build and manage your agenda
Use submissions to build your event schedule. A session can be a submission you have accepted or any other event day scheduled times you want to show to your attendees (i.e., Lunch, Networking Hour, Registration Open).
- Agenda Settings
- Views (List, Day, Week, Month, & Rooms)
- Conflicts
Agenda Settings
Customize the settings for building your event agenda by navigating to Sessions > Settings > Agenda.

How to view your agenda
Your event agenda can be viewed from Sessions > Agenda.
Note: By default, only submissions with an accepted status will be accessible from your Agenda. Use the Agenda Settings to include additional session statuses.
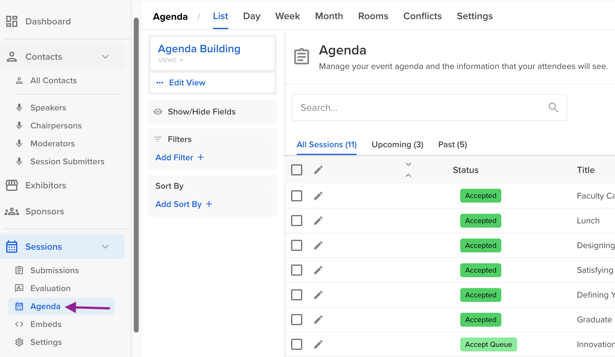
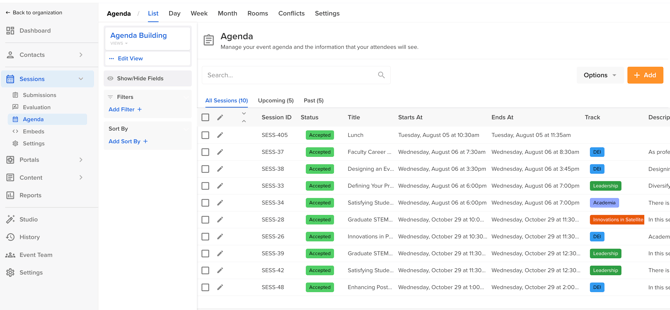
Your agenda can be viewed in 5 different layouts: list (default), day, week, month, and room.
You can drag and drop all accepted sessions to update and assign the date, time, or room, depending on the view you are in.
.gif?width=670&height=377&name=Untitled%20design%20(16).gif)
List (Default) View
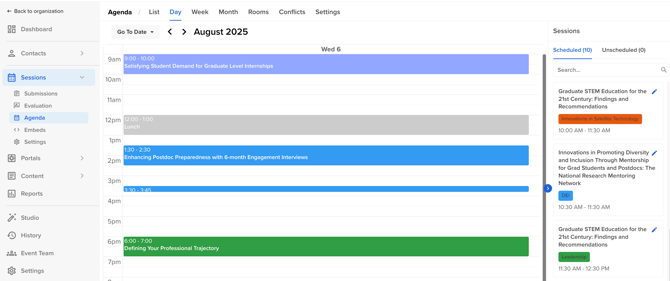
Day View
🤔 Did You Know...
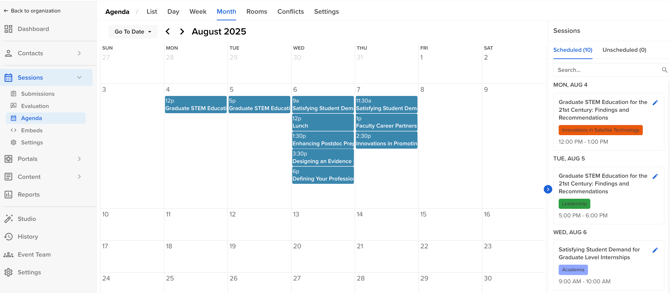
Tracks assigned to sessions determine their color when viewing your agenda within the day, week, or room view. Track colors are not represented in the month view.
Week View
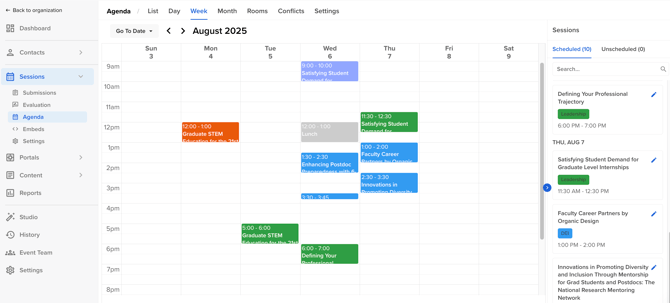
Month View
Rooms View
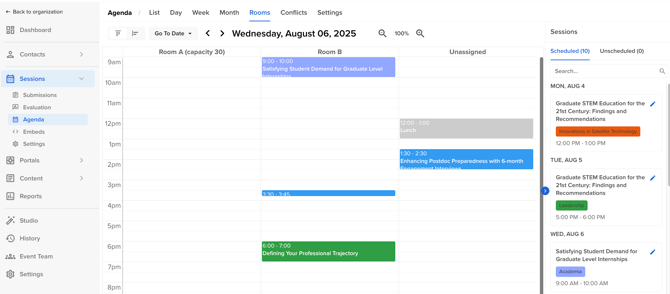
- Zoom out to view all rooms without needing to scroll.
- Click on the timeline view icon to view your rooms on the x-axis.
.gif?width=670&height=377&name=Untitled%20design%20(17).gif)
To add and edit Rooms, this can be done within the Session "Settings".

Conflicts
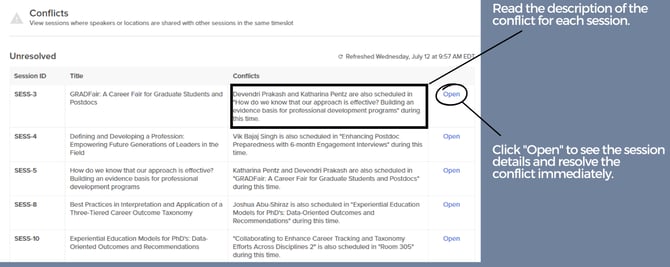
Conflict detection allows you to quickly see if two or more sessions are overlapping, or if a session contact (speaker, chairperson, moderator) is double-booked at the same time.
To view this, navigate to Sessions > Agenda > Conflicts. The system will check for any conflicts and display each session here with details.
NOTE: Conflicts are updated upon page refresh.
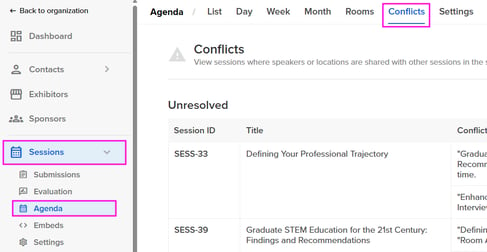
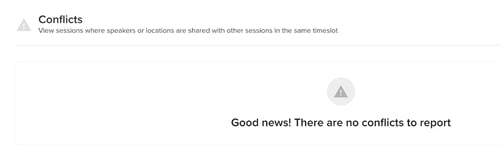
Below, you will find an example of an agenda with no conflicts vs. an agenda with conflicts that have been detected by the system for your review.
No conflicts
Conflicts detected
By clicking Open, the system will open the session editor, allowing you to adjust the conflicts that were detected.
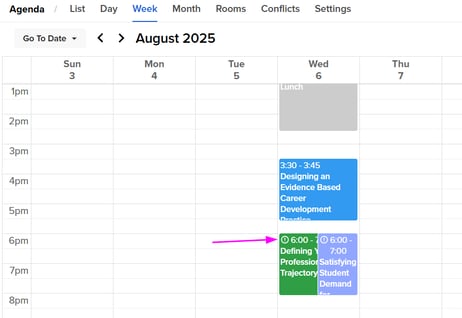
Sessions with a conflict will be designated with an exclamation point in the agenda view.
