If Files is enabled for your event, you can upload supporting documents that will accompany your session. Read more below on how to upload your materials as well as communicate to the event admins through comments.
How to upload files
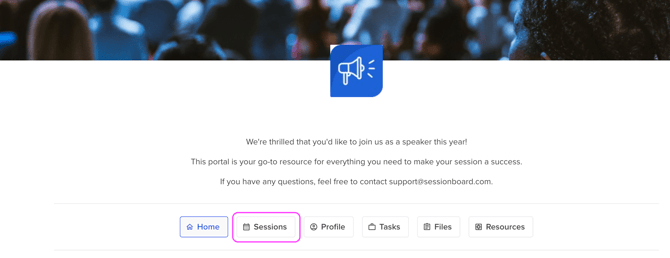
- Select the button Submissions at the top of your portal.
- Within the Submissions page, select the session you would like to upload content for to open the sidebar on the right side of the page.
- Within the sidebar, select the Files button below the session name.

- Add your file by either dragging and dropping or selecting the file from your computer.
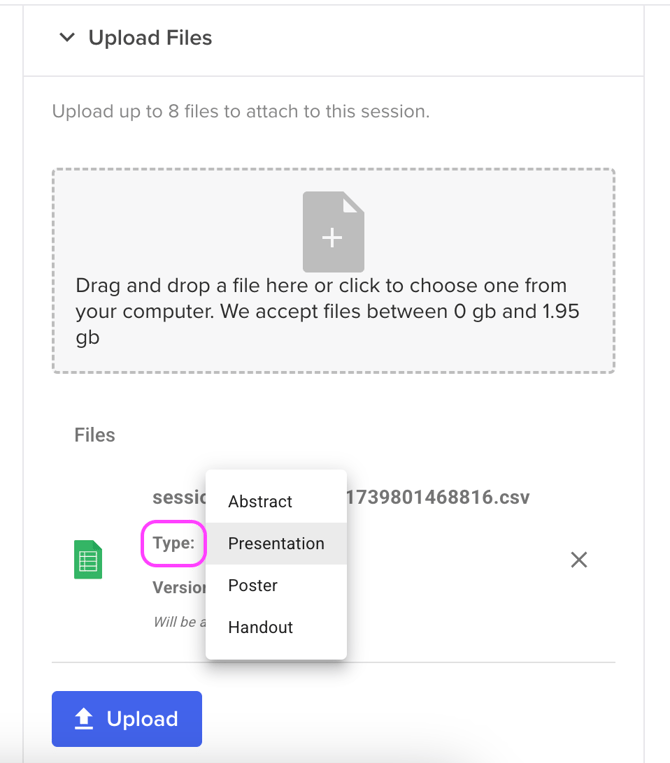
- Once you have added the file, you can adjust the file type and version type. Do not forget to click the blue Upload button once complete.
-
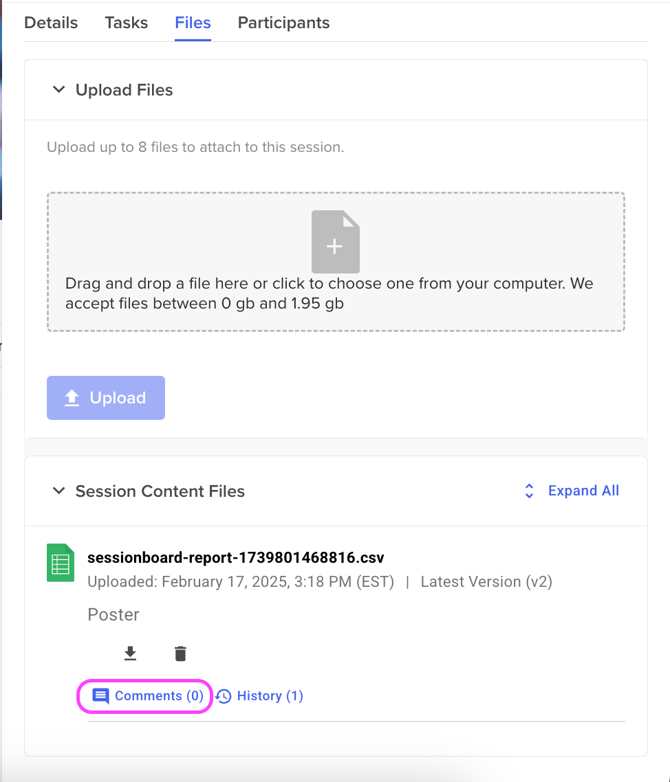
File Type: Once files have been uploaded, they can be assigned a content type. By default, this is set to Presentation; however, this can be changed to Poster or Handout to differentiate types of session content.
-
File Versioning: Files can also be marked as versions of previously uploaded files. This allows a new file to be connected to a previous version. All file versions will remain accessible in the content upload history and can be downloaded to cross-reference.

-
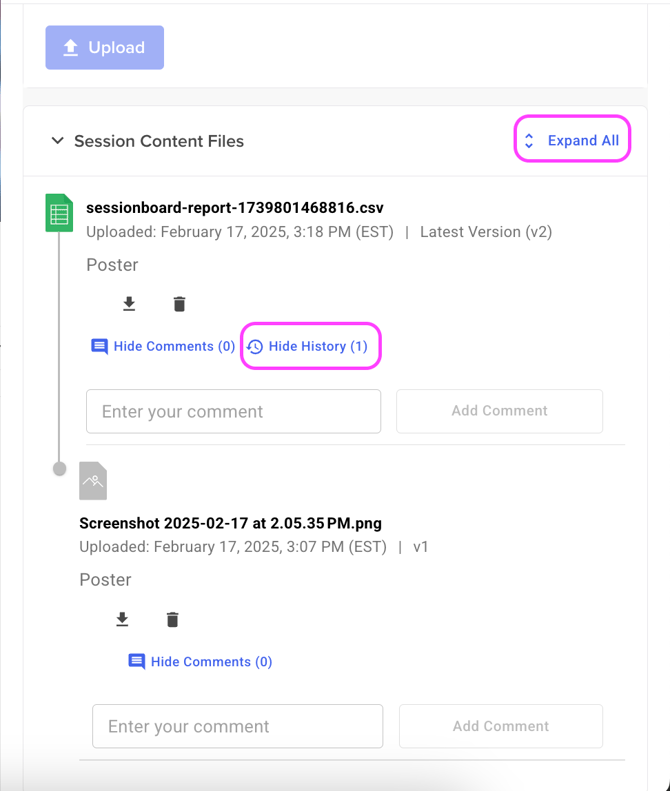
View File Version History
Selecting “History” or "Expand All" will allow you to see versions of a specific file.
Comments
Speakers can add and view comments on session content within their portals. Commenting is a quick and simple way to communicate with event admins directly.
To view and send new comments, either click "Expand All" or the word "Comment".