
There are two recommended methods for creating a portal specifically for accepted speakers in Sessionboard. Each offers flexibility depending on how you prefer to manage speaker access and visibility.
Option 1: Filter by Speaker Role + Control Task Visibility
This option uses the built-in Speaker role filter to display all speakers in your event, regardless of session status (pending, declined, or accepted). To limit visibility of tasks to only those assigned to accepted sessions:
- Create a Custom Portal:
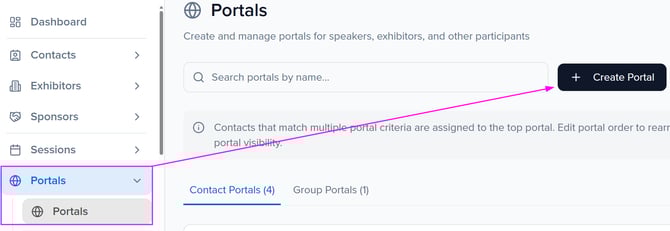
- Navigate to the Portals module.
- Click “Create Portal” to create a Contacts portal.
- In the filter section, ensure the role “Speaker” is filtered by the criteria "is checked".
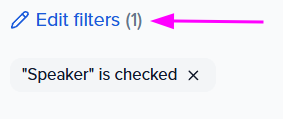
- This will include all contacts assigned to sessions as the role type “Speaker” — regardless of the session’s status.
- Control Task Visibility:
- Go to Page 3 (Configuration) of the portal setup and disable the “Always Show Tasks” setting like this:
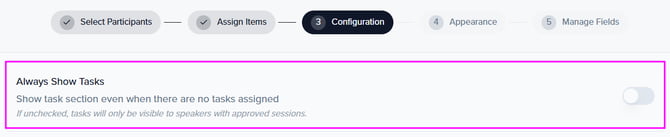
This ensures tasks (forms, file requests, etc.) are only visible to speakers assigned to accepted sessions.
- Go to Page 3 (Configuration) of the portal setup and disable the “Always Show Tasks” setting like this:
💡NOTE: The list of contacts assigned to the portal will still include all speakers, but only accepted speakers will see the tasks.
Option 2: Use a Custom Contact Field to Identify Accepted Speakers
If you prefer to restrict portal access to only accepted speakers (not just task visibility), you can use a custom contact field to flag accepted speakers and filter the portal accordingly.
- Create a Custom Contact Field:
- Create a custom checkbox field (e.g., “Accepted Speaker”) and add the field to your Speaker module table view.
- For each accepted speaker, check the box to identify them as an accepted speaker.
💡TIP: Consider bulk editing the custom field you have created to save time!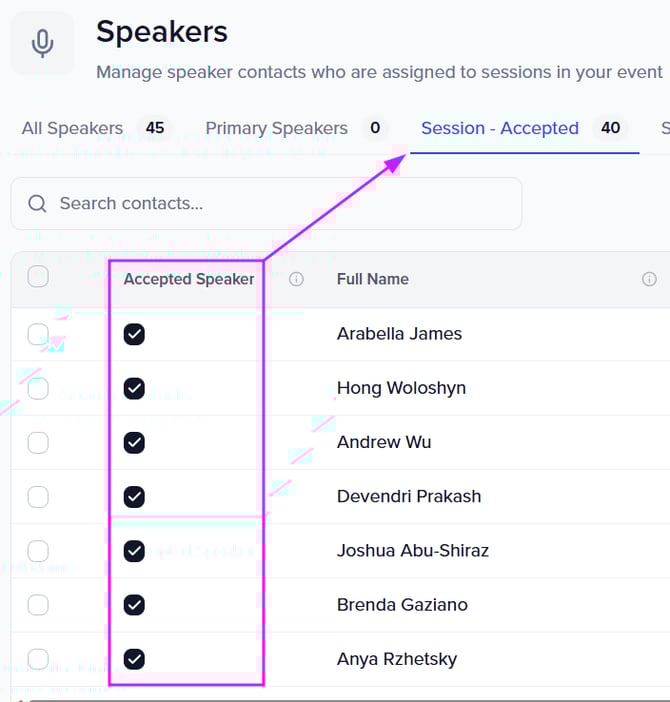
- Create a Custom Portal Using That Field:
- When building your portal, apply a filter using the custom field (e.g., “Accepted Speaker is checked”).
- Only contacts marked as accepted will appear assigned to the portal.

📝 Important Note: This method requires manual updates:
-
If you accept new sessions or assign new speakers to accepted sessions, you’ll need to manually update the custom field for each new speaker. This field does not update automatically based on session status.