
- What Are Email Themes?
- Email Themes vs. Email Templates
- Accessing Email Themes
- Creating a New Theme
- Using the Theme Editor
- Available Merge Tags
- Setting a Theme as Default
- Key Things to Know
What Are Email Themes?
Email Themes control the visual wrapper around your emails — the header, footer, background, colors, and layout that surround the email content. This is separate from the email's actual text and body copy.
Common use cases:
- Sending plain, unbranded emails (similar to a regular Gmail message)
- Adding a custom event logo as a header banner
- Replacing Sessionboard's default footer with a branded one
- Applying custom colors and typography to all outgoing event emails
📌 Email Themes only apply to emails sent manually via the "Send Email" modal. Automated system emails are not affected.
Email Themes vs. Email Templates
| Email Templates | Email Themes |
|---|---|
| Define the content of the email (subject line, body text, merge tags) | Define the visual wrapper around that content (header, footer, colors, layout) |
| Existing feature — works the same as before | New feature — enabled upon request |
Injected into the theme via } |
Must include } to display email body correctly |
Think of it this way: the template is what you write inside the email, and the theme is the branded envelope it sits inside.
Accessing Email Themes
Navigate to Settings → Email Themes within your event: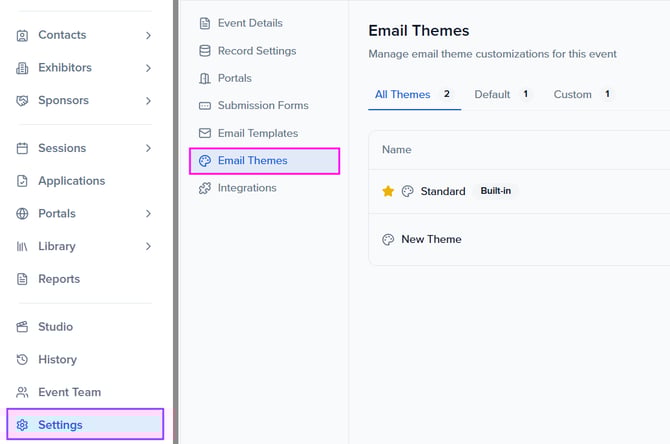
The themes list is organized into three tabs:
- All Themes — every theme associated with this event
- Default — the theme currently applied to all manually-sent emails (marked with a ⭐)
- Custom — themes you've created
The Standard theme is built-in and set as the default out of the box. It cannot be edited, duplicated, or deleted.
Creating a New Theme
Click + Add Theme in the top right corner. You'll be prompted to select a starting template:
- Plain — a minimal, unstyled wrapper with no header or footer (ideal for clean, Gmail-style emails)
- Event Logo — includes your event logo in the header by default
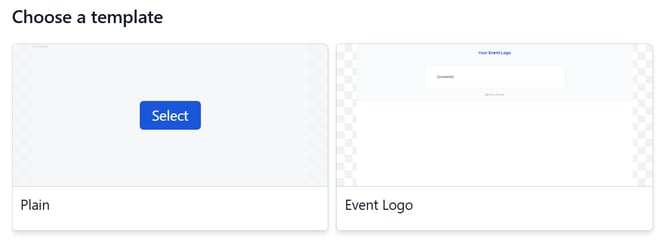
Select a template to open the theme editor.
Using the Theme Editor
The theme editor is a drag-and-drop builder. The left sidebar contains five panels:
- Blocks — add new content blocks (text, images, buttons, dividers, etc.)
- Pages & Layers — view and navigate the layer structure of your theme
- Global Styles — set global fonts, colors, and spacing
- Assets — upload and manage images such as your event logo
- Templates — switch to a different starter template
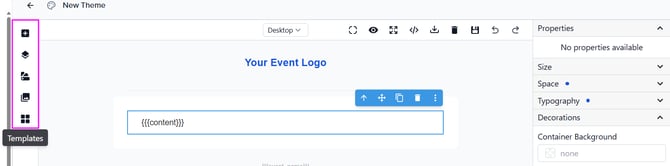
Toolbar
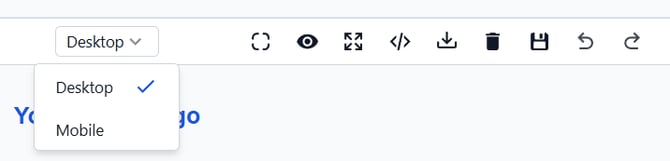
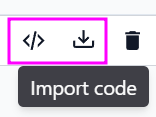
The top toolbar includes: Component outline, Preview, Fullscreen, Code editor, Import code, Download, Delete, Save, Undo, and Redo. Use the Desktop / Mobile toggle to preview how the theme renders across screen sizes.
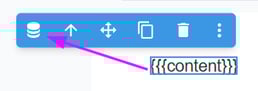
Required: The } Tag
Every theme must contain the } merge tag. This is where your email template content is injected when an email is sent. If the tag is missing, the editor will display a warning:
![]()
Do not remove this tag from your theme.
Importing HTML
Use the Code or Import code buttons in the toolbar to paste custom HTML directly into the editor. Any valid HTML email layout can be imported, including code from external email design tools.
Available Merge Tags
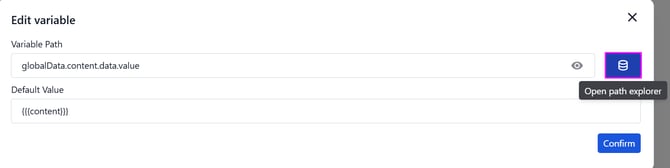
Insert dynamic variables into your theme to pull live event and recipient data at send time. Tags are available via the Edit variable panel in the editor or can be typed directly in the code view.
| Merge Tag | Output |
|---|---|
} |
The body of the email template — required in every theme |
} |
The name of your event |
} |
Your event logo as an image URL |
} |
The full name of the email recipient |
} |
The email address of the recipient |
} |
The phone number of the recipient |
} |
The subject line of the email |
} |
The reply-to email address |
} |
The sender email address |
} |
CC recipients |
} |
BCC recipients |
} |
The type/category of the email being sent |

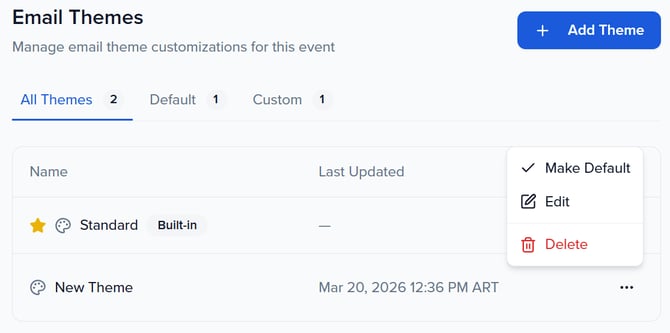
Setting a Theme as Default
Only one theme can be active per event at a time. To set a custom theme as the default:
- Go to Settings → Email Themes
- Find your custom theme in the list
- Click the ... (ellipsis) menu on the right side of the row
- Select Make Default
The theme will now apply to all manually-sent emails from this event. The active default is marked with a ⭐ in the themes list.

Key Things to Know
- Event-level feature. Themes are configured per event, not at the organization level.
- Manual emails only. Themes apply exclusively to emails sent via the "Send Email" modal. Automated and system emails are not affected.
- One default at a time. Only one theme can be active per event. All manually-sent emails use the current default.
- Standard theme is locked. The built-in Standard theme cannot be edited, duplicated, or deleted. It can only be replaced as default by a custom theme.
- HTML import supported. Custom HTML from external email builders can be pasted in via the Import code option in the toolbar.
Enabled upon request. This feature must be activated by the Sessionboard team. Contact support@sessionboard.com to get started.