
Contact support@sessionboard.com to have this module enabled within your event.
The Documents module in Sessionboard allows you to create personalized documents using data from your event speakers, sessions, sponsors, and exhibitors. This feature streamlines the process of producing standardized documents, saving your team valuable time and ensuring consistency.
NOTE: Only Word Documents (portrait orientation - 8.5'' x 11'') can be created at this time. Documents can be exported as a Word or PDF file.
Example Documents You Can Create:
-
Sessions
- Session Outline
- Session Run of Show
- Speakers
- Speaker Bio & Headshot Summary
- Speaker Welcome Packet
- Sponsors
- Sponsor Benefit Summaries
-
- Onsite Contact List
-
- Sponsor Welcome Packet
- Exhibitors
- Exhibitor Benefit Summaries
- Onsite Contact List
- Exhibitor Welcome Packet
How to Create a Document
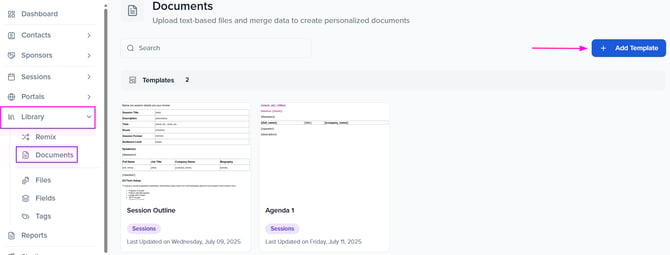
From your left-hand menu, access the Library module to open the dropdown, and select Documents. Tap the + Add Template button on the right-hand side to start a new document.
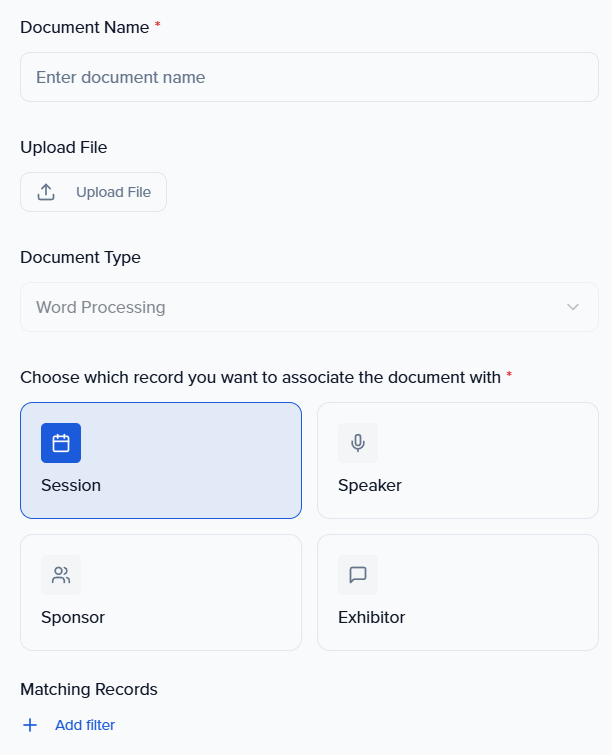
Within the pop-up module, provide the following details for your document. Select the orange Save & Next button to progress to the next page once complete.
Document Editor
The Document Editor in Sessionboard allows event teams to quickly generate personalized documents by inserting merge fields that dynamically pull in session, speaker, sponsor, and exhibitor information.
These merge fields can be used to automatically populate details such as names, titles, session times, locations, bios, and more, saving time and ensuring accuracy across communications. If there is no data for a record, the record will not be skipped.

❗️IMPORTANT NOTE❗️: Ensure to save your document before previewing it so that you do not lose the edits you have made.
![]()
Include Related Fields
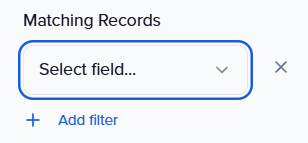
To include related entries (e.g., speaker name, job title, company, and biography), users can insert a Related Fields Table, which will generate a structured table of linked data.

Related fields will be inserted as a table view within your document.

Adding a Header and Footer to Your Document

Publish (Export) Your Document
Once you have completed editing your document and you are ready to export, select the blue Save & Next button at the top right-hand corner of your screen to export your created document.

