How To Create and Delete Custom Fields
Create A Field
Note: Once a field has been saved, the Field Type cannot be edited. To make changes to the field type, you will need to delete the field and create a new one.
-
Within the Fields module, select the appropriate field type at the top of the page based on the type of field you want to create: Contact, Group, Session, or Evaluation Plan.

-
Click the ‘+ Add Field’ button in the top-right corner.

-
Within the pop-up modal, define the details of your new field by adding a field name and selecting the field type (i.e. dropdown, file, text, checkbox) from the dropdown menu.

-
Once you’ve completed all the details, click ‘Save’ to add your new field. The custom field will now appear in the list of fields under the selected category and is ready to use.
💡 Tip: Create custom fields to track review status, priority, or other admin-only details.
Delete A Field
To delete a field once created, navigate to the Fields module and search for the field you would like to delete.
NOTE: Ensure you are searching for the field within the correct page (i.e. Contacts vs Groups vs Sessions vs Evaluation Plan)

Once the custom field has been located, select Edit within the Actions column.
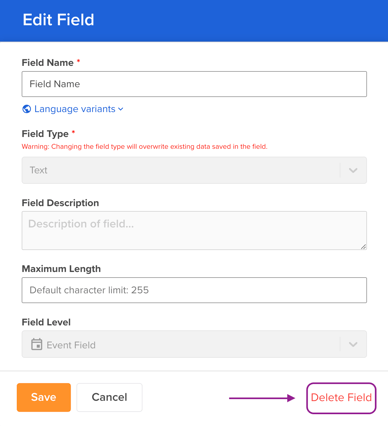
In the Edit Field pop-up window, select “Delete Field” on the right-hand corner of the pop-up window.

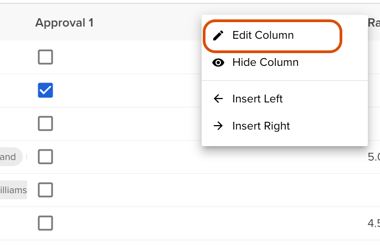
Fields can also be deleted within the speaker, session, sponsors, exhibitor, and contact modules. Ensure the field has been added to your dashboard view and right-click on the field column to select "Edit Column". From here, you will be able to delete the field using the instructions above.

