Importing helps users create new event contacts, sessions, exhibitors, and sponsors, as well as update fields for existing records.
- File Requirements & Technical Limitations
- Step 1: Create Custom Fields
- Step 2: Generate Import Template
- Step 3: Import New Records
- Import to Update Existing Records
Before you start importing, let's review some important requirements for your import file.
File Requirements & Technical Limitations
- Imported files must be saved as UTF-8.
Excel files: Excel does this by default in North America. For other regions, open in Excel, go to File → Save As, choose "CSV (Comma delimited)" and in the Tools dropdown next to Save, select "Web Options" → Encoding → UTF-8
Google Sheets: Download → CSV automatically gives you UTF-8
Database exports: Look for encoding options and select UTF-8
-
The limit of records that can be imported per file is 1000.
-
Phone numbers (i.e., Mobile Phone & Home Phone fields) must be in the following format: +1 (123)456-7891
-
Numbers must include the country code as well as the area code.
Ex: +1 (123)456-7891 > +1 is the country code
Ex: +1 (123)456-7891 > 123 is the area code
-
-
URLs (i.e., website, LinkedIn URL, headshots) should be provided in the following format: https://sample-website.com.
- Multi-select fields (i.e., tags) should be separated by a pipe (|). (Ex: Convertible | Two Door)
- Currency & file field types (excluding headshot) can not be imported at this time.
-
Session dates and times should be in the following format: YYYY-MM-DD HH:mm (Example: 2025-08-14 09:30)
The formatting of session dates and times ensures that Sessionboard is most consistent across all regions.
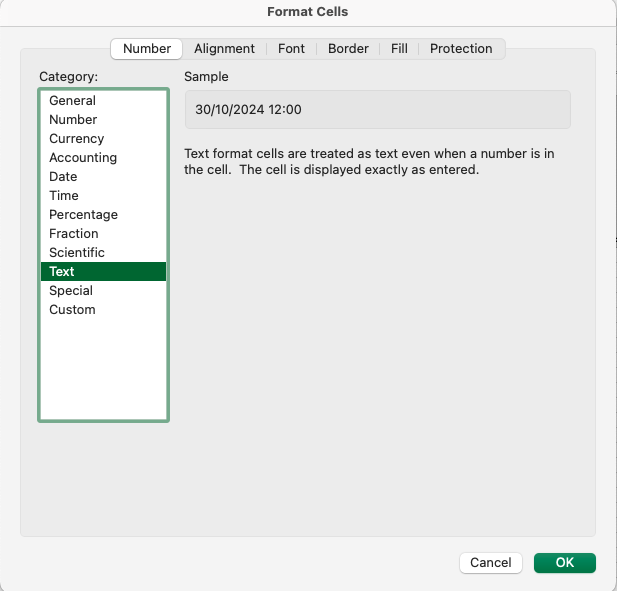
How to remove date/time formatting in an Excel file:
When entering date and time values into an Excel cell, Excel might automatically reformat these entries in a way that isn't compatible with Sessionboard. To ensure proper data import into Sessionboard, admin users should follow the instructions below to remove any automatic formatting applied by Excel.
-
Select the cell(s) that you’ll enter numbers into.
-
Press Ctrl + 1 (the 1 in the row of numbers above the QWERTY keys) to open Format Cells.
-
Select Text, and then click OK
Step 1: Create Custom Fields
Before importing your data, you may want to create any custom fields you need so that data can be imported directly into them.
First, review all of the standard fields available in Sessionboard. If you need to import data into fields that are not part of the standard set, create custom fields in advance.

Once your custom fields have been created, ensure to add them to your module view. This ensures they will be included in your import template and allows you to successfully import data into them.
Step 2: Generate An Import Template
-
Within the module you will be importing to (i.e., Contacts, Sessions, Sponsors, or Exhibitors), select Options > Import.

💡Importing Team Members? To generate an import template for the Event Team module, select Import.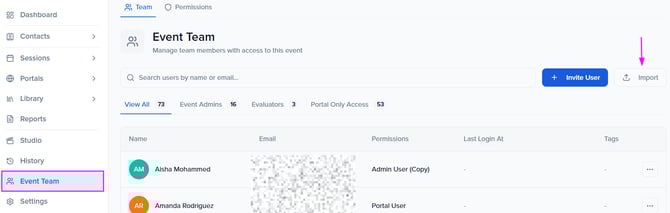
-
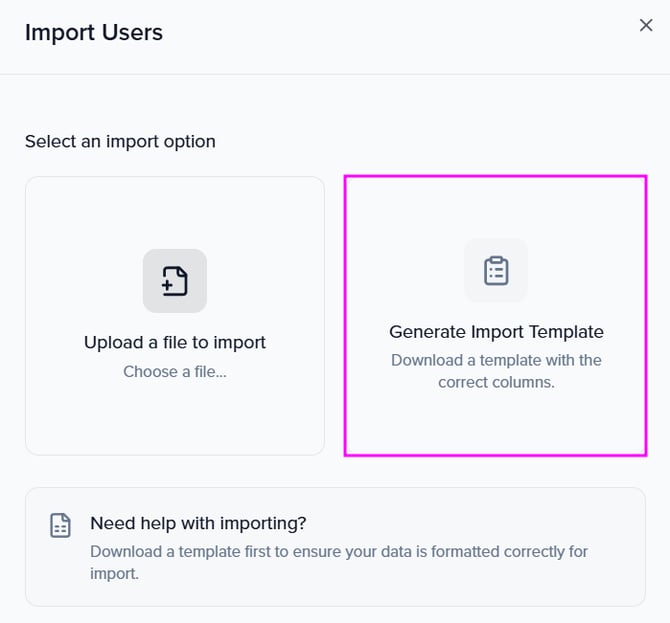
Within the pop-up model, select the option to Generate Import Template. Templates will automatically download to your device as a CSV file.
Session Import Template
When using the Sessions module import template, do not add data to the column Session Friendly ID. Session IDs are assigned to new sessions upon import/creation. This field can be utilized if you wish to import data to update existing sessions.

Step 3: Import New Records
For this demonstration, we will review importing contacts; however, this workflow can be followed for importing sessions, exhibitors, sponsors, and team members.
-
Within the module you will be importing to (i.e. Contacts, Speakers, Sessions, Sponsors, or Exhibitors), select Options > Import.
-
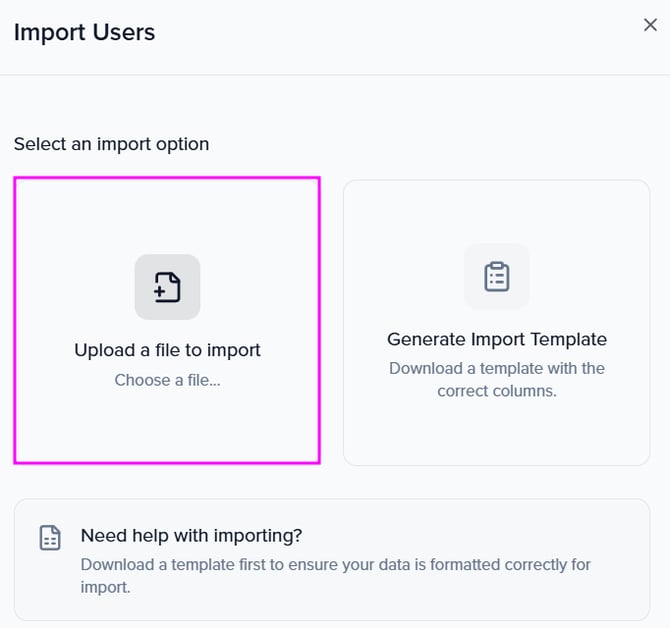
Within the pop-up model, select Upload a file to import. You will be prompted to either select a file on your device to import or copy and paste data into a table.
-
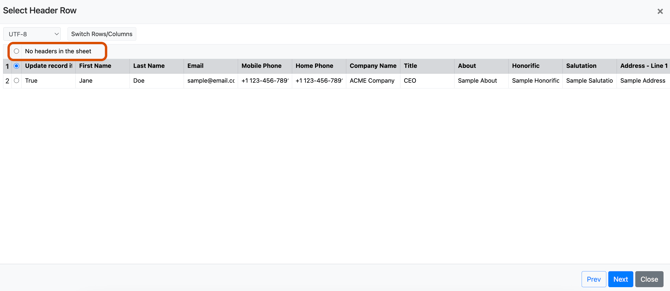
Select if your file has a header or not to continue with the importing process. Once completed, select the blue 'Next' button at the bottom right-hand corner of the screen.
-
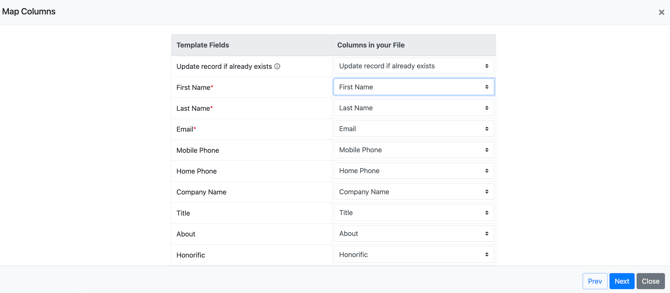
Map your fields: Within this window, you will have 2 columns. The left column provides all of the fields within the event while the right column shows you what fields were included in your imported file. Map your file fields to the fields reflected in the event. Once completed, select the blue 'Next' button at the bottom right-hand corner of the screen.
-
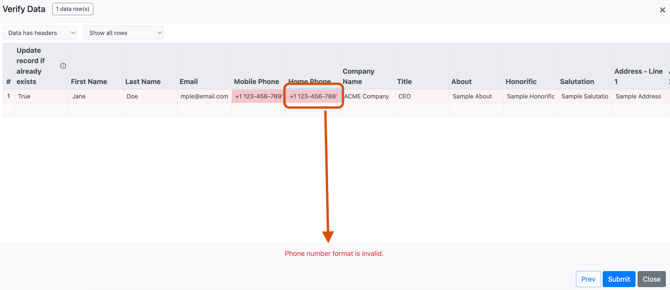
The last step is to verify that the data is correct. The system will highlight any rows that may need additional attention if a field is invalid. Click on the red cell(s) to identify the error and make updates as needed.
-
Click the blue 'Submit' button at the bottom right-hand corner of the pop-up window for the system to proceed with importing your data.
-
Once your data has been successfully imported into your event, you will receive a confirmation message on the screen.

Import To Update Existing Records
Step 1: Export Data
Before importing updates, it’s important to export your existing data. This ensures that the system updates the correct records rather than creating duplicates.
Contacts (i.e., Speakers, Moderators, Chairperson)
- Navigate to the Contacts module.
- Update your module table view to include the following fields:
- First Name (required for importing)
- Last Name (required for importing)
- Email (used as the unique identifier to locate the existing record)
- Any additional fields you plan to update
- Click Options > Export to export your data as a CSV or XLSX file.
Groups (i.e., Sponsors & Exhibitors)
- Navigate to the Sponsors or Exhibitors module.
- Update your module table view to include the following fields:
- Name (used as the unique identifier to locate the existing record)
- Any additional fields you plan to update
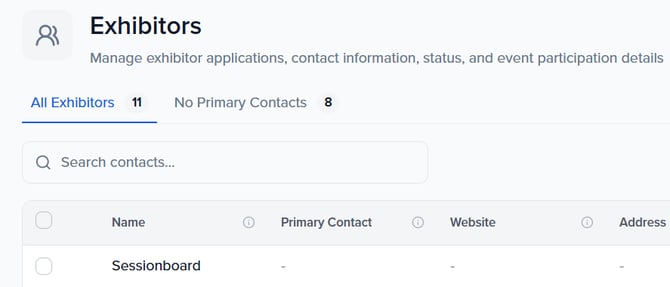
- Click Options > Export to export your data as a CSV or XLSX file.
Sessions
- Navigate to the Sessions module.
- Update your module table view to include the following fields:
- Status (required for importing)
- Title (required for importing)
- Session ID (used as the unique identifier to locate the existing record)

- Any additional fields you plan to update
- Click Options > Export to export your data as a CSV or XLSX file.
Step 2: Update Your Exported File
- Open the exported file.
- Update the fields you want to edit.
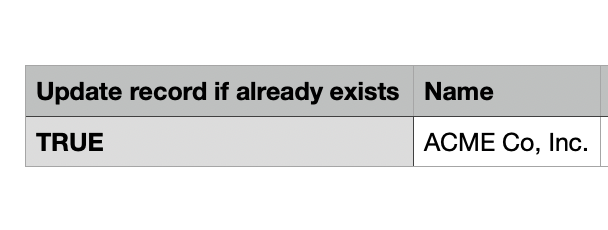
- Add a new column titled "Update record if already exists".
- In this column, enter TRUE for all records/rows you wish to update. Delete any records/rows you do not wish to udpate.
- Save the updated file to your device.
Step 3: Import to Update Records
Follow Step 3 above to import your file.
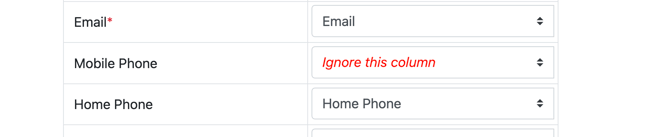
NOTE: When mapping your columns within the import process, ensure to use Ignore this column for fields you will not be importing to prevent overwriting existing data within your event.