Custom Portals are tailored portals created to streamline the experience for specific users and groups.
IMPORTANT NOTE❗️: Contacts/Groups can only be assigned to one portal at a time. If they match the criteria of multiple portals, they will be assigned the first portal they match with. Learn how to reorder your portals.

Admins can create custom portals using filters to control who is assigned, allowing you to dynamically tailor the portal experience based on specific criteria such as contact role (Speaker vs Moderator), session type (Breakout Session vs. Keynote), or sponsor tier (Gold vs. Silver), to name a few. This ensures users are only seeing information relevant to them
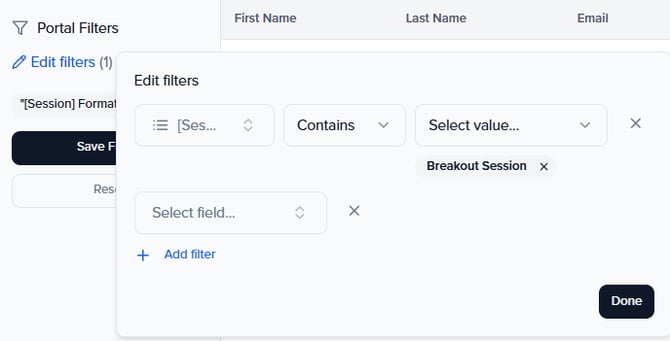
For Example: By applying a session filter of FORMAT that contains BREAKOUT SESSION, I will be able to group contacts that are associated with a session and the format is "Breakout Session".
Custom Portal Use Cases
Below are examples of how custom portals can be leveraged for your event:
Speakers
-
Portals for various session formats (i.e. keynotes, breakout sessions, panels, roundtables)
-
Portals for speakers on different days (i.e. Day 1 Speakers vs. Day 2 Speakers)
-
Portals for speakers vs moderators vs chairperson
Sponsors/Exhibitors
-
Portals based on sponsor/exhibitor level (ie. Gold, Silver, Bronze)
-
Each level may have various tasks that are specific to its package.
-
How to create a custom portal
First, decide if you will be creating a People Portal (speakers) or a Group Portal (sponsors and exhibitors).
-
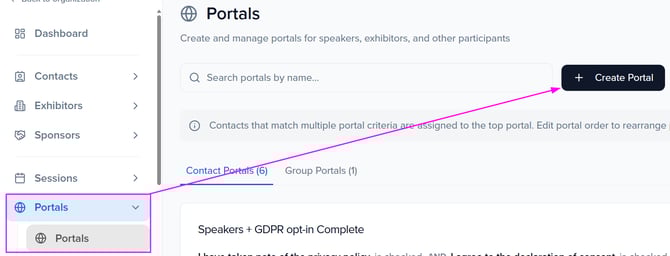
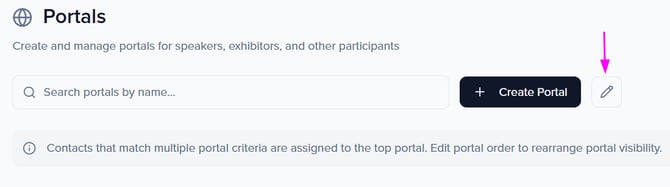
Navigate to the Portals module, and select the+ Create Portal button.
-
Customize your portal by adding a portal name (internal name) and designating what type of portal you want to create.
-
Contacts Portal: Speakers, Chairperson, Moderator, Sponsor Individual Contacts, Exhibitor Individual Contacts, and Session Submitters.
-
Groups Portal: Sponsor and Exhibitor Groups
-
NOTE: Only available if you have the sponsor and exhibitor modules enabled.
-
NOTE: Sponsors and Exhibitors will automatically have a contacts portal assigned to them. This allows the admin to create tasks assigned to the contacts individually (i.e., share contact details) vs. the whole organization.
-
-
-
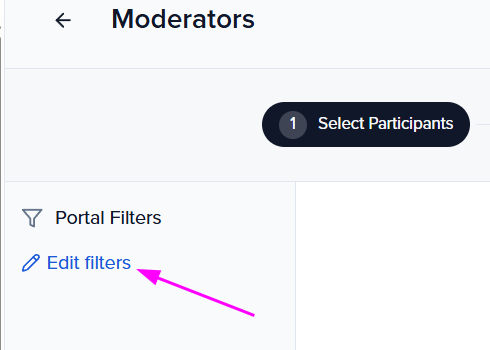
Select the participants who will see this portal by adding a filter to the left of your screen.
-
Contact Portals: Admins are limited to using contact fields (i.e., name, email, job title, custom contact fields) or select session fields (i.e., format, track, tag, level, languages) to filter by. Admins can not filter by the session submission form type or any other session-related fields.
-
Group Portals: Admins are limited to using group fields (i.e., name, level, and custom group fields) to filter by.
-
-
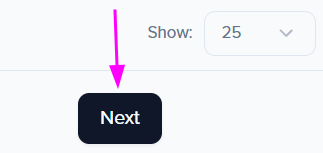
Once you have applied your filters, your dashboard view will auto-populate with the contacts that align with the filters. Select "Next".
Next, customize your portal even further by configuring email notifications and appearance (i.e. portal name and background image) as well as creating and assigning tasks, forms, files, and wiki pages.
👉🏾 Learn how to create tasks & resources to assign to your portal
IMPORTANT NOTE❗️: Any contacts who do not match the filters you have set for your portals will automatically be placed within the Default Portal. Ensure to customize this portal as well.

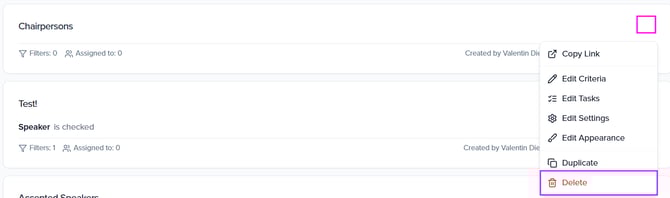
Delete Portals
Select the three ellipse dots to the right of the portal that you would like to delete and select the 'Delete' button.
In the pop-up confirmation window, select "Delete".

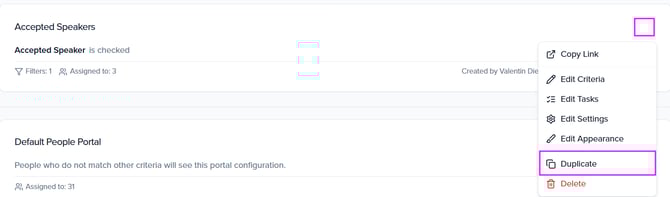
Duplicate Portals
Select the three ellipse dots to the right of the portal that you would like to duplicate and select the 'Duplicate' button.
Reorder Portals
To reorder how the portals appear, select the pencil icon to arrange the order by drag and drop.
This setup is ideal for contacts who match the filters for multiple portals. In such cases, the contact will be assigned to the first portal in the list that they qualify for, based on the order of the portals.
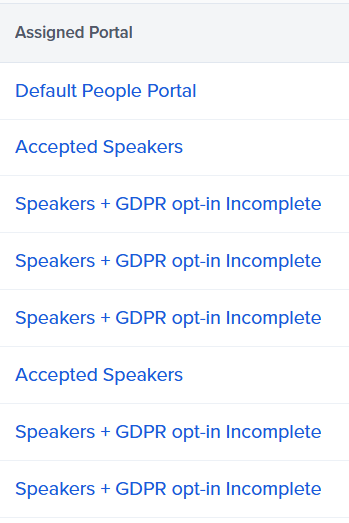
💡 TIP: Create a custom dashboard view within the Contacts, Speakers, Sponsors, and Exhibitors module to show the field "Assigned Portal". This allows you to easily see the portal assigned to each contact/group.