Files are static documents or links that users can download and view. These can include programs, contracts, venue maps, and so much more.
Before you can assign a file to a portal, you will first need to upload one.
Upload A File
Navigate to the Portals module and select "Files".
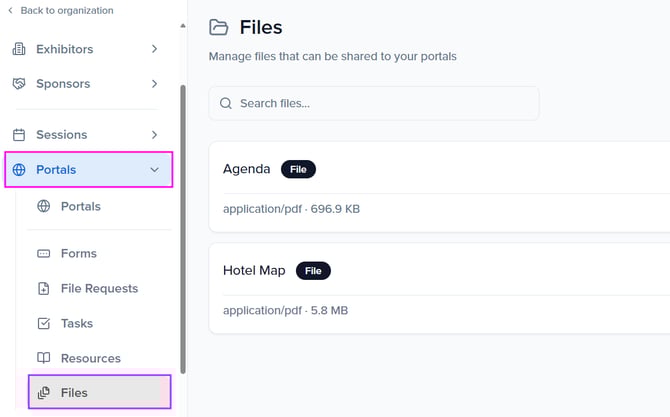
Select the "Add File" button and complete the following fields:
IMPORTANT NOTE❗️: Each file can not exceed 1.95 GB
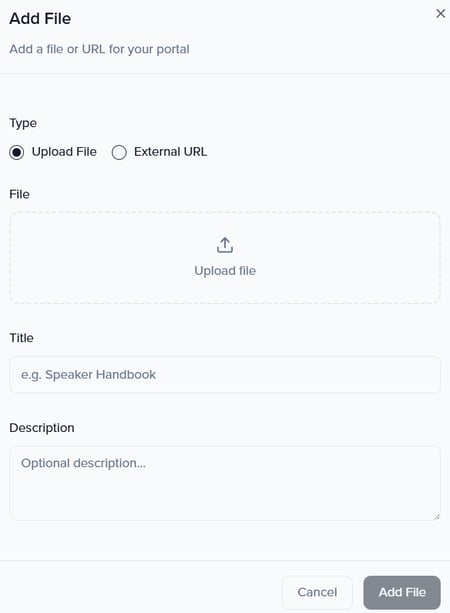
- Upload a file or provide an external link
- Title: This is how the file name will be listed within the portal
- Description: The description will be listed on the portal home page below the title as helpful text to the portal user.
Once complete, click the "Add File" button at the bottom of the pop-up module.
Assign A File
Now that you have added your file, it is time to assign it to the respective portal.
Note: Pages can be assigned to more than one portal.
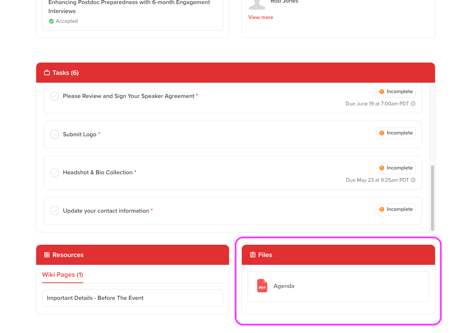
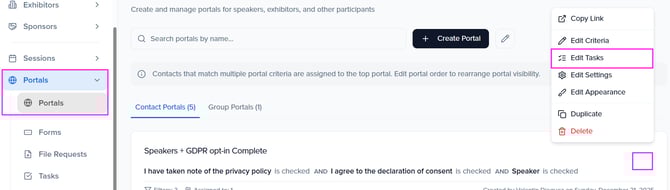
Within the Portals module, select the ellipses to the right of the portal you would like to assign the file to and select Edit Tasks.
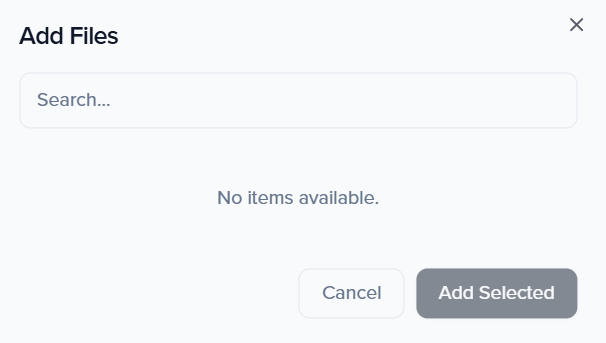
Within the Files widget, select the button Add to open a pop-up module. This will show any files you have created to select and assign to your portal.

From the list of uploaded files, Select them next to the file title to add it to your portal.